fig.
1
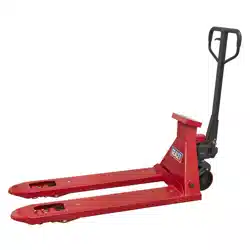
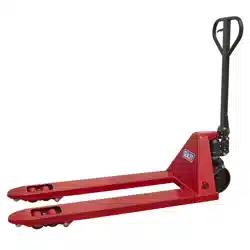
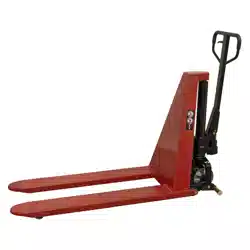
LIFT PALLET TRUCK - 1000KG CAPACITY
MODEL NO: PT1170H.V3
Thank you for purchasing a Sealey product. Manufactured to a high standard, this product will, if used according to these instructions,
and properly maintained, give you years of trouble free performance.
I
MPORTANT:
PLEASE READ THESE INSTRUCTIONS CAREFULLY. NOTE THE SAFE OPERATIONAL REQUIREMENTS, WARNINGS & CAUTIONS. USE
THE PRODUCT CORRECTLY AND WITH CARE FOR THE PURPOSE FOR WHICH IT IS INTENDED. FAILURE TO DO SO MAY CAUSE DAMAGE AND/OR
PERSONAL INJURY AND WILL INVALIDATE THE WARRANTY. KEEP THESE INSTRUCTIONS SAFE FOR FUTURE USE.
1. SAFETY
Only open bottomed Euro type pallets can be used with this truck
8 DO NOT use a faulty or damaged truck.
Before using the truck all parts and working mechanisms should be checked for wear or damage. Pay particular attention to the wheels,
handle and fork lifting and lowering mechanism. Any parts found to be worn, damaged or suspect should be repaired or replaced before
the truck is used.
All repairs must be carried out by an authorised Sealey service agent.
Personnel who operate the truck and those in the vicinity of operation should wear safety footwear with reinforced toe caps at all times.
8 DO NOT allow persons other than the operator to stand in front of or behind the truck when it is moving, lifting or lowering.
Never place any part of your body in the lifting mechanism or under the forks or load. DO NOT place a foot in front of a rolling wheel injury
could result.
8 DO NOT allow others to ride on the truck.
8 DO NOT lift or move unstable or loosely stacked loads.
Take extra care when operating a loaded truck in high winds.
Take special care when moving long, high or wide loads in order not to dislodge the load by striking any fixtures, vehicles or people in the
area of operation.
Always ensure that the load is evenly distributed across the forks
with the centre of the load being at the halfway point of the length of
the forks.
8 DO NOT overload the truck - refer to the specification for maximum
permitted load.
If a load is left unattended even for a very short period of time it
should be lowered to the ground.
When not in use the truck should be left in the lowered position.
Ensure that the width and length of the forks is correct for the pallet
to be lifted.
Ensure that the truck is sufficiently inserted into the pallet to lift the
full width of the pallet.
Use the truck on level, flat, hard surfaces and in well lit areas.
8 DO NOT use truck on sloping or uneven ground; DO NOT attempt
to negotiate curbs, steps or ramps. Be aware of differences in floor
levels.
8 DO NOT use the truck in explosive atmospheres.
8 DO NOT use the truck if you are unsure of the stability of the truck.
The operator of the truck must be physically capable of controlling
the load selected; particularly in relation to stopping a rolling load.
8 DO NOT modify the truck.
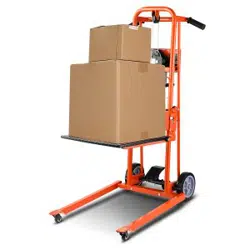
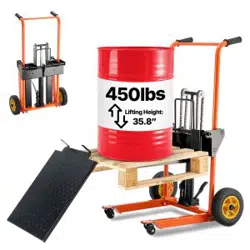
2. INTRODUCTION
Heavy-duty high lift pallet truck suitable for the loading/unloading
of light commercial vehicles as well as warehouse/general
handling duties. Features twin stabilisers for extra balance when
at maximum lift and an ergonomic handle design for comfortable
operation.
3. SPECIFICATION
Model No: ...................................................PT1170H.V3
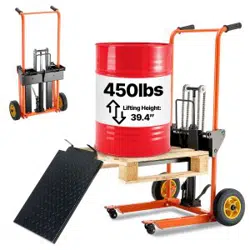
Capacity: ............................................................. 1000kg
Fork Spread: ....................................................... 225mm
Forks (Length x Overall Width: ................. 1170 x 540mm
Maximum Height: ................................................ 800mm
Minimum Height: ................................................... 85mm
Refer to
instruction
manual
DO NOT
reach in
Wear safety
footwear
DO NOT get
under truck
DO NOT ride
on truck
Original Language Version
© Jack Sealey Limited
PT1170H.V3 Issue 3 15/08/23
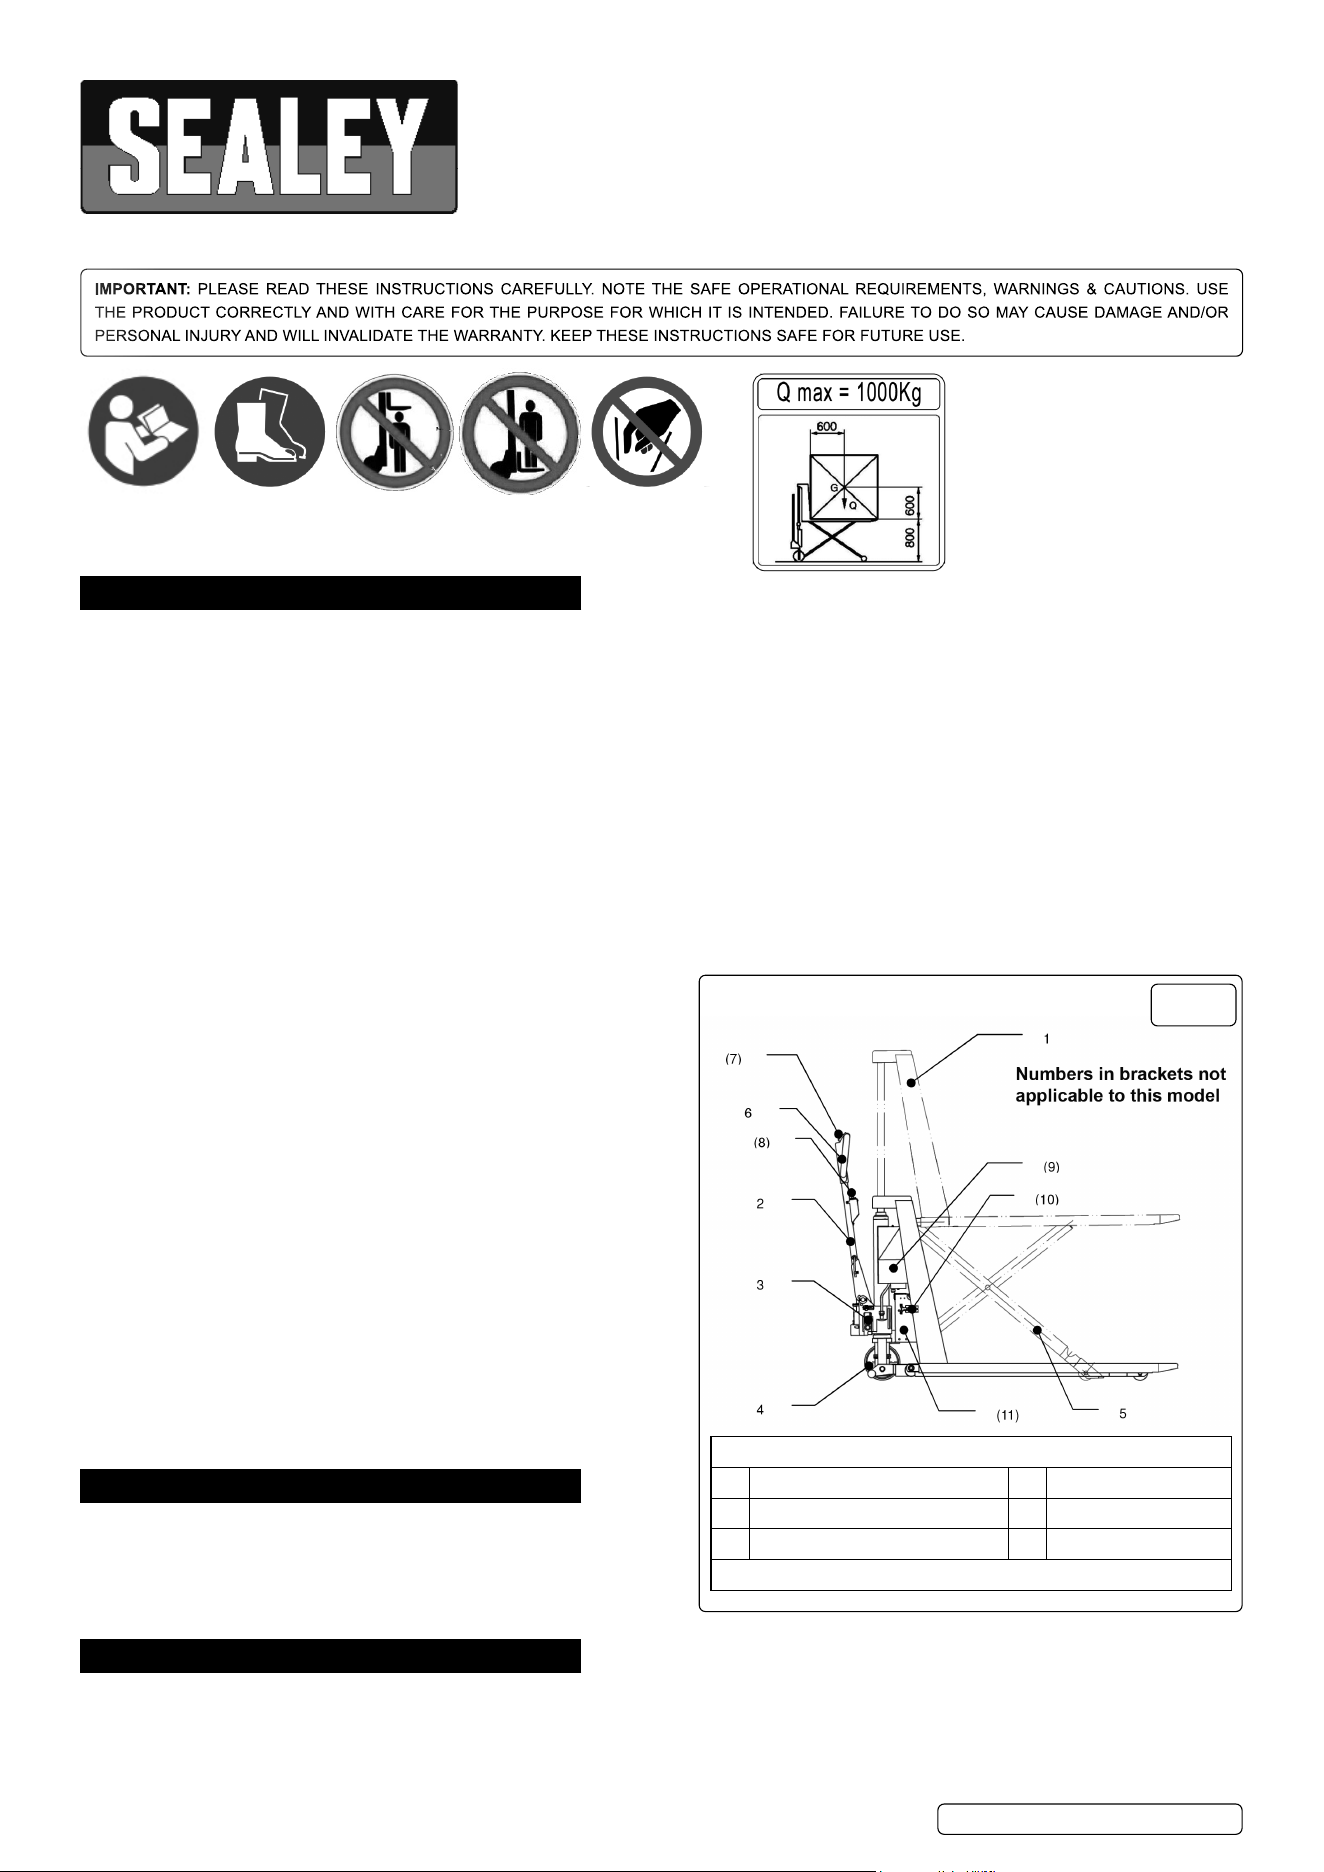
CONTENTS
1 Chassis 4 Steering Wheel
2 Tiller 5 Scissors
3 Hydraulic Cylinder and Pump 6 Control Lever
Numbers in brackets not applicable to this model
4. ASSEMBLY
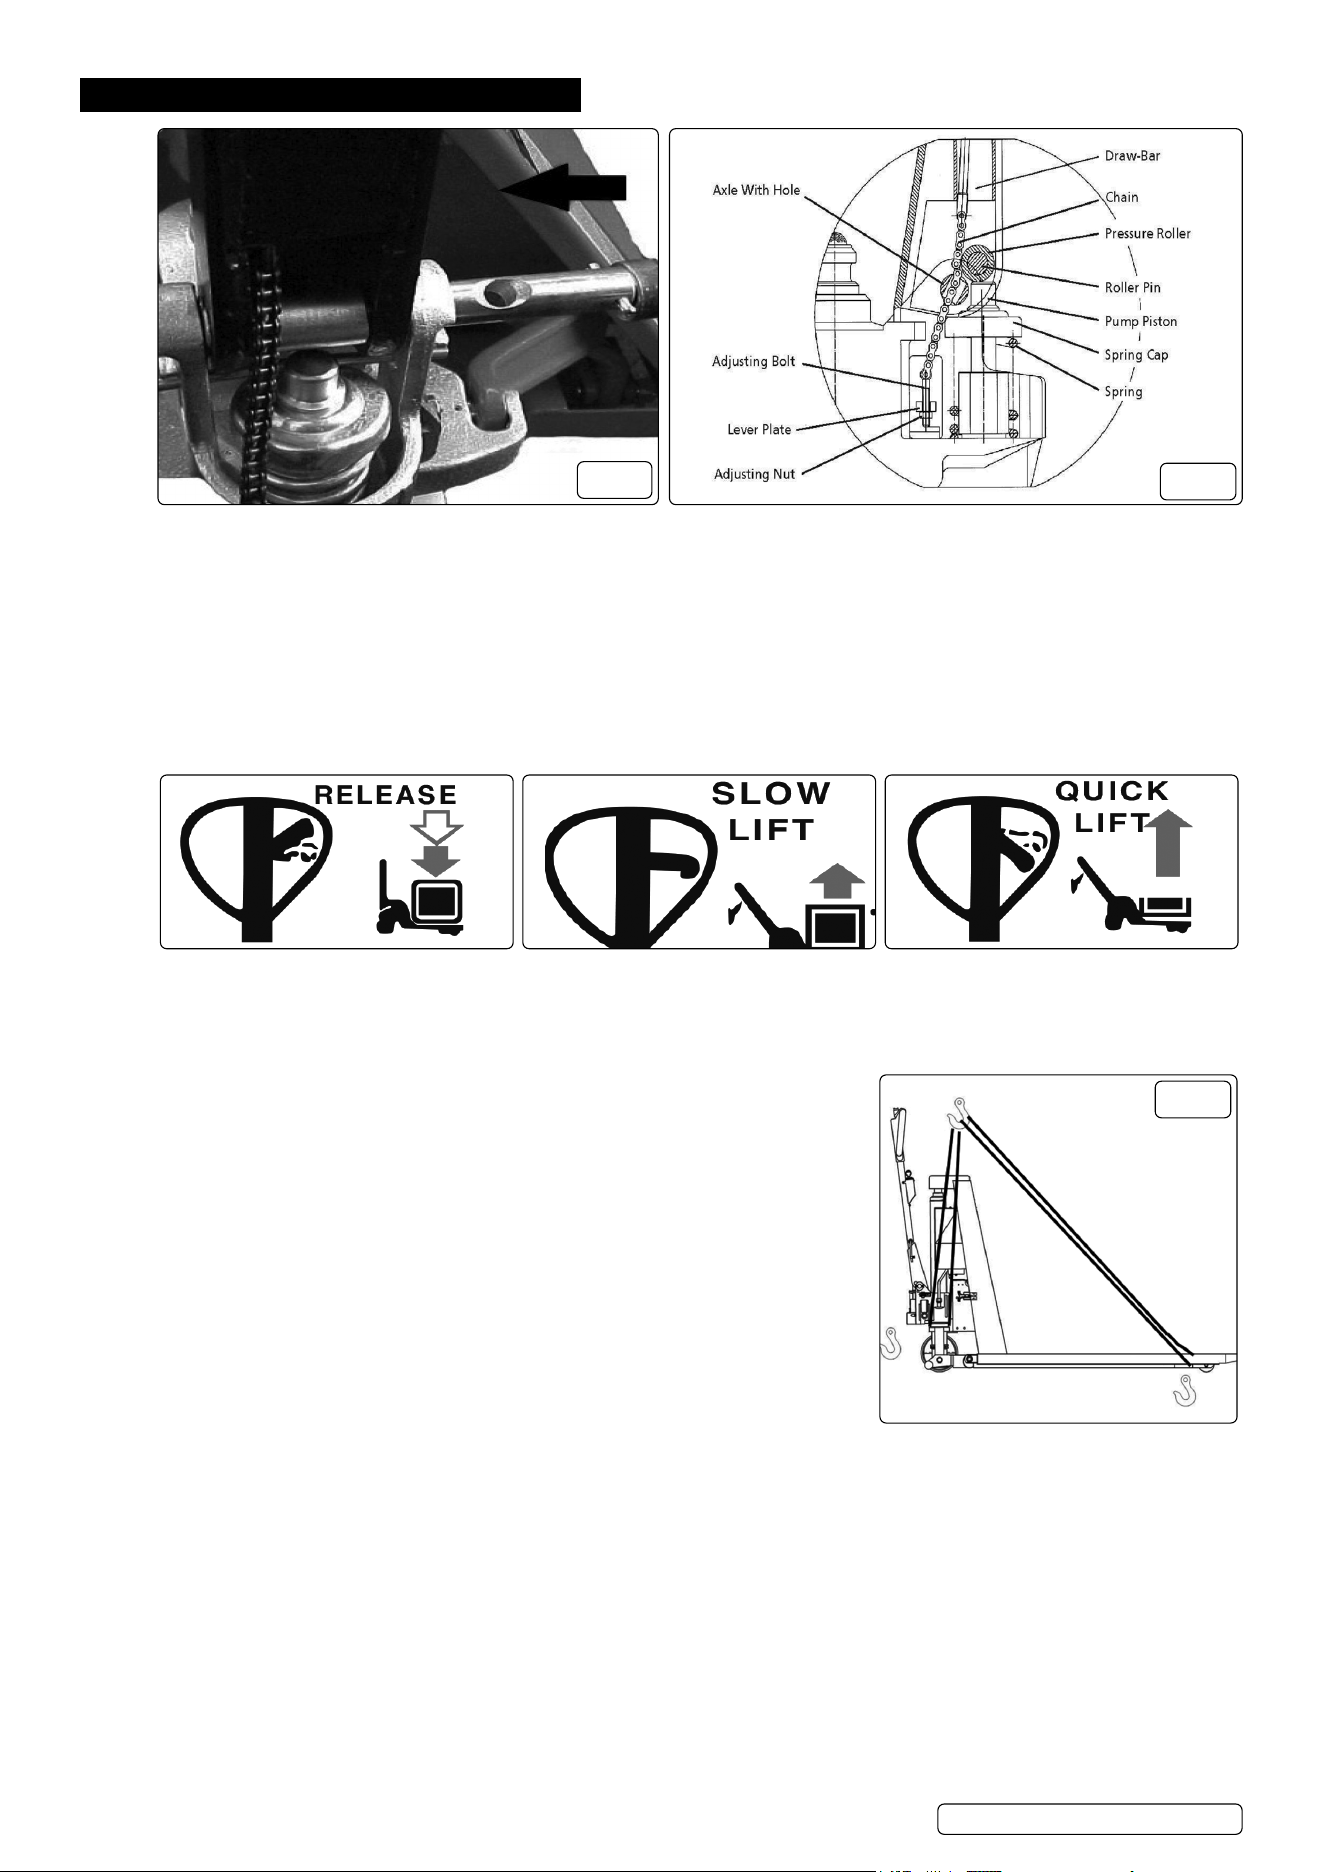
4.1. Insert the tiller arm (1) into the pump piston, then use a hammer to insert the axle with hole into the hydraulic pump and tiller, arm from
right to left ( g.2).
4.2. Set the control lever on the handle to the LOWER position, then pass the adjusting nut, adjusting bolt through the hole in the axle
( g.3).
4.3. Press the tiller arm down and remove the pin ( g1.2).
4.4. Set the control lever on the handle to LIFT position and then raise the lever plate ( g.3) with the pin ( g1.2) and insert the adjusting bolt
( g.3) into the front slot of the lever plate.
Note: Keep the adjusting nut under the lever plate.
4.5. Use a hammer to insert the second dowel pin ( g.1.5) into the second hole of the axle. The tiller arm is now assembled to the pump.
4.6. CONTROL LEVER AND HYDRAULIC VALVE ADJUSTMENT
1 - LOWER handle up, lever moves back
to neutral when released
2 - SLOW LIFT handle in centre position 3 - QUICK LIFT handle down
4.6.1. If necessary the lever can be adjusted according to the following steps:
1 - If the forks do not elevate whilst the control lever is in the SLOW LIFT position or
QUICK LIFT position, turn the adjusting nut clockwise until the SLOW LIFT and the
QUICK LIFT position works properly
2 - If the forks do not lower whilst the control lever is in the LOWER position, turn the
adjusting nut clockwise until the LOWER position works properly
3 - If the forks do not lift slowly whilst the control handle is in the SLOW LIFT position,
turn the adjusting nut clockwise until the SLOW LIFT position works properly
4 - If the forks do not lift quickly whilst the control handle is in the QUICK LIFT position,
turn the adjusting nut anticlockwise until the QUICK LIFT position works properly.
4.7. LIFTING & TRANSPORTING
WARNING! USE DEDICATED CRANE AND LIFTING EQUIPMENT
8 DO NOT STAND UNDER THE SWAYING LOAD
8 DO NOT WALK INTO THE HAZARDOUS AREA DURING LIFTING
4.7.1. Park the truck securely and lash the truck according to the points identi ed in g.4
4.7.2. Lift the truck to its destination and
4.7.3. Place the truck securely before removing the lifting gear.
4.7.4. The lashing points are according to the g.4
4.7.5. For transportation, remove the load, lower the truck to the lowest position and lash it safe with dedicated lashing straps.
fig.
2
fig.
3
Original Language Version
© Jack Sealey Limited
PT1170H.V3 Issue 3 15/08/23
fig.
4

5. OPERATION
5.1. Before using the truck you must read and understand the safety instructions in Section 1. The truck
should only be operated by those persons who have been trained in its use.
WARNING! Always transport a load with the pallet raised from the ground by only 20 to
30mm.
WARNING! Pallets with an enclosed entry should not be used for lifting a load as the scissor
action of the jack will force the woodwork apart. Only Euro type pallets can be used to raise
a load.
5.2. The operator must be physically capable of pushing or pulling the load and must also be capable of
stopping a rolling load.
5.3. Before lifting any load the operator should check that the pallet is the correct width and length for
the truck and that the pallet itself is not damaged.
5.4. DAILY INSPECTION
5.4.1. This section describes pre-shift checks before putting the truck into operation.
5.4.2. Daily inspection is effective to nd the malfunction or fault on the truck and can maximize the
lifetime.
5.4.3. Check the truck on the following points before operation.
- Remove load from truck and lower the forks to the lowest position.
8 DO NOT USE THE TRUCK IF ANY MALFUNCTION OR FAULT IS FOUND.
- Visually check for structural deformation or cracks of arms, forks, or any other component, an unusual noise or binding of the lifting
mechanism.
- Check if there is any oil leakage.
- Check the vertical creep of the lifting mechanism.
- Check the smooth movement of the wheels.
- Check if there are any particles or damages on the wheels.
- Check if all the bolts and nuts are tightened rmly.
- If equipped, check the brake.
- Verify that all labels are in place.
5.5. OPERATION
5.5.1. The operator should ensure that the load on the pallet is safe to move. If the load appears to be loosely stacked, unevenly distributed, too
high or too wide it should be repacked safely before moving. Also check that the weight of the load is within the capacity of the truck.
5.5.2. Lowering the truck. Before inserting the truck into the pallet ensure that the truck forks are in their lowest position by pulling the operating
lever into the upper position and holding it there until the truck has settled down to the lowest level.
5.5.3. Slow lift position. The lever can now be released and will return to the middle position. Push the truck into the pallet ensuring that it is fully
inserted. If the pallet is shorter than the forks the load should be placed at the centre point of the length of the forks.
5.5.4. Pump the handle to raise the load slightly in preparation for transporting the load. When the handle is pumped in this position the load only
rises slowly. Always transport a load with the truck in the lowest position.
5.5.5. Due care should be taken when manoeuvring a load to ensure that no collision takes place with any objects or people.
5.5.6. The faster the truck is moved the more difficult it will be to stop. Therefore proceed at a slow and even pace.
5.5.7. Bring the truck to a stop where required and lower the load to the floor by pulling the operating lever to its highest position and holding it
there until the load has settled to the floor. Alternatively the load can be lowered by pressing the foot pedal (fig.3.A).
5.5.8. It is not recommended that the load is lowered whilst the truck is still moving as a sudden stop may dislodge the load causing damage to
property and/or people.
5.5.9. Quick lift position (fig.2.3). To lift a pallet quickly push the operating lever to its lowest position where it will latch.
5.5.10. Pump the handle up and down to lift the load. When the forks reach their maximum height the lifting action will stop even if you continue
to pump the handle. As the load rises the stabilising pins attached to the legs either side of the wheels (fig.3.B) will begin to make contact
with the ground. Above the height of 300mm the rear wheels are no longer in contact with the ground. This is a safety feature designed to
prevent the moving of the load when the forks are raised to a high level.
5.5.11. When the truck is not in use, lower the forks and park the truck where it will not be a hazard.
6. MAINTENANCE
6.1. Only qualied and trained personnel are allowed to maintain this truck.
6.2. If anything goes wrong with the pallet truck it must be removed from service immediately.
WARNING! Before servicing the truck, remove the load and lower the forks to the lowest position.
Completely immobilize the truck
before working on components that might pinch ngers or hands if movement were allowed.
6.3. Use approved and original spare parts.
6.4. Be aware that oil leakage of hydraulic uid can cause failures and accidents.
6.5. Adjustments to the pressure valve only from trained service technicians.
6.6. All bushings and bearings have been lubricated at the factory. To increase their life, regular maintenance is recommended. Using the
appropriate grease for the application and lubricate each grease tting every 6 months.
6.7. Harsh environments may require more frequent maintenance.
6.7.1. Maintenance Checklist
DAILY see 5.4
MONTHLY
All bearings and shafts are provided with long- life grease at the factory. Long-life grease should be applied to the lubrication points at
monthly intervals or after each time the truck is cleaned.
Clean off dirt and debris.
EVERY THREE MONTHS
Clean the dust from the surface of the release valve (part no. 321 on Parts List).
ANNUALLY
Change the oil (more frequently if colour has substantially darkened or feels gritty). Use Sealey hydraulic oil or one that conforms to it.
Check all parts of the truck for wear and replace defective parts where necessary.
Original Language Version
© Jack Sealey Limited
PT1170H.V3 Issue 3 15/08/23
fig.
5

Original Language Version
© Jack Sealey Limited
PT1170H.V3 Issue 3 15/08/23
Sealey Group, Kempson Way, Suffolk Business Park, Bury St Edmunds, Suffolk. IP32 7AR
01284 757500 sales@sealey.co.uk www.sealey.co.uk
ENVIRONMENT PROTECTION
Recycle unwanted materials instead of disposing of them as waste. All tools, accessories and packaging should be sorted,
taken to a recycling centre and disposed of in a manner which is compatible with the environment. When the product
becomes completely unserviceable and requires disposal, drain any fluids (if applicable) into approved containers and
dispose of the product and fluids according to local regulations.
Note: It is our policy to continually improve products and as such we reserve the right to alter data, specifications and component parts without prior notice.
Important: No Liability is accepted for incorrect use of this product.
Warranty: Guarantee is 12 months from purchase date, proof of which is required for any claim.
REGISTER YOUR
PURCHASE HERE
NOTE: If hydraulic oil is milky white in colour, water is in the hydraulic system. Change the hydraulic oil immediately.
6.8. Before starting operating the truck, ensure that all markings and decals are on the right place and not damaged. If necessary replace
the decals.
6.9. PURGING AIR FROM THE HYDRAULIC SYSTEM
6.9.1. Air may nd its way into the pump during transportation, tilting or usage on uneven ground. It can result in not elevating forks whilst
pumping in the Raise position. The air can be removed in the following way:
Move the control handle to the Lower position, move then the tiller down several times. Thereafter normal operation can be resumed.
6.10. CHECK AND REFILL HYDRAULIC OIL
6.10.1. Ensure forks are in lowered position.
6.10.2. Lay pallet truck on its side with the drain plug of hydraulic cylinder facing up.
6.10.3. Remove the screw plug. Add hydraulic oil until level of oil is at bottom of hole. Replace drain plug, upright the truck.
7. TROUBLESHOOTING
PROBLEM CAUSE SOLUTION
The forks DO NOT reach maximum
height.
Hydraulic oil level too low. Top up the oil.
The forks DO NOT lift. No or low hydraulic oil.
The oil is contaminated.
The lifting/lowering mechanism needs adjustment.
Air in the hydraulic system.
Top up tank with hydraulic oil.
Change the oil.
Follow procedure in section 5.
Purge the air as in section 5.
The forks DO NOT lower. The lifting/lowering mechanism needs adjustment.
Truck stored with ram raised, allowing corrosion.
Forks obstructed.
Follow procedure in section 5.
Lubricate piston rod regularly and store in
lowered position.
Remove obstruction.
Leaks. Seals worn or damaged. Replace seals.
Lifting speed not affected by handle
position.
The lifting/lowering mechanism needs adjustment.
Release valve not closing fully owing to oil
contamination.
Follow procedure in section 5.
Change the oil.