65L GALVANIZED WHEELBARROW
MODEL NO: WB65
Thank you for purchasing a Sealey product. Manufactured to a high standard, this product will, if used according to these
instructions, and properly maintained, give you years of trouble free performance.
IMPORTANT: PLEASE READ THESE INSTRUCTIONS CAREFULLY. NOTE THE SAFE OPERATIONAL REQUIREMENTS, WARNINGS & CAUTIONS. USE
THE PRODUCT CORRECTLY AND WITH CARE FOR THE PURPOSE FOR WHICH IT IS INTENDED. FAILURE TO DO SO MAY CAUSE DAMAGE AND/OR
PERSONAL INJURY AND WILL INVALIDATE THE WARRANTY. KEEP THESE INSTRUCTIONS SAFE FOR FUTURE USE.
1. SAFETY
9 Always distribute the load evenly over the surface of the wheelbarrow.
8 DO NOT overload the wheelbarrow.
8 DO NOT use wheelbarrow on uneven ground and DO NOT run over curbs or steps - use a ramp.
8 DO NOT allow others to ride in the wheelbarrow.
8 DO NOT use the wheelbarrow if any part is damaged, paying particular attention to the wheel.
8 DO NOT inflate the tyre to more than 25psi.
2. INTRODUCTION
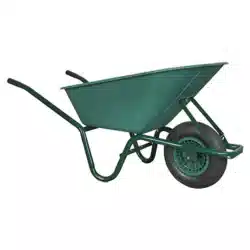
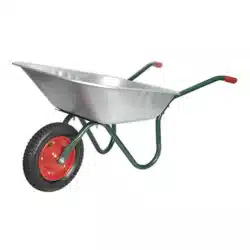
Lightweight galvanized steel wheelbarrow ideal for a wide range of gardening and light construction applications,
as well as general domestic use. Constructed with strong tubular steel frame and rubber gripped handles. Fitted
with Ø340mm pneumatic tyre.
3. CONTENTS
• Pan Wheel assembly
• Frame x 2 • Wheel
• Frame spacer x 2 • Axle Bolt
• Pan support • Axle Nut
• Bolt x 6 • Axle Sleeve
• Nut x 6 • Large Washer x 4
• Washer x 6
4. SPECIFICATION
Model No:....................................................................WB65
Capacity: ..........................................................................65L
Capacity weight: ........................................................... 120kg
5. ASSEMBLY
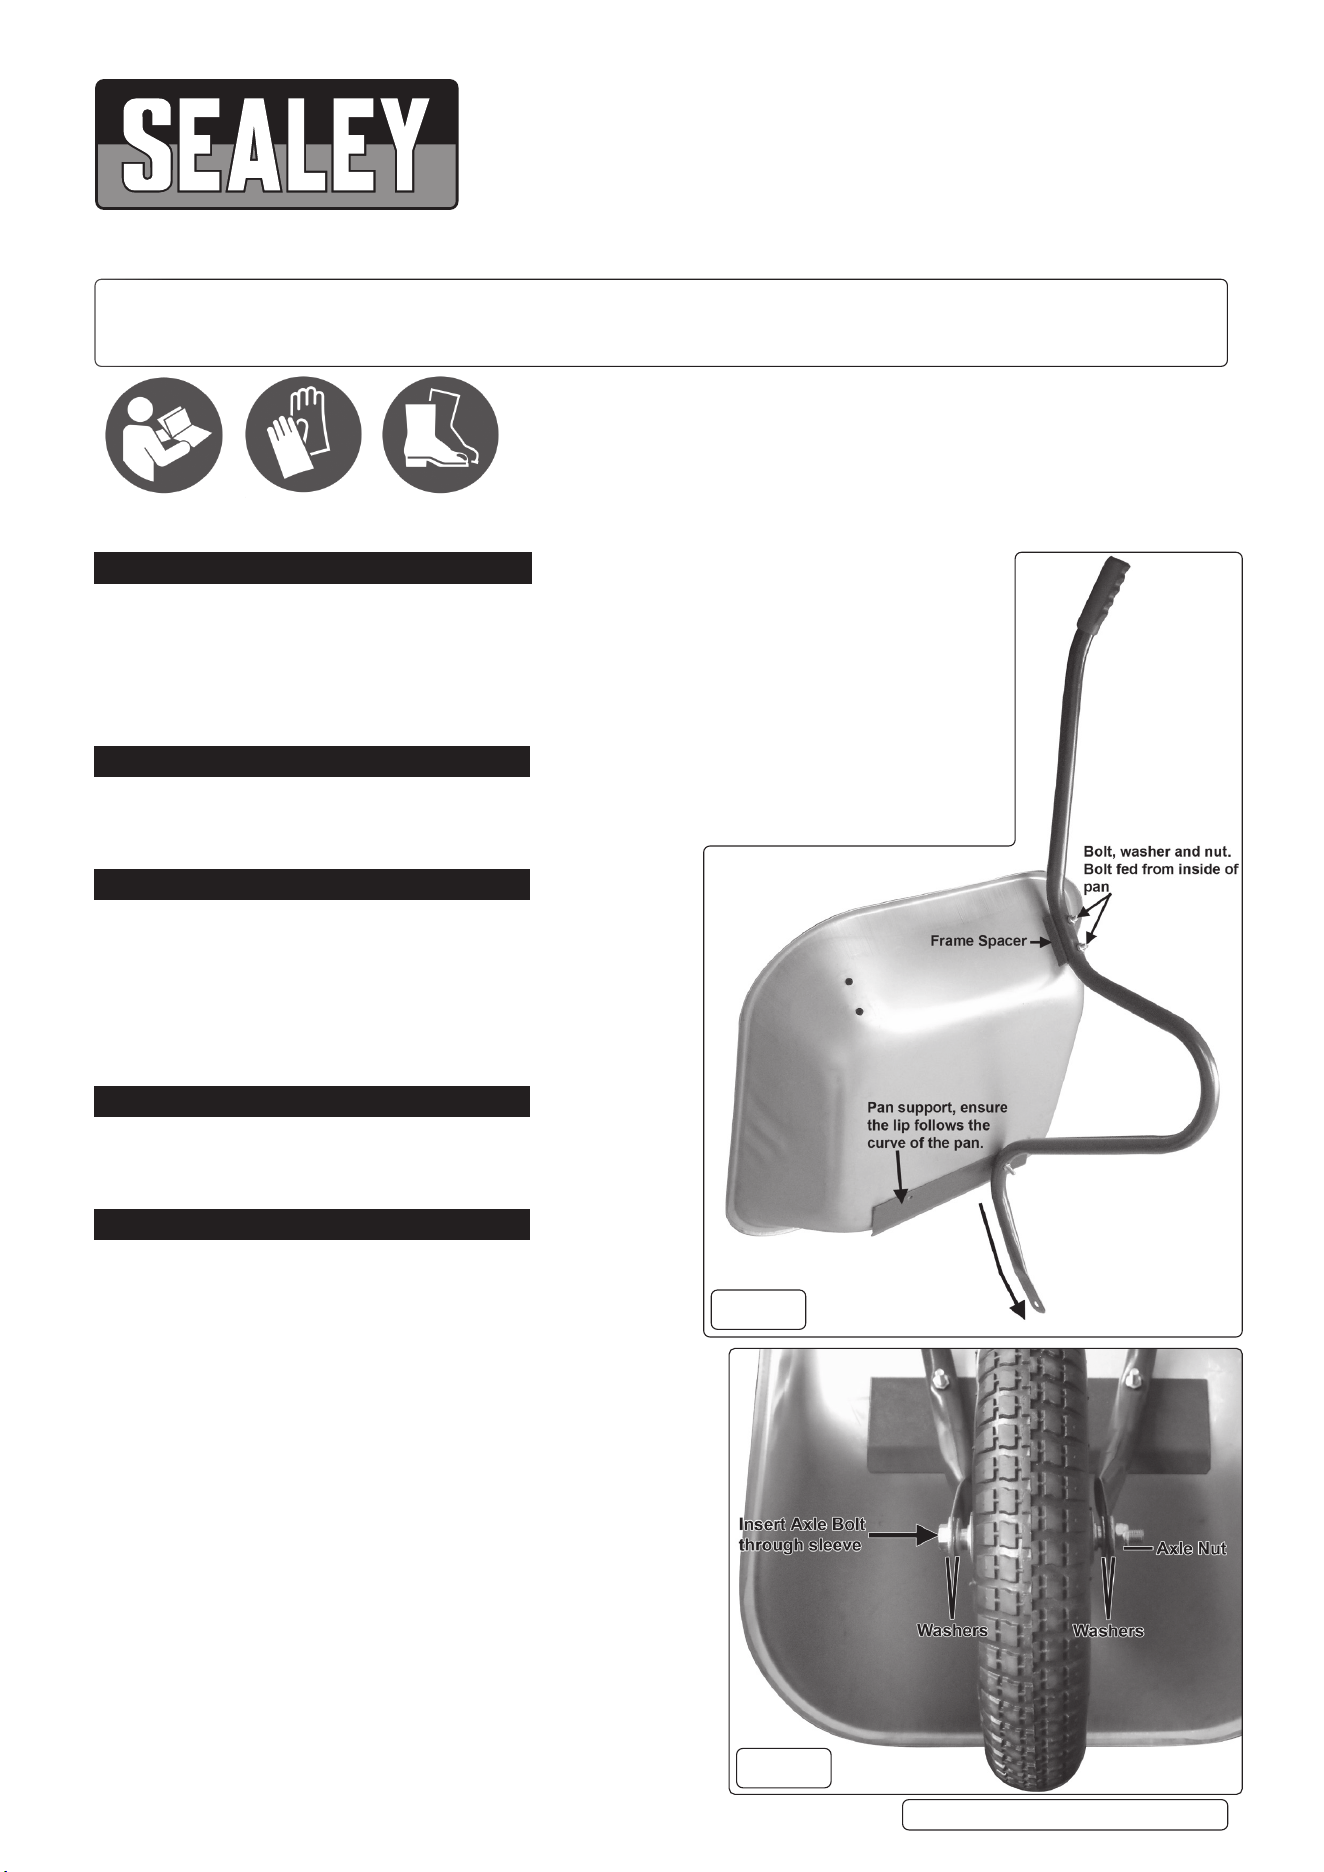
5.1. Take the wheelbarrow pan and lean it up against a wall or use
an assistant to hold it upon its end.
5.2. Next attach the frames to the underside of the pan. Ensure
the end of the frame to which the wheel will attach, kicks
outward as in (fig.2).
5.3. Place a frame spacer between the frame and pan over
the pre-drilled holes (fig.1).
5.4. Slide on washers and Insert the bolts through the spacer
and frame and secure with nuts. Repeat for other frame.
NOTE: Only tighten finger tight at this time.
5.5. Place the pan support between the frame and pan where the two
single drilled hole are, ensure the support is around the
correct way and the kink follows the curve of the pan (fig.1).
5.6. Secure in place by feeding bolt through the pan, support, then
frame and secure with nut.
5.7. Slide the axle sleeve through the centre of the wheel.
5.8. Slide one large washer onto the axle bolt, then insert through the
frame another washer then through the wheel. Slide a washer
onto the axle bolt then though the frame then the last washer and
secure with the axle nut (fig.2).
NOTE: Ensure there is a washer either side of the frame (fig.2).
5.9. Tighten all nuts and bolts, be careful not to over tighten.
g.1
g.2
Refer to
instructions
Original Language Version
© Jack Sealey Limited
WB65 Issue 4 (H,2,F) 07/06/23
Wear protective
gloves
Wear safety
footwear

6. OPERATION
6.1. Check tyre pressure on a regular basis.
8 DO NOT inate above 25psi.
8 DO NOT overload the wheelbarrow and ensure that the load is evenly distributed before setting off.
6.2. Proceed at a safe speed especially at corners where there could be a danger of the load shifting.
6.3. Extra care should be taken on inclined surfaces.
6.4. Where there is a curb or step, a ramp should be used.
7. MAINTENANCE
9 Periodically check all nuts and bolts are tight.
9 Keep Clean.
9 Store upright in a dry place.
9 Lubricate axle.
9 Hose off and dry after use.
Sealey Group, Kempson Way, Suffolk Business Park, Bury St Edmunds, Suffolk. IP32 7AR
01284 757500 sales@sealey.co.uk www.sealey.co.uk
ENVIRONMENT PROTECTION
Recycle unwanted materials instead of disposing of them as waste. All tools, accessories and packaging should be sorted,
taken to a recycling centre and disposed of in a manner which is compatible with the environment. When the product
becomes completely unserviceable and requires disposal, drain any fluids (if applicable) into approved containers and
dispose of the product and fluids according to local regulations.
Note: It is our policy to continually improve products and as such we reserve the right to alter data, specifications and component parts without prior
notice.
Important: No Liability is accepted for incorrect use of this product.
Warranty: Guarantee is 12 months from purchase date, proof of which is required for any claim.
Original Language Version
© Jack Sealey Limited
WB65 Issue 4 (H,2,F) 07/06/23
Parts support is available for this product. To obtain a parts listing and/or diagram, please log on to
www.sealey.co.uk, email sales@sealey.co.uk or telephone 01284 757500
REGISTER YOUR
PURCHASE HERE