Loading ...
2
CONTENTS
Features. . . . . . . . . . . . . . . . . . . . . . . . . . . . . . . . . . . . . . . . . . . . . . . . . . . . . . . . . . . 1
Special Instructions . . . . . . . . . . . . . . . . . . . . . . . . . . . . . . . . . . . . . . . . . . . . . . . . . . . . 1
Parts. . . . . . . . . . . . . . . . . . . . . . . . . . . . . . . . . . . . . . . . . . . . . . . . . . . . . . . . . . . . . 1
Operating Instructions . . . . . . . . . . . . . . . . . . . . . . . . . . . . . . . . . . . . . . . . . . . . . . . . . . 2
Cleaning and Storage . . . . . . . . . . . . . . . . . . . . . . . . . . . . . . . . . . . . . . . . . . . . . . . . . . 2-3
Suggested Usage and Tips . . . . . . . . . . . . . . . . . . . . . . . . . . . . . . . . . . . . . . . . . . . . . . . 3-4
Recipe . . . . . . . . . . . . . . . . . . . . . . . . . . . . . . . . . . . . . . . . . . . . . . . . . . . . . . . . . . . . 5
Warranty . . . . . . . . . . . . . . . . . . . . . . . . . . . . . . . . . . . . . . . . . . . . . . . . . . . . . . . . . . 10
Read instructions before using.
OPERATING INSTRUCTIONS
1. Before rst use, wash the body of the mandoline and all
components with hot, soapy water. Refer to instructions 2–4 to
separate parts for cleaning.
2. Slide the collection container to separate it from mandoline
body. Remove the food pusher.
3. Open the kickstand until it clicks into place and is fully
extended. Place the mandoline upright. Place the collection
container over the kickstand (with the handle facing out).
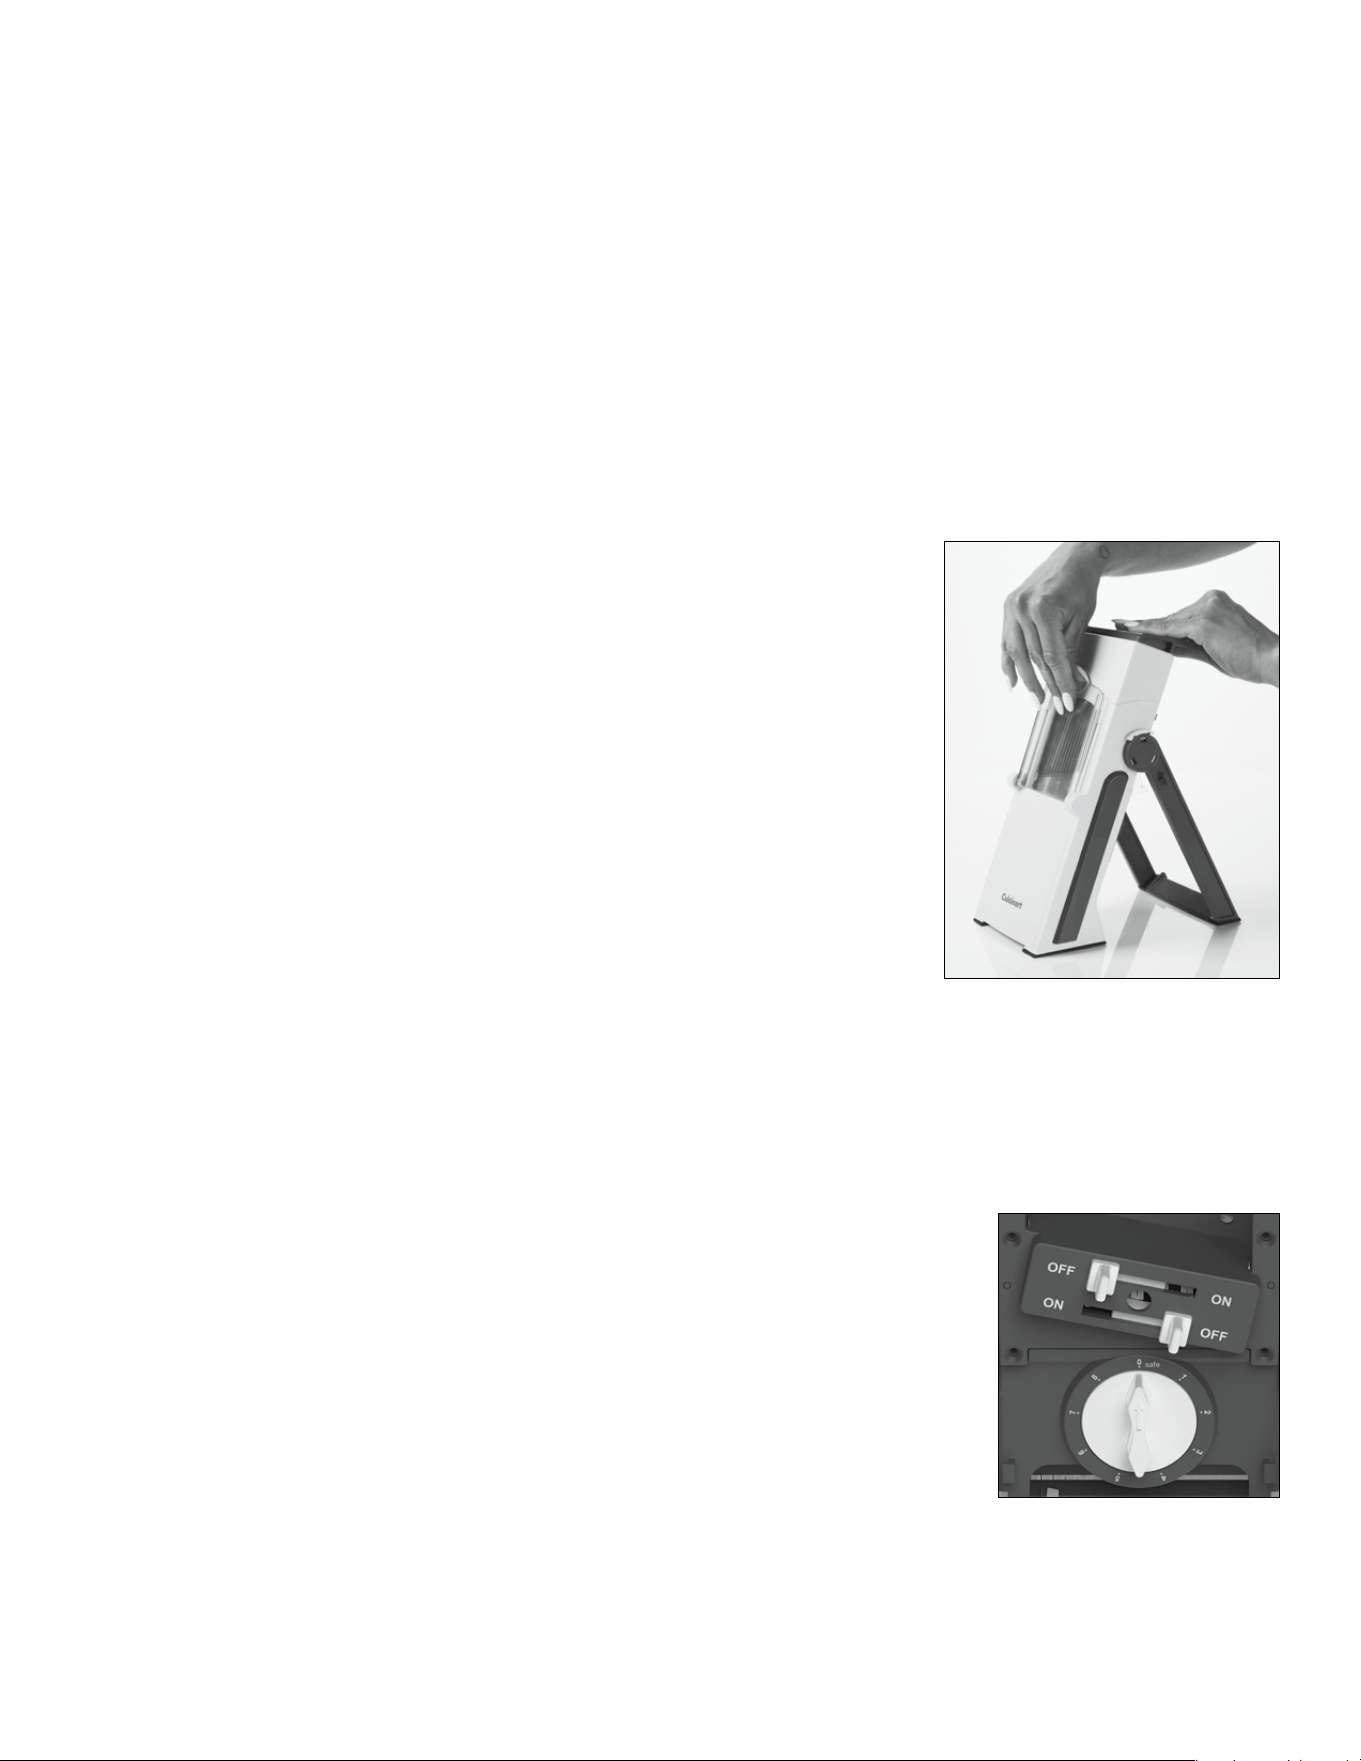
4. Hold the spring-loaded handle, push down rmly, and use your free
hand and the nger notch to open the feed chute (see Image A).
Slowly release the handle.
5. Refer to the Cutting Guide below to select
cuts and thicknesses.
6. Trim your food, if necessary, to t in the feed chute.
7. Place your food in the chute. Use the food pusher with one
hand to guide the food (teeth facing the cutting runway). With
your other hand, push the handle down to cut. Release the handle to return to the starting
position.
8. Return the thickness dial to zero before washing and storing the mandoline.
CUTTING GUIDE
• Use the dial to select your cut thickness (see Image B)
• To slice: Both sliders to the OFF position
• Thin julienne: Both sliders to the ON position
• Thick julienne: One slider ON, one slider OFF
CLEANING AND STORAGE
EASY TO CLEAN
1. Remove the food pusher and collection container from the mandoline.
2. Carefully remove any remaining food with the cleaning brush.
3. Wash the food pusher, mandoline, and collection container with warm, soapy water and let dry.
4. Do not submerge mandoline and hand-wash only. Collection container is top rack dishwasher
safe.
Image A
Image B
Loading ...
Loading ...
Loading ...