
Loading ...
Loading ...
Loading ...
42
2. Set the alarm holding time.
3. Set alarm trigger options. The setup steps are the same as motion detection. Please refer
to 5.3.1 Motion Detection for details.
4. Click the “Save” button to save the settings.
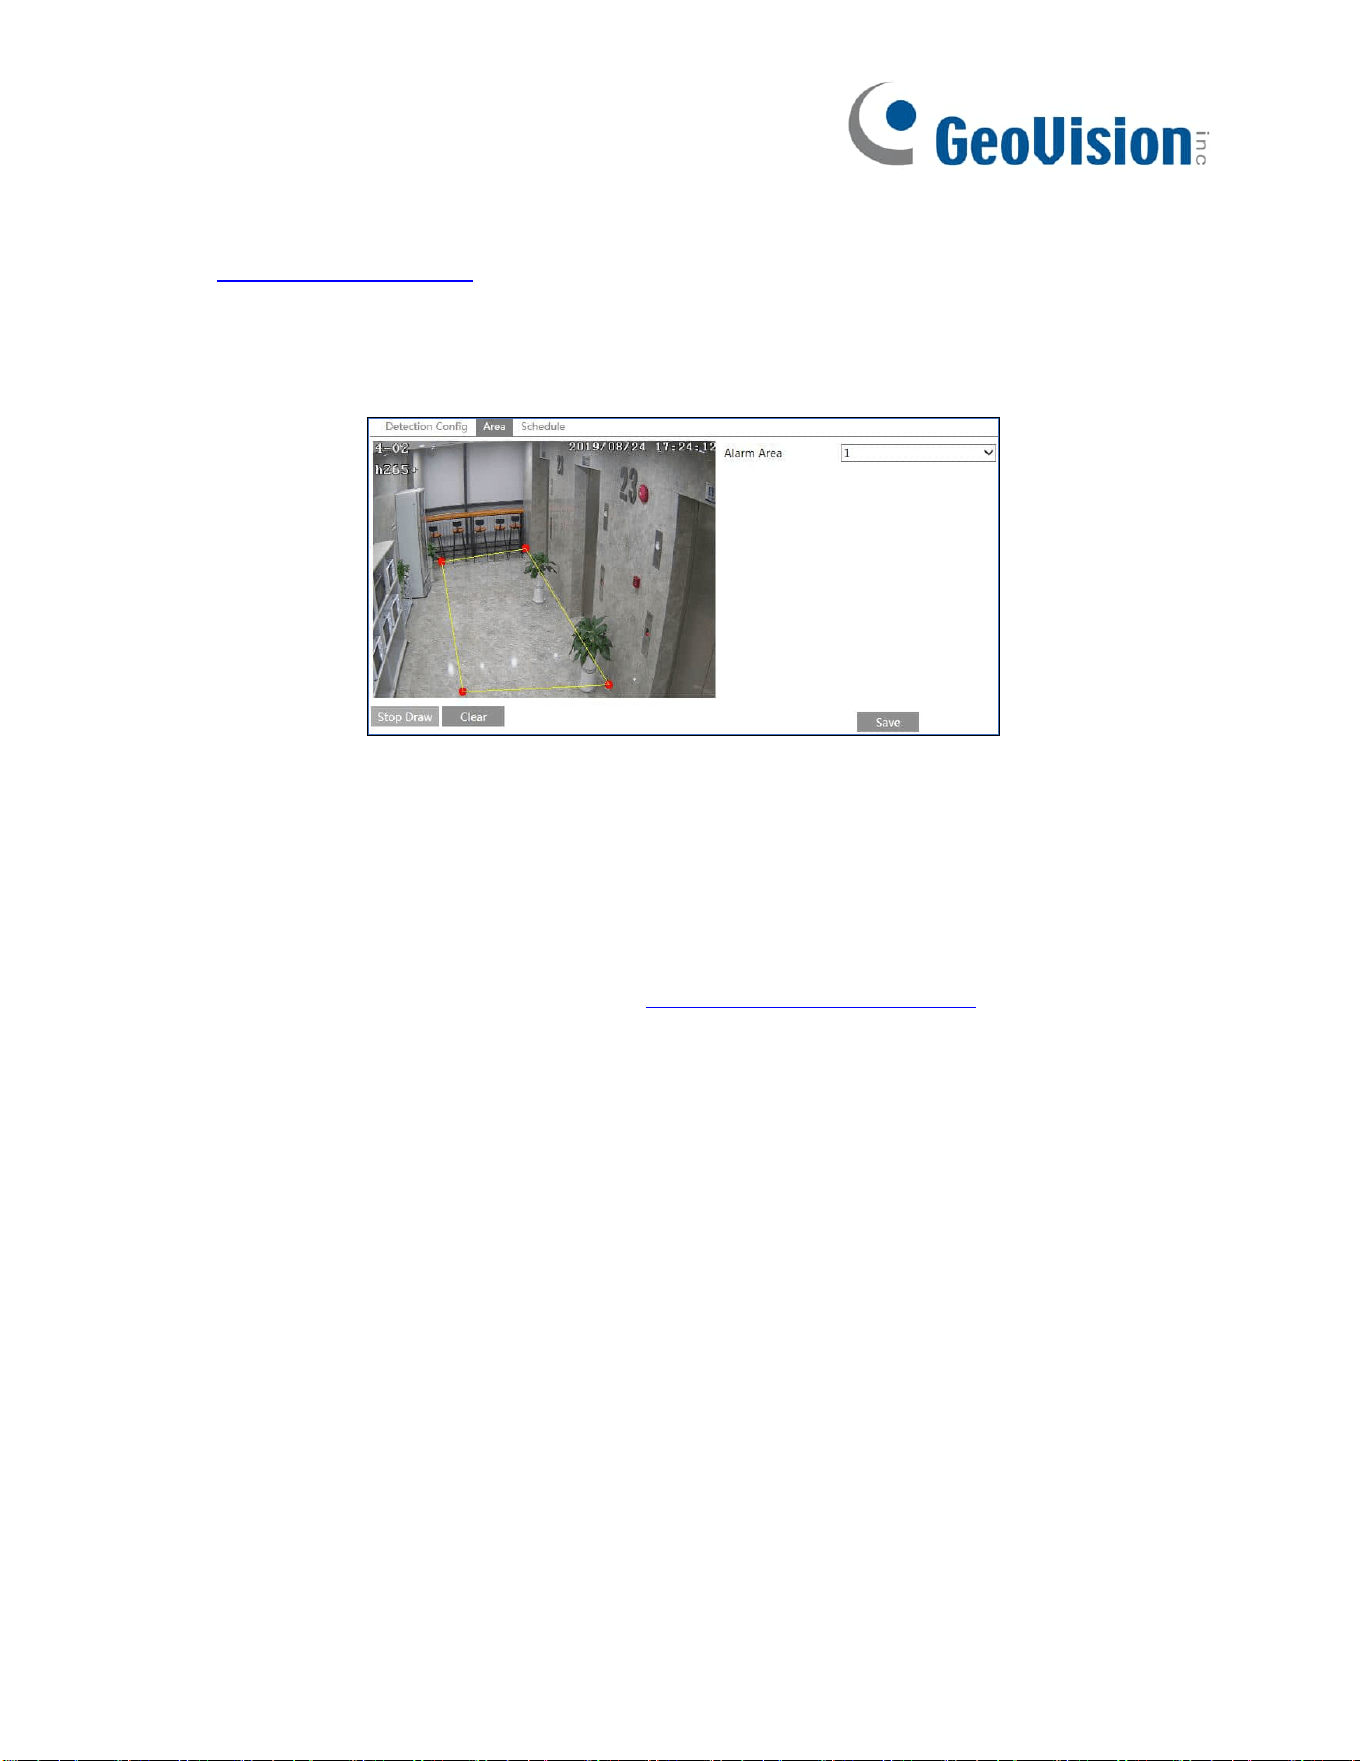
5. Set the alarm area of the region intrusion detection. Click the “Area” tab to go to the
interface as shown below.
Set the alarm area number on the right side. Up to 4 alarm areas can be added.
Click the “Draw Area” button and then click around the area where you want to set as the
alarm area in the image on the left side (the alarm area should be a closed area). Click the
“Stop Draw” button to stop drawing. Click the “Clear” button to delete the alarm area. Click the
“Save” button to save the settings.
6. Set the schedule of the region intrusion detection. The setup steps of the schedule are the
same as schedule recording setup (See Schedule Recording Settings).
※ Configuration requirements of camera and surrounding area
1. Auto-focusing function should not be enabled for region intrusion detection.
2. Avoid the scenes with many trees or the scenes with various light changes (like many
flashing headlights). The ambient brightness of the scenes shouldn’t be too low.
3. Cameras should be mounted at a height of 2.8 meters or above.
4. Keep the mounting angle of the camera at about 45°.
5. The detected objects should not be less than 1% of the entire image and the largest sizes
of the detected objects should not be more than 1/8 of the entire image.
6. Make sure cameras can view objects for at least 2 seconds in the detected area for
accurate detection.
7. Adequate light and clear scenery are crucial to region intrusion detection.
Loading ...
Loading ...
Loading ...