Loading ...
Loading ...
Loading ...
OPERATION
STARTING AND STOPPING THE SAW
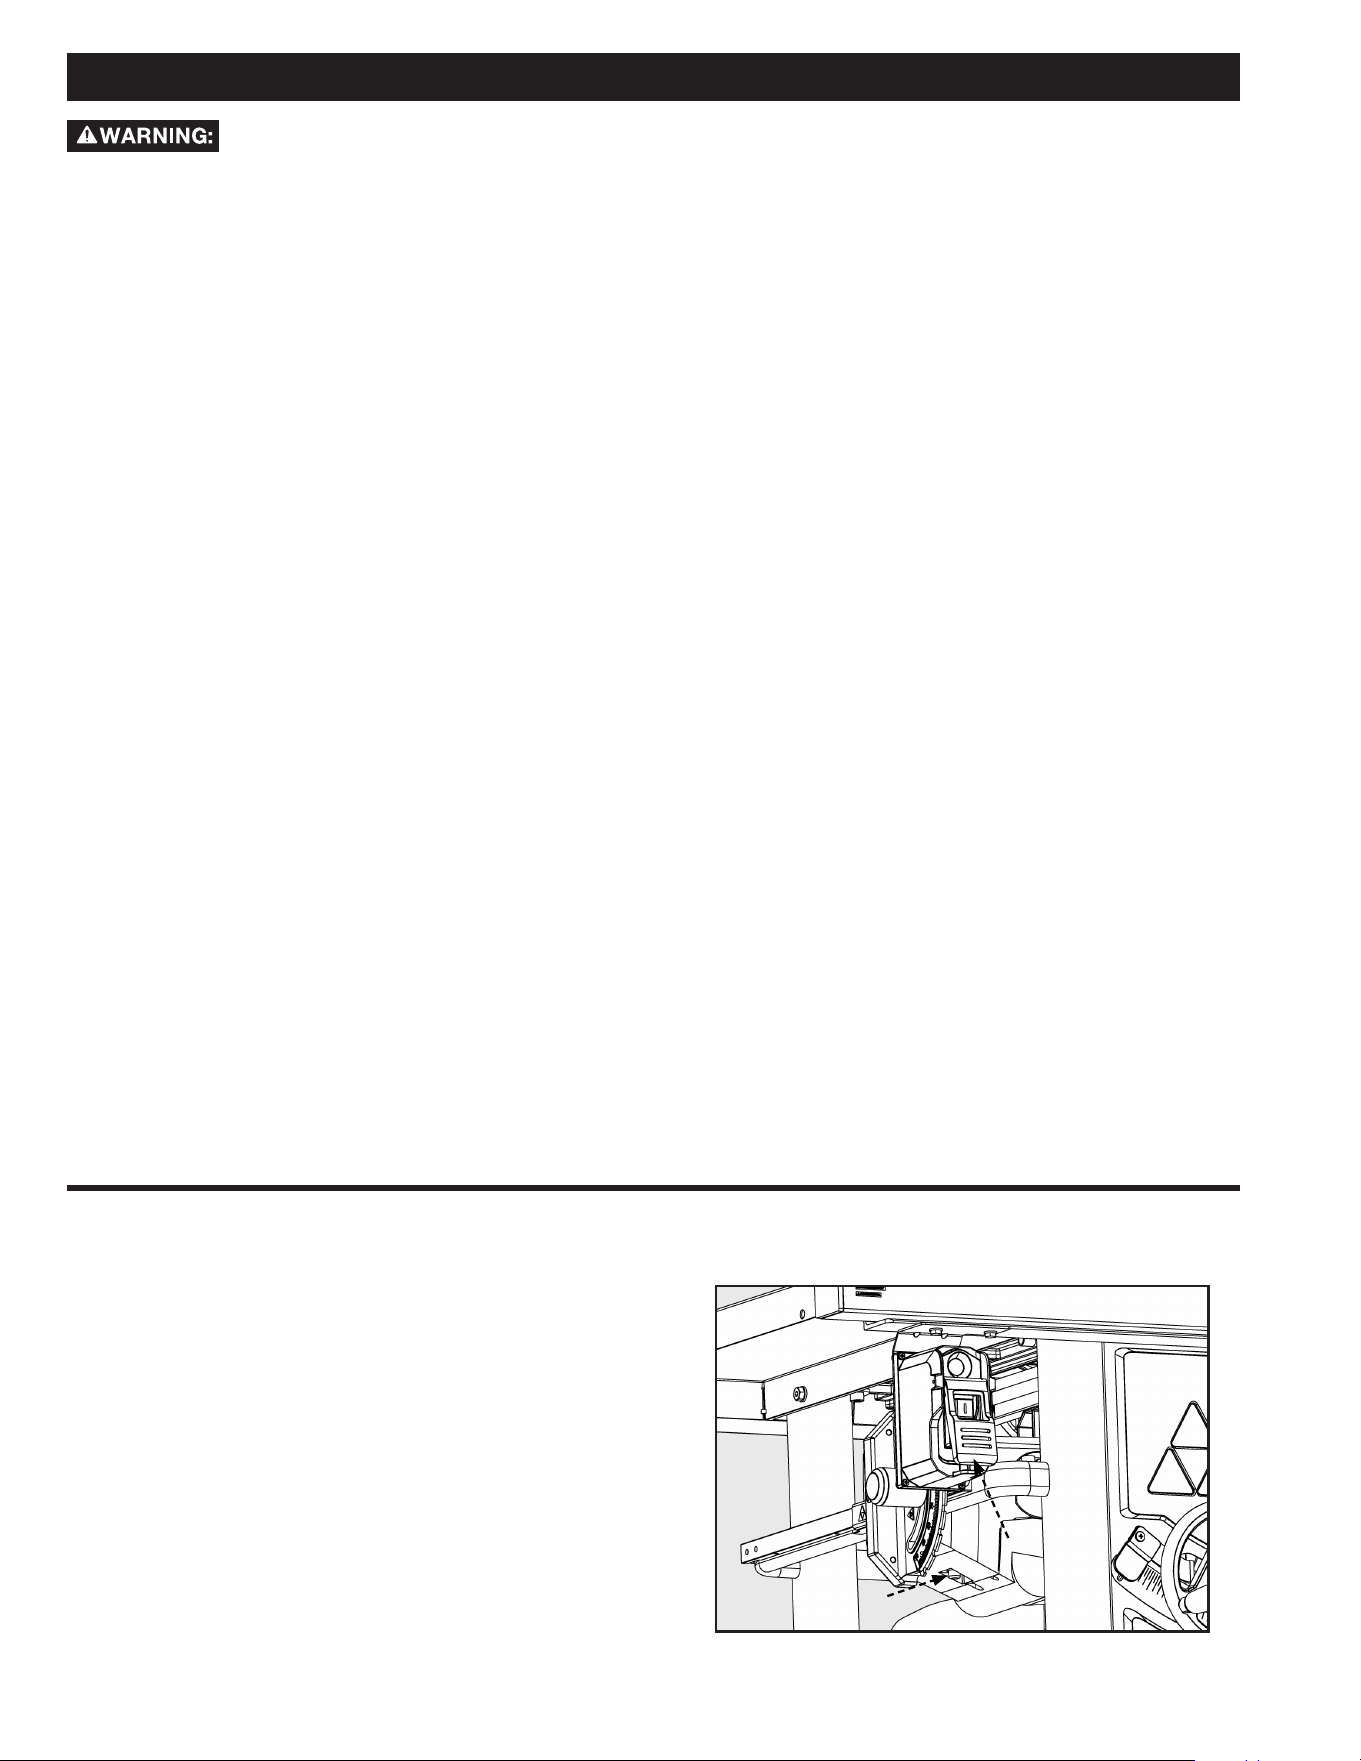
The POWER switch (Figure 27) is located underneath the front
left extension wing.
1. To turn the saw“ON”, pull the red paddle switch (A) up
and toward you.
2. To turn the saw “OFF”, push the red paddle switch in.
When not in use, the saw should be turned off and the power
switch locked out to prevent unauthorized use. To lock out
power switch, use a standard long shackle lock, with a shackle
that is at least 2 3/4 - inches (70mm) long and with shackle
posts no larger than 9/32-inch (7mm) thick.
FIGURE 27
Failure to comply with the following the warnings may result in serious personal injury.
READ ENTIRE MANUAL. In addition to reading these operating instructions, it is important to read and understand the entire
manual before operating this saw. Follow all applicable instructions regarding assembly, preparation, and adjustment prior to
making any cuts and comply with all safety rules and warnings in this section and elsewhere throughout this manual.
1. Each time you use the saw, run through the following
checklist:
• Are the power source and power connections adequate for
the saw?
• Are the saw and work area free of clutter and by-standers?
• Is the blade tight and properly aligned?
• Does the riving knife thickness match the blade?
• Are the blade and riving knife properly aligned?
• Is the operator qualied to make the cut and familiar with
all of the relevant safety rules, warnings and instructions
included in this manual?
• Is the operator and everyone in proximity to the saw
wearing appropriate eye, hearing and respiratory
equipment?
• Are the bevel angle and height adjustment knobs locked in
the proper position?
• Is the blade set at the proper height?
• If ripping, is the rip fence parallel to the blade and securely
locked in position?
• If crosscutting, is the miter gauge knob tight?
• If making through cuts with a standard blade, are the
blade guard riving knife and anti-kickback pawls properly
attached and properly functioning with both guards
contacting the table surface?
• Is there proper clearance and support for the workpiece as
it leaves the blade?
• Are any cutting aids needed? If so, are they in place, or
within reach for proper use?
2. The use of attachments and accessories not
recommended by Delta Power Equipment Corporation
may result in injury.
3. Replace or sharpen the anti-kickback ngers when the
points become dull.
AVOID KICKBACK
A kickback can occur when the workpiece pinches the blade, or
binds between the saw blade and the rip fence or other fixed
object. This can cause the workpiece to rise from the table
and/or be thrown back toward the operator. See instructions
for reducing the risk of kickback on page 7 of this manual.
IF KICKBACK OCCURS, turn the saw “OFF” and verify
proper alignment of the blade, riving knife and miter gauge or
rip fence, and the proper functioning of the riving knife, anti-
kickback assembly and blade guard assembly before resuming
work.
4. Make sure saw is stable and cutting can be
accomplished without tipping the saw. Do not attempt
to cut large workpieces without securing saw to a stable
surface. To properly secure the saw, see instructions in
section entitled Securing Saw to the Floor on page 15 of
this manual.
5. Never use the fence and miter gauge together without
using a cuto block as previously described.
6. The proper throat plate must be in place at all times.
7. If your saw makes an unfamiliar noise or if it vibrates
excessively, cease operating immediately until the
source has been located and the problem corrected.
8. Never perform freehand cutting, plunge cutting,
re-sawing or cove cutting.
B
A
22 23
Loading ...
Loading ...
Loading ...