Loading ...
Loading ...
Loading ...
ASSEMBLY
Avoid contact with blade teeth. Keep blade
stored or lowered when possible.
• Do not lift saw without help. Hold it close to your body
while lifting. Keep knees bent and lift with your legs, not
your back.
• Fully assemble saw with leg assembly prior to use. Leg
assembly is an integral and necessary part of the support
structure for this saw.
• Do not modify saw, or create accessories not recommended
for use with this saw.
• Make sure power switch is in “OFF” position before
connecting to power supply.
• Do not connect to power supply until assembly is complete
TOOLS REQUIRED FOR ASSEMBLY (not included)
• Slotted screwdriver
• Phillips head screwdriver
• 8mm wrench
• 10mm wrench
• 12mm wrench
• 13mm wrench
• 3/8-inch wrench
STAND
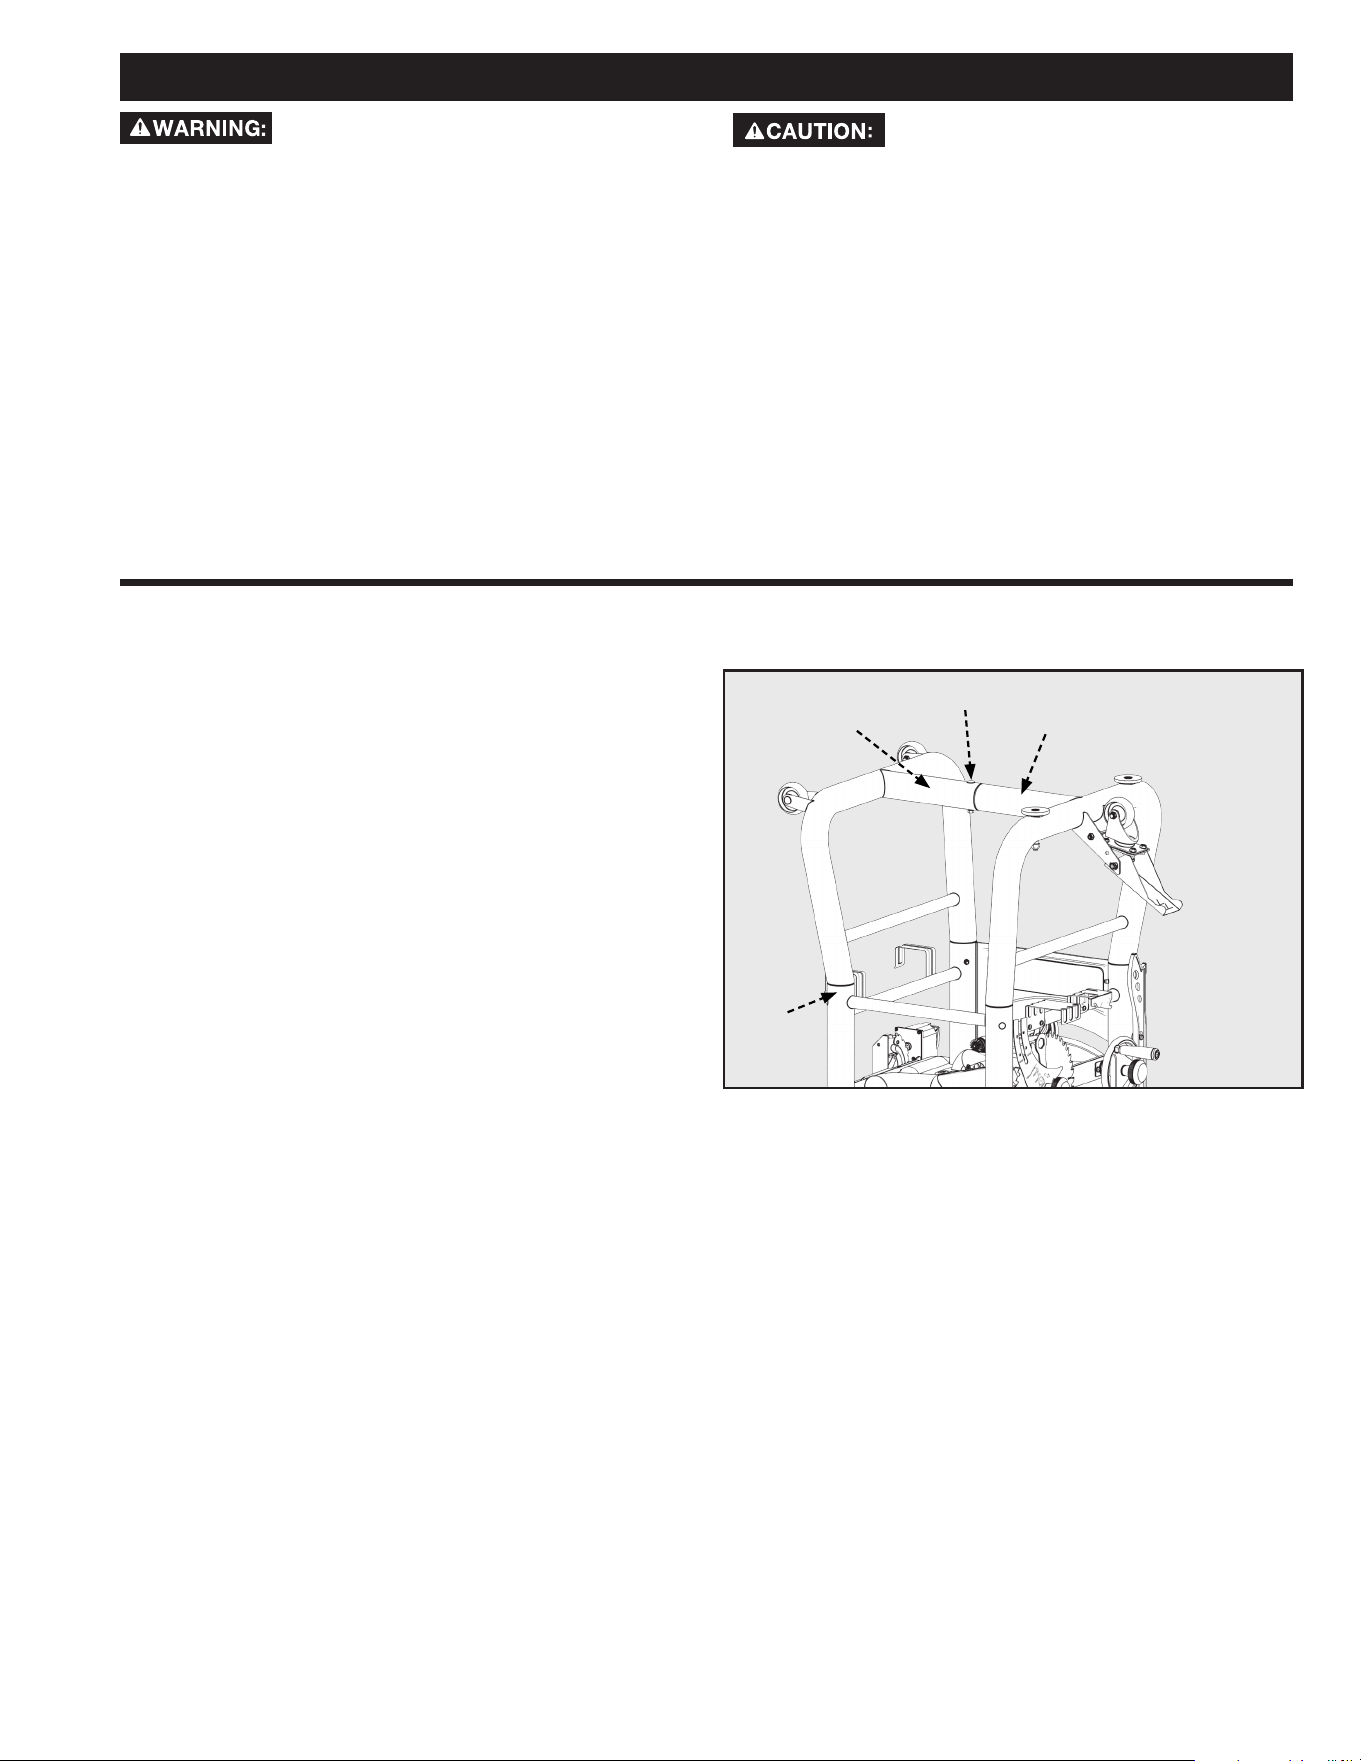
1. Connect the two tube legs by inserting the end of the
left leg (A) into the end of the right leg (B) as shown in
Figure 1. Secure with a M8 x 70mm carriage bolt, lock
washer and nylock nut and tighten.
2. Insert the four open ends of the tube legs into the
leg collars (C) as shown. Secure each leg with a M6 x
72mm bolt and nut.
Note: Place the screws snug down but do not tighten
Place all of the screws through the slots and start threading
into holes on mount tab on stand. Once all screws are started,
tighten all four sufficiently to hold plate firmly.
Note: The un-painted region is designed for grounding, so
that the machine is compliant with the current UL Standards.
FIGURE 1
C
B A
• 7/16-inch wrench
• 1/2-inch wrench
• 9/16-inch wrench
• 6mm Allen hex wrench
• 5/32-inch Allen wrench
• 3/16-inch Allen wrench
11
Loading ...
Loading ...
Loading ...