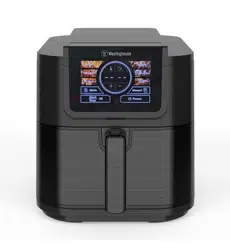

SLIMLINE OPTI-FRY AIR OVEN 5L
INSTRUCTION MANUAL
220-240V 1500W WHOF08K
1500W

CONTENTS
Figures and illustrations in this User Manual are provided for
CONTENTS
Safety Instructions
Important Safety Instructions...............................................1-2
Electrical Requirements.............................................................3
Setup and Use
Installation Guide..........................................................................3
Parts and Features.......................................................................4
Opti-fry Operation........................................................................5
Troubleshooting................................................................6
Warranty...............................................................................7-8
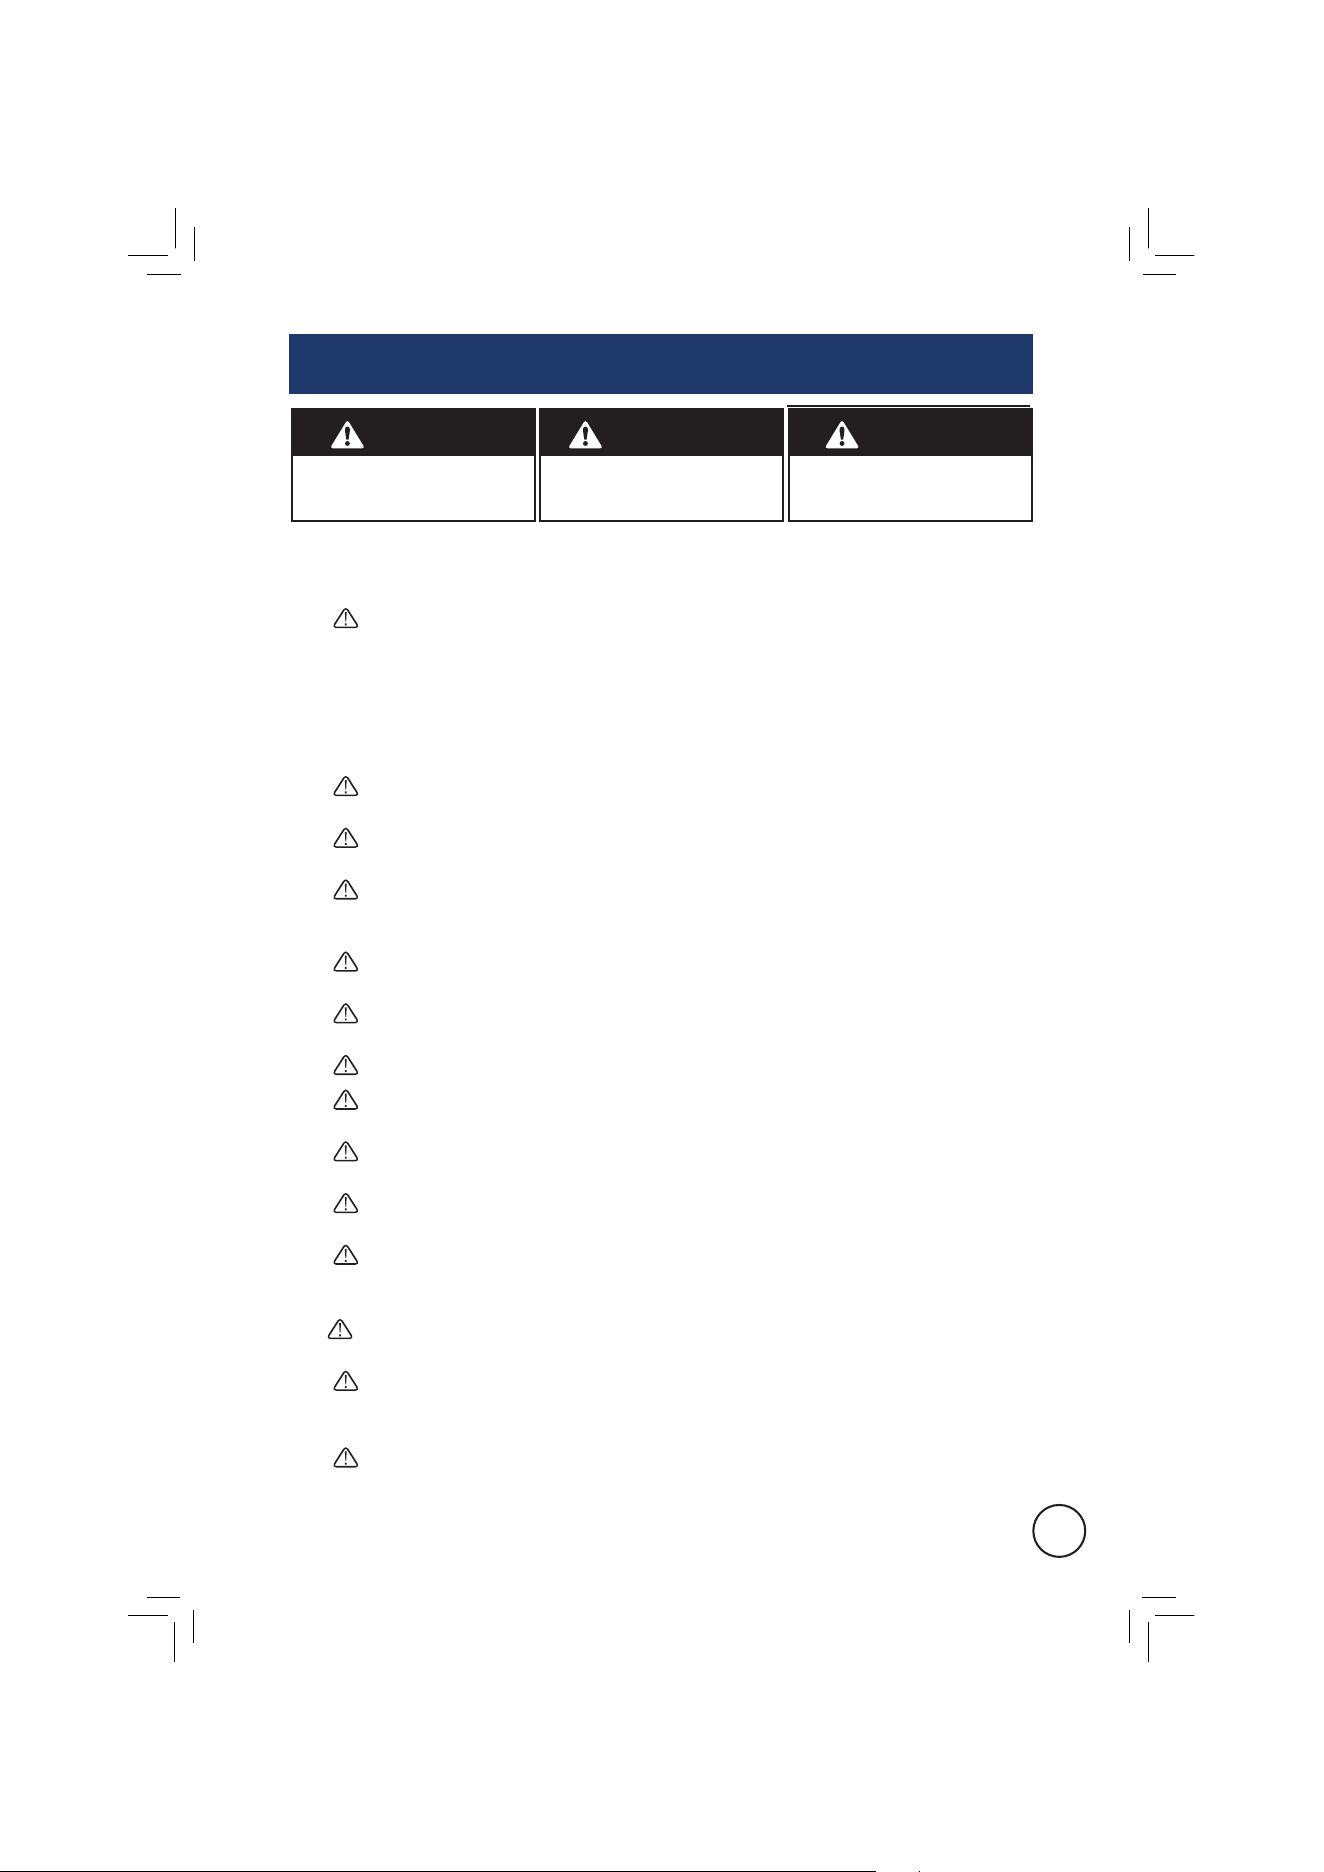
IMPORTANT SAFETY INSTRUCTIONS
WARNING
CAUTION
IMPORTANT SAFETY INSTRUCTIONS
DANGER - Immediate hazards
which WILL result in severe
personal injury or death.
DANGER WARNING CAUTION
WARNING - Hazards or unsafe
practices which COULD result in
severe personal injury or death.
CAUTION - Hazards or unsafe
practices which COULD result in
minor personal injury.
1. Read all instructions carefully before using your new Air Oven.
2. Always turn the power off at the power outlet before you insert or remove the
power plug. Remove by grasping the plug - do not pull on the cord.
3.
DANGER: Do not operate Air Oven if:
i) the cord or plug is split, melted or damaged.
ii) the Air Oven has malfunctioned.
iii) the Air Oven has been damaged in any manner.
If any of the above incidents occur, return your Air Oven to the nearest authorised
service center for examination, repair or adjustment.
4.
DANGER: Do not under any circumstances immerse the power cord, mains
plug or Air Oven body in water or any other liquid.
5.
WARNING: Use handle grip only as some surfaces may become warm whilst
the Air Oven is in use.
6.
WARNING: If the mains supply cord is damaged, it must be replaced by the
manufacturer, its service agent or a similarly person in order to avoid a
hazard.
7.
WARNING: Do not cover the Air Oven whilst in operation as the air inlet and
outlet vents must be kept clear.
8.
WARNING: Ensure bowl is cleaned regularly as build-up of oils and fats may
re hazard.
9.
WARNING: Exercise caution when removing the bowl from the air oven.
10.
WARNING: The insides of the appliance will become very hot during and after
operation. Do not touch.
11.
WARNING: Do not move Air Oven whilst food is present in the bowl as hot
liquids may have collected in the bowl and may leak out whilst moving.
12.
WARNING: Combustible materials such as paper, curtains, tablecloths, kitchen
towels etc. should not be placed near the Air Oven whilst in operation.
13.
WARNING: Do not place the Air Oven against a wall or against another
appliance. Leave at least 10cm free space on the back and sides and 10cm free
space above the Air Oven.
14.
WARNING: Exercise caution when removing the bowl as hot steam and air
will expel from the Air Oven.
15.
WARNING: Immediately unplug the Air Oven if you see any smoke coming
from the unit. Wait for the smoke to stop before removing the bowl and bowl
insert from the Air Oven.
16.
CAUTION: Close supervision is necessary when this appliance is used by or
near children.
© 2023 RVM Australia Pty Ltd. All Rights Reserved
1

IMPORTANT SAFETY INSTRUCTIONS
IMPORTANT SAFETY INSTRUCTIONS
17. CAUTION: Keep the Air Oven and its cord out of reach of children less than 8
years old.
18.
CAUTION: Wait for the Air Oven to cool before moving. Carry only by the
outer side panels.
19.
CAUTION: During operation, hot steam is released through the air vent
openings. Keep your hands and other body parts at a safe distance from the air
vent openings.
20.
CAUTION: Allow 30 minutes to cool down after cooking before handling or
cleaning.
21. This Air Oven is not intended to be operated by means of an external timer or
separate remote-control system.
22. Any appliance that has been dropped or damaged should not be used until
examined by an authorised service center.
23. Do not permit the mains supply cord or plug to touch hot objects or allow the
power cord to lay across the Air Oven.
24. This appliance is deemed for use indoors only.
25. Do not use harsh or abrasive cleaning agents. The outside surface may be
wiped clean with a soft, damp cloth and dried thoroughly. If necessary, a mild
dishwashing detergent may be applied to the cloth but not directly applied to the
Air Oven.
27.
28. Your Air Oven should not be unattended while in use.
30. Always use this Air Oven with a power outlet of the voltage (A.C. only) mark
ed
on the back of the Air Oven.
31. Do not use the Air Oven for any purpose other than its intended use.
32. Do not place your Air Oven on or near a hot gas e, electric element, heated
oven or any hot surface.
33. Do not place the Air Oven on top of any other appliance.
34. Do not allow the power cord of this Air Oven to hang over the edge of a table or
bench top.
35. Keep liquids away from the Air Oven.
36. Do not place anything on top of the Air Oven.
37. Ensure the appliance in placed on a horizontal, even and stable surface.
26. This air oven is not intended for use by persons (including children) with reduced
physical, sensory or metal capabilities or lack of experience and knowledge
unless they have been given supervision or instruction concerning use of the
toaster in a safe way by the person responsible for their safety, and understand
the hazards involved.
This appliance is intended to be used in household and similar applications such
and breakfast type environments.
29.
Children should not play with the Air Oven.
2

ELECTRICAL REQUIREMENTS
POWER SUPPLY CORD
1. Do not attempt to modify the power cord or plug in any way.
2. A short power supply cord is provided to reduce the risk of becoming entangled
in or tripping over a longer cord.
3. If the power supply cord is too short, do not use an extension cord. Have a
ceman install an outlet near the appliance.
NOTE: Neither Westinghouse nor the retailer can accept any liability for damage
to the product or personal injury resulting due to failure to observe the electrical
connection procedures.
INSTALLATION GUIDE
1. Carefully unpack your Air Oven.
2. Carefully remove packaging around the Air Oven and power cord. Do not remove
warning labels.
3. Wash bowl and bowl insert before use.
DANGER: Do not under any circumstances immerse the Air Oven, mains cord or
mains plug in water or any other liquid.
NOTE: Westinghouse recommends the use of a resiual current device (RCD) with
a tripping current that does not exceed 30mA in the electrical circuit supplying
power to all appliances.
© 2023 RVM Australia Pty Ltd. All Rights Reserved
3
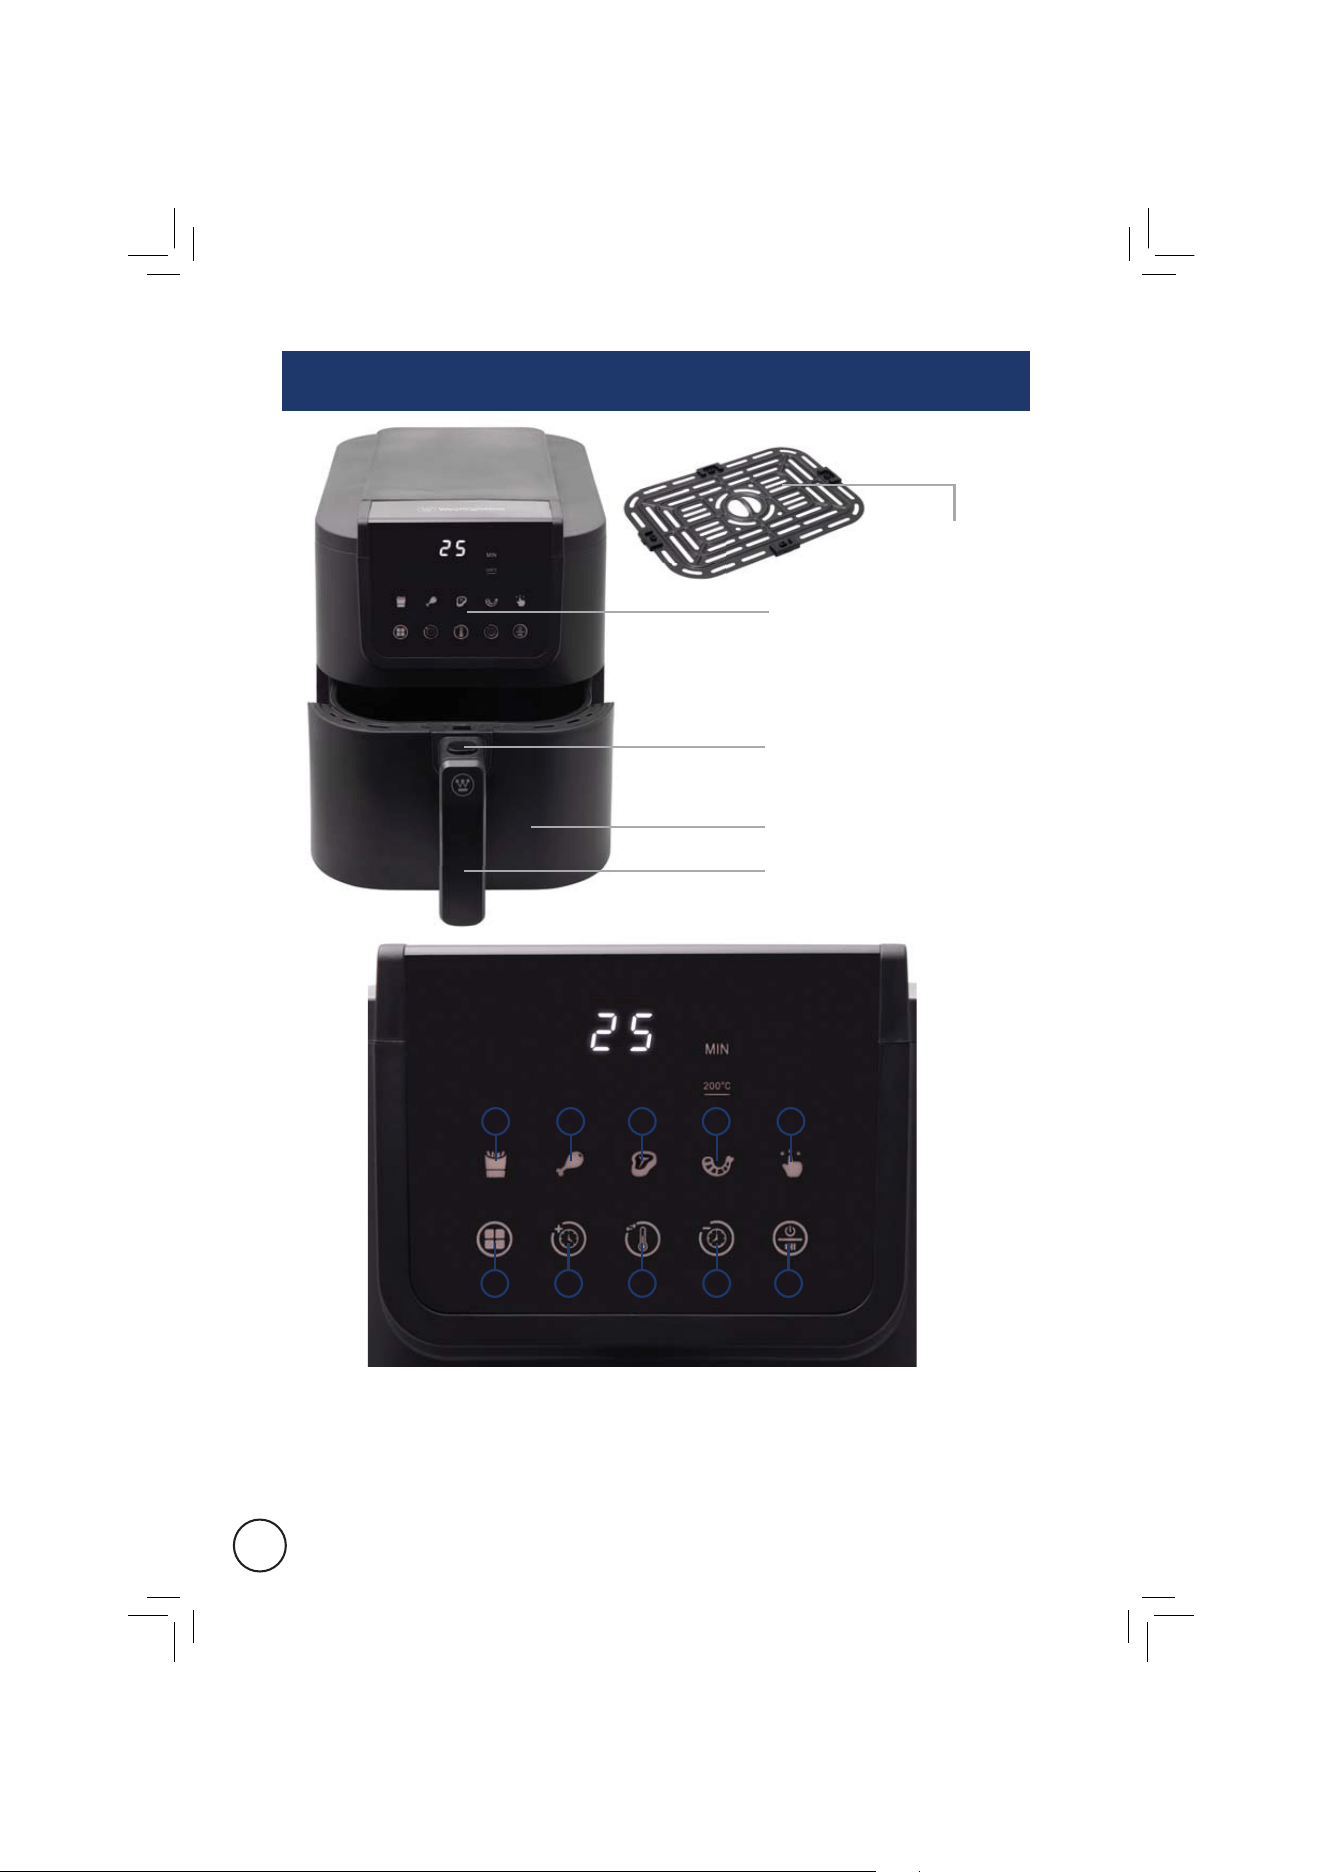
)
2)
3)
4)
5)
1
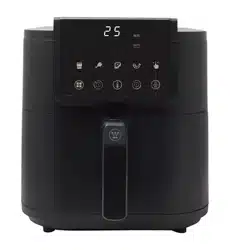
Chips Function
Chicken Function
Steak Function
Function Key
Timer Increase Key
Temperature Key
6)
7)
8)
9)
10)
Seafood Function
Manual Function
Timer Decrease Key
Power & Start/Stop Key
Control Panel
Basket Release Button
Basket
Basket Handle
Non-stick Insert
PARTS AND FEATURES
1
2
345
6
7
89
10
4

OPTI-FRY OPERATION
Before st use, remove the basket and non-stick insert. Wash with hot water
and mild detergent, rinse with fresh water and dry thoroughly. Do not use abrasive
cleaning products or abrasive sponges when cleaning**
We recommend the unit complete a 10 minute cycle without any food present
***
i) Ensure unit is unplugged from wall power outlet.
ii) Insert non-stick insert and basket back into the Air Oven after cleaning process.
iv) Push the power button to turn on the unit and push the Function Key multiple
times until the manual function is selected. Push the Temperature Key until 200
vi) Once operation has been completed, your Air Oven is ready for use.
WARNING: Please exercise caution when removing the basket as it will be
very hot.
1.
down on the basket release button and pulling in an outward motion.
2.
3. Slide the basket back into the Air Oven and push in an inwards direction until
closed.
4. Press the power key and then push the functions key until your desired
function
6.
ingredients. To interrupt the cycle, slowly pull the basket handle outwards and
keep clear of steam released from air oven. The Air Oven will automatically
7. Once the time cycle has been completed, remove the basket using the basket
handle and basket release button. Enjoy!
WARNING: Use caution removing the basket as hot steam and air will expel from
the Air Oven.
degrees has been selected. Press the start/stop key to begin operation.
has been selected. Alternatively, you can adjust the preset function time or
cease operation. You may now adjust the Air Oven’s contents and place
basket back into Air Oven for it to continue with the cycle.
Remove the basket from your Air Oven by gripping the basket handle, pushing
Place your ingredients into the basket.
temperature by pushing the temperature key and pushing the timer increase and
timer decrease keys until the desired time and/or temperature has been selected.
5. Press the start/stop key to begin the cycle.
The cycle may need to be interrupted during cycle for turning or agitation of
© 2023 RVM Australia Pty Ltd. All Rights Reserved 5
Air Oven does
not turn on.
TROUBLE
Air Oven is not
plugged in.
POSSIBLE CAUSE
Check that Air Oven is
plugged into a working
power outlet and turned on.
Air Oven does
not turn on.
Basket not inserted
properly.
Remove basket, check for obstructions
then re-insert basket. The Air Oven
will start automatically.
Foods have not
cooked properly.
Too much in the basket.
Remove excess foods from basket
and try with smaller batches.
Foods have not
cooked properly.
Temperature set too low
or timer not set for
correct amount of time.
Check temperature and times page
for temperature and time setting.
Set temperature and timer to
correct settings.
Foods have cooked
unevenly.
Turning / agitation
during the cooking
cycle not completed.
Foods that lay across one another
(eg. Fries) need to be turned or
agitated during cooking cycle.
Interrupt cycle half way through cycle,
remove basket and turn / agitate foods.
Foods are not crispy
when they come out
of the Air Oven.
Foods were not oven
ready or were made to
be cooked in a
traditional deep fryer.
Use oven ready foods or lightly
brush some oil onto the foods
prior to cooking. For best results,
mix ingredients with 1/2 tbsp. oil in
a mixing bowl prior to cooking.
back into Air Oven.
Too much food
in basket.
on the basket. Remove some food from
basket and try again.
back into Air Oven.
Obstruction.
Remove basket from Air Oven,
check for obstructions and try again.
White smoke coming
from appliance.
Foods oily or greasy.
Very oily of greasy foods drip excessive
amounts of oil and fats onto the oil
catch tray which may heat up and
burn off. This is considered normal.
Ensure basket and non-stick insert is
cleaned after each use.
POSSIBLE REMEDY
TROUBLESHOOTING
Basket will not go
6

LIMITED WARRANTY
Consumer Law. The to the Consumer under this Warranty are in addition
to the rights and remedies of the buyer under any Consumer Guarantees. The
Australian Consumer Law requires that we c
Our goods come with guarantees that cannot be excluded under the Australian
Consumer Law. You are entitled to a replacement or refund for a major failure
and for compensation for any other reasonably foreseeable loss or damage. You
are also entitled to have the goods repaired or replaced if the goods fail to be of
acceptable quality and the failure does not amount to a major failure.
2. Subject to Clause 1, the Seller warrants that Westinghouse branded products will
be free of manufacturing defects and will perform to the Seller’s
subject to the following clauses.
3. The of this Warranty extends only to the owner of the property in which
the Products manufactured or supplied by the Seller are installed and used by the
owner for the duration of the Warranty Period.
4. The Warranty commences on the date of the purchase of the product and
continues for the of the Owner for the Warranty Period. If within the
Warranty Period a manufacturing defect is discovered in the Product, or the
Product fails to perform to the Seller’s as a result of some defect in
material or workmanship in the Product, then the Seller will at its own discr
a.) Repair or replace the Product at the cost of the Seller, including but not
limited to labour and travel costs. Goods repaired or replaced under this
Warranty will be warranted for the remaining period of the Warranty.
b.) Refund the purchase price paid by the consumer.
5. The Warranty does not apply to Product tha
a.) Has failed due to excessive wear and tear beyond what is conside
red to be
reasonable.
b.) Has been misused or neglected.
c.) Has been damaged accidentally or by acts of God including re and
d.) Has been used or operated contrary to operating or maintenance instructions.
e.) Has been damaged by the Consumer or a third party authorised to act for the
consumer in transit from the Sellers store to the Consumer.
6. In order to make a claim under the Warranty, the Owner must, where possible
return the goods to the Seller’s store at the Owner’s cost. Proof of purchase must
be supplied in all cases.
7. The seller will examine any returned Products and if the Seller determines that
there is an apparent defect through no fault of the Owner
a.) Make note of the Owner’s contact details including the Owner’s telephone
number which the owner can be contacted during business hours, postal
address and e-mail address.
© 2023 RVM Australia Pty Ltd. All Rights Reserved 7

b.) Make note of the defects reported by the Owner.
c.) Take back the defective goods from the owner and determine within a
reasonable time through dialogue with the Seller whether the goods are
defective.
d.) Advise the owner within a reasonable time frame whether it accepts or
rejects the Product claim.
e.) If the Seller accepts the return of the Product, the Seller must arrange to have
i) The Product repaired or,
ii) Replace the damaged or faulty Product or,
iii) Refund the purchase price.
8. The Seller will not accept any returned Product which has not been returned
strictly in accordance with this Warranty.
9. For the purpose of this Warr
a.) Australian Consumer Law means the law as set out in Schedule 2 of the
Competition and Consumer Act 2010 (Cth).
b.) Consumer means the Purchaser of goods from the seller.
c.) Consumer means a Consumer as that term is set out in section 3 of the
Australian Consumer Law.
d.) Consumer Guarantees means the guarantees under the Australian Consumer
La
w.
e.) Implied terms means any guarantees, conditions, warranties or other terms
implied by any Australian Commonwealth, State or Territory laws, (excluding
the Australian Consumer Law) or the law of any other jurisdiction.
f.) Owner has the meaning set out in clause 3.
g.) Warranty means this warranty.
h.) Product means the Product/s bought by the Owner from the Seller that fall
under this warranty.
i.) Warr
i) In relation to Cast Iron Cookwar 3 Year Limited Warranty.
ii) In relation to Non-Stick Cookwar 3 Year Limited Warranty
iii) In relation to Cooking Ut 3 Year Limited Warranty
iv) In relation to Knives/Knif 3 Year Limited Warranty
v) In relation to Stainless Steel Cookwar 10 Year Limited Warranty
vi) In relation to Chopping boar 1 Year Limited Warranty
vii) In relation to Small Applianc 1 Year Limited Warranty
8


12
CUSTOMER SERVICE - 1300 883 109
IMPORTED AND DISTRIBUTED BY RVM AUSTRALIA PTY LTD.
11 Tamara Drive, Cockburn Central, WA 6164
MADE IN CHINA
© 2023 RVM AUSTRALIA PTY LTD. ALL RIGHTS RESERVED.
and WESTINGHOUSE are trademarks of Westinghouse Electric Corporation.
Used under license by RVM Australia Pty Ltd. All Rights Reserved.