
145x210mm
PHTA8AWB

IMPORTANT INSTRUCTIONS
PLEASE READ AND SAVE THESE IMPORTANT SAFETY INSTRUCTIONS
When using electrical appliances,basic precautions should always be followed to
reduce the risk of fire,electric shock,and injury to persons,including the following:
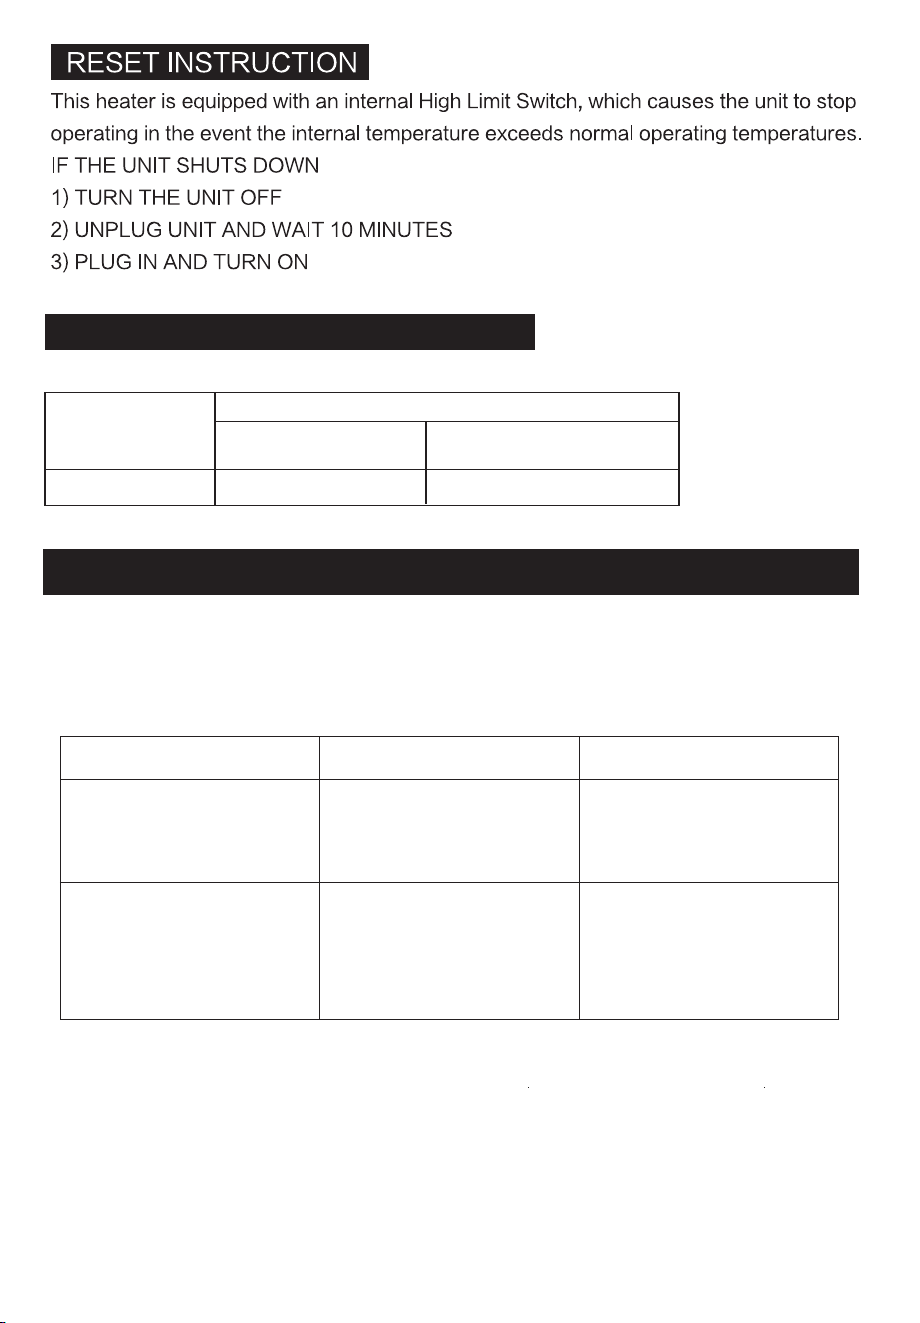
1. Read all instructions before using heater.
2. This heater is hot when in use. To avoid burns, do not let bare skin touch hot
surface. If provided, always use handles when moving this heater. Keep
combustible materials such as furniture, pillows, bedding, papers, clothes and
curtains at least 3 feet (0.9m) from the front of the heater and keep them away
from the sides and rear.
3. Extreme caution is necessary when any heater is used by or near children or
invalids and whenever the heater is left operating and unattended.
4. Always unplug the heater when not in use.
5. Do not operate any heater with a damaged cord or plug or after the heater
malfunctions, has been dropped or damaged in any manner. Discard heater or
return heater to authorized service facility for examination, electrical or
mechanical adjustment, or repair.
6. Do not use the heater outdoors.
7. This heater is not intended for use in bathroom, laundry areas and similar moist
indoor locations. Never locate heater where it may fall into a bathtub or other
water container.
8. Do not run cord under carpeting. Do not cover cord with throw rugs, runners,
or similar coverings. Do not route cord under furniture or appliances. Arrange
cord away from traffic area and where it will not be tripped over.
9.
CAUTION:
This appliance has a polarized plug (one blade is wider than the
other). To reduce the risk of shock, this plug is intended to fit only one way in a
polarized outlet. If the plug does not fit fully in the outlet, reverse the plug. If it
still does not fit, contact a qualified electrician. DO NOT attempt to defeat this
safety feature. To do so could result in an electric shock hazard.
10. This heater draws 12.5 amps during operation. To prevent overloading a
circuit, do not plug the heater into a circuit that already has other appliances
working.
11.
CAUTION:
It is normal for the plug to feel warm to the touch; however, a loose
fit between the AC outlet (receptacle) and plug may cause overheating and
distortion of the plug. Contact a qualified electrician to replace loose or worn
outlet.

12. To disconnect the heater, first turn controls to off, then remove plug from
outlet. Never pull by the cord.
13. Do not insert or allow foreign objects to enter any ventilation or exhaust
opening as this may cause an electric shock or fire, or damage the heater.
14. To prevent a possible fire, do not block air intakes or exhaust in any manner.
Do not use on soft surface, like a bed, where openings may become blocked.
15. A heater has hot and arcing or sparking parts inside. Do not use it in the areas
where gasoline, paint, or flammable liquids are used or stored.
16. Use this heater only as described in this manual. Any other use not
recommended by the manufacturer may cause fire, electric shock, or injury to
persons.
17.
CAUTION:
Always plug heaters directly into a wall outlet/receptacle. Never
use with an extension cord or reloadable power tap (outlet/power strip).
18. The output of this heater may vary and its temperature may become intense
enough to burn exposed skin. Use of this heater is not recommended for
persons with reduced sensitivity to heat or an inability to react to avoid burns.
19. Disposal of oil contained within should be in accordance with applicable
regional, national, and local laws and regulations.
20.
CAUTION:
TO PREVENT ELECTRIC SHOCK, MATCH WIDE BLADE OF
PLUG TO WIDE SLOT AND FULLY INSERT.
21.
“SAVE THESE INSTRUCTIONS”
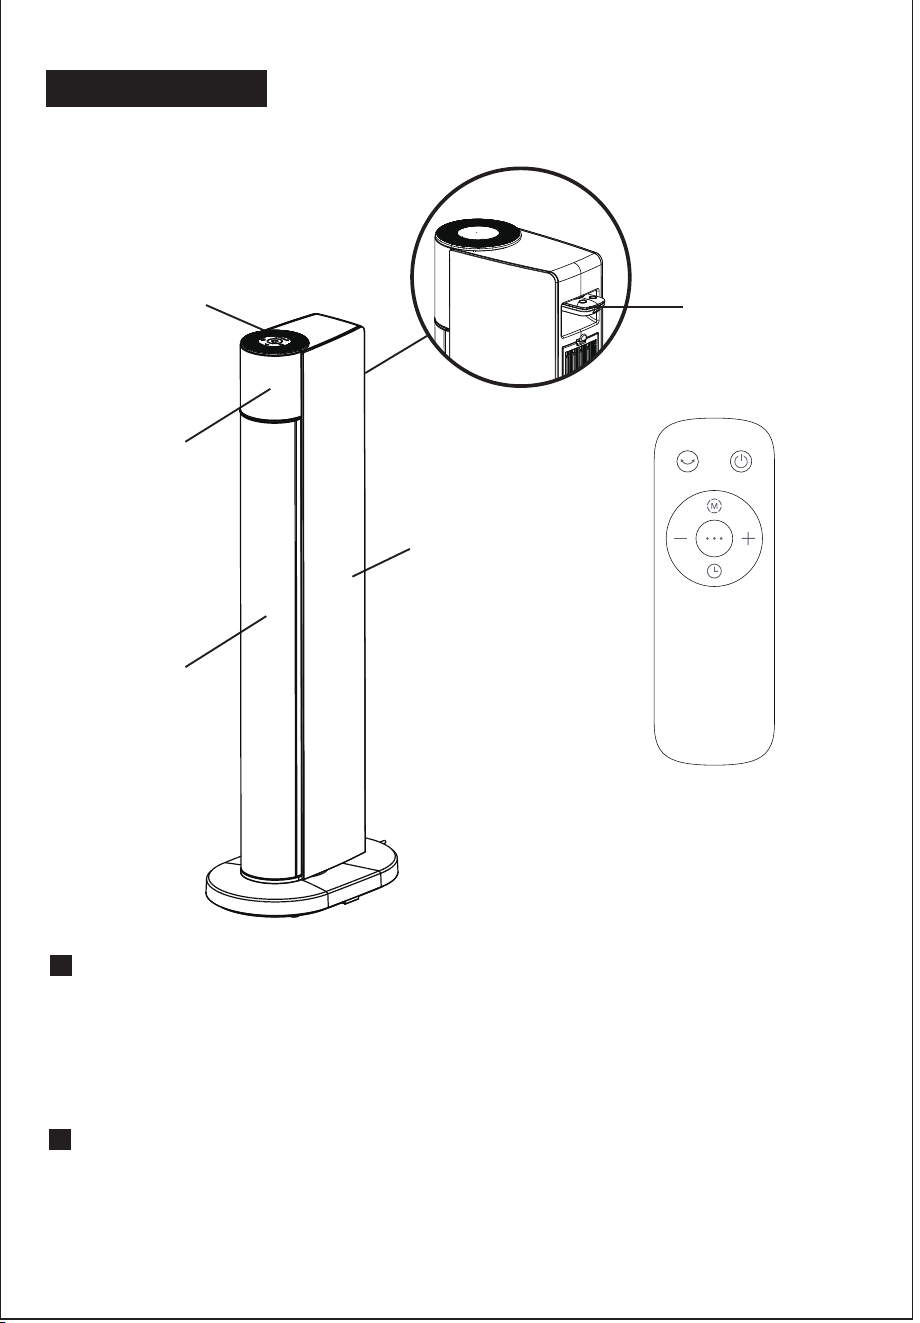
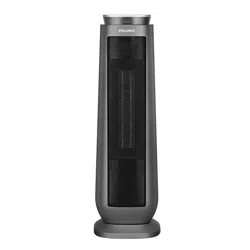
Control panel
Rear shell
Air outlet
Display screen
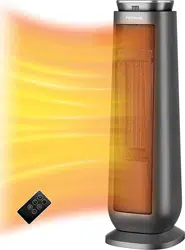
How to use
Pre-startup check
1. If power line is in good condition.
2. Product power is 120V AC, bearing capacity of product socket is no lower than 12.5A;
otherwise, accidents would occur.
【Starting up】
Turn power switch to “I” marked position, then press on-off key on the control panel to
start up the machine. After starting up, the machine runs on the mode of last power off.
Remote-control
unit take-in
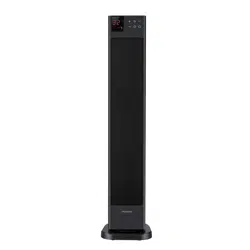
PART FIGURE
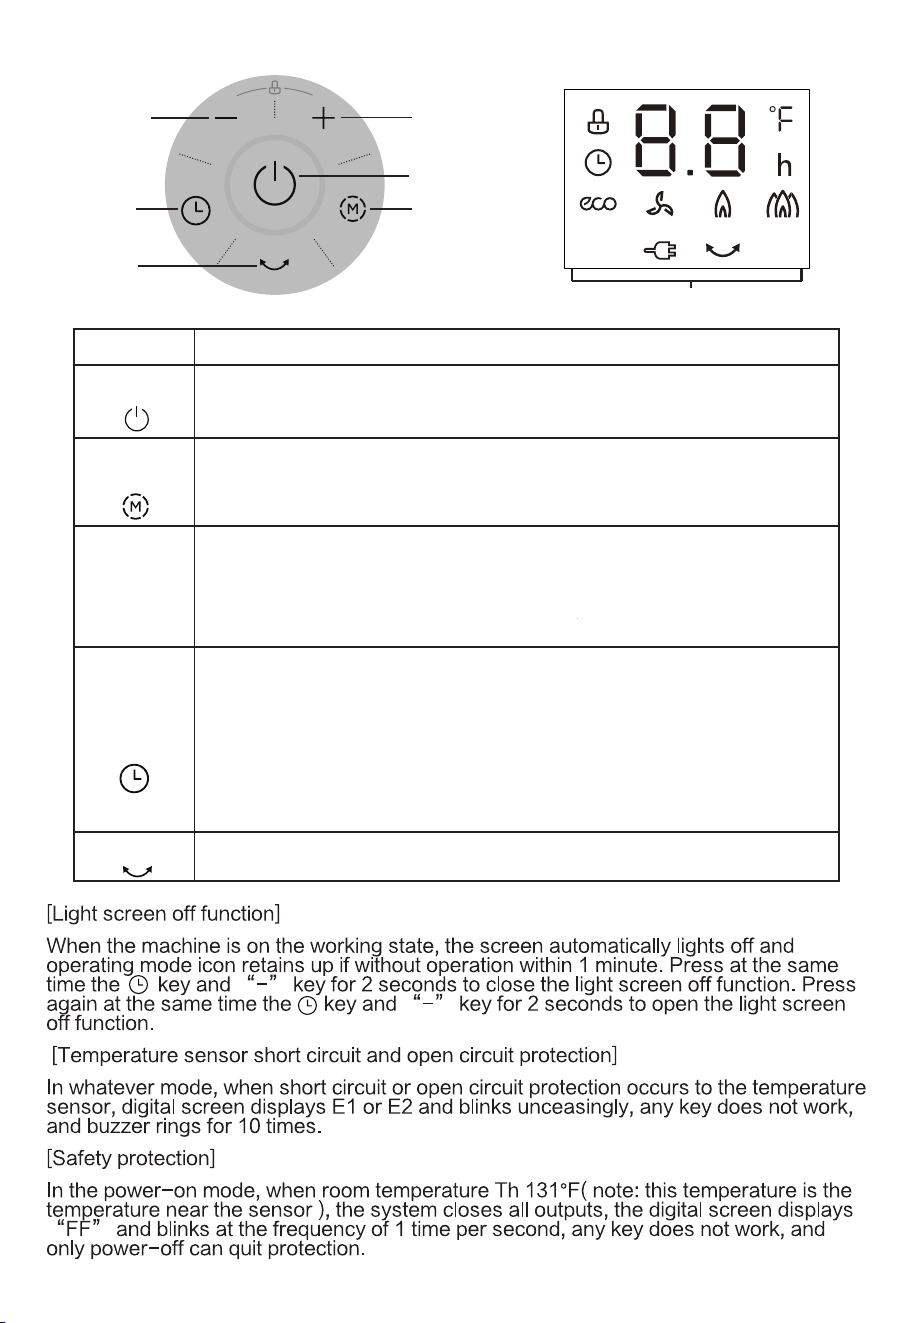
“+”key
On-off key
“-”key
Timing key
Mode key
Sway key
In the power-on mode, press this key to select the timed shutdown setting. The timing indicator lights
up, the temperature display icon lights off, and display screen blinks and shows the rest time of last
setting. Press “+” or “-” keys to set shutdown time, the setting range is 0~24 hours. The machine
confirms the time and quits the timing setting state if without pressing within 5 seconds. If the set time
is 0, it means cancelling the timing setting; if the set time is not 0, the machine shuts down
automatically, enter the idle mode and turns off the timing icon when reaching the set time. Set again
the time after time setting, and the machine is retimed.
In the idle mode, press this key to set timing power-on, of the same operation as timing shutdown.
The time unit of the timer is hour.
On the idle mode, press on-off key to enter the power-on mode, the warmer starts working and the whole machine
runs under the previous remembered mode and temperature. On the power-on mode, press on-off key to enter the
idle mode, the warmer stops working. (Note: On the heating mode, draught fan will operate for 15 seconds at low
wind speed after power off.)
After power repeatedly press the “mode key”, the warmer shifts in circular order among
“energy saving mod, breeze, low warm wind,and high warm wind”.
Key Function Description
In the power-on mode, press this key to start swaying, and press again to stop swaying.
On-off key
Mode key
On the working state, press “+” or “-” keys to set the working temperature. The temperature
setting range is 40℃~95℃ and every temperature value is of 1℃ difference. The machine confirms and
displays the set temperature value if without operation within 3 seconds after the setting. After room
temperature reaches the set temperature, display screen blinks for 10 seconds and heating unit stops
working; when temperature is below the set temperature, machine restarts to heat.
+ and - key
Timing key
Sway key
F F F
Display screen
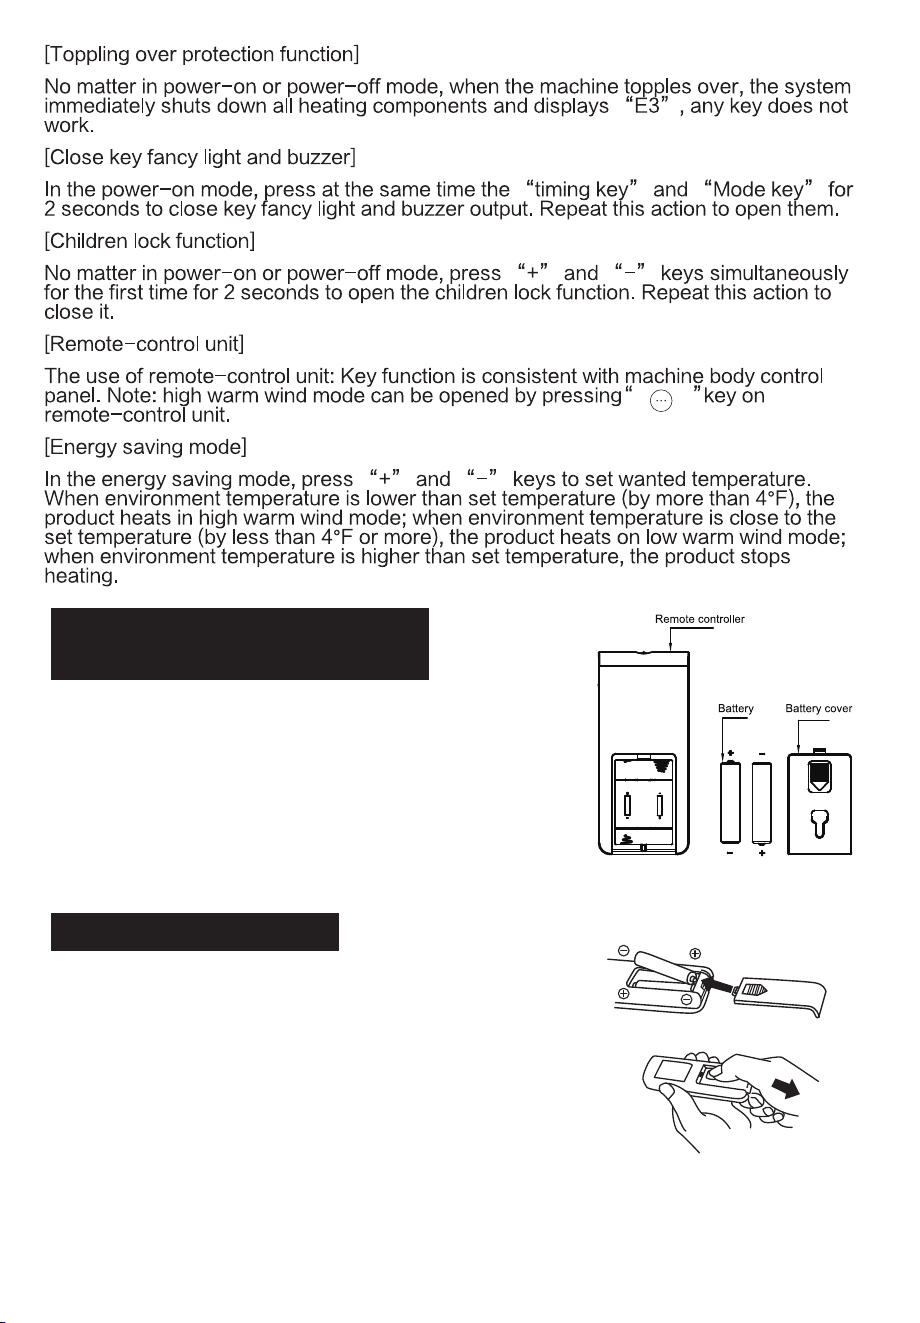
1. Press down on the battery compartment cover
and slide it out.
2. Use 2 "AAA" batteries (Not Included)
3. Insert the batteries, making sure that the positive
terminals are facing the proper way.
4. Replace the cover.
BATTERIES INSTRUCTIONS
(not included)
1. Do not dispose of batteries in fire, batteries may
explode or leak.
2. Do not mix old and new batteries.
3. Do not mix alkaline, standard (carbon-zinc) or
rechargeable (nickel-cadmium) batteries.
4. Non-rechargeable batteries are not to be recharged.
5. Batteries are to be inserted with the correct polarity.
6. Exhausted batteries are to be removed from the product.
7. The batteries must be removed from the remote controller before it is scrapped
and that they are disposed of safely.
BATTERY WARNING
< >
Troubleshooting
If the product does not operate or does not operate properly, first check according to the following
list. If the reason the product does not operate or does not operate properly is not included in the
following list, the product mayhave failed. At this time, it is recommended to send the product to
the dealer for treatment
.
Problem Possible Cause Solu�on
A�er the power is
engaged,the machine does
not work.
The plug may not be
plugged well.
Check whether the plug is
properly inserted into the
receptacle.
READ AND SAVE THESE INSTRUCTIONS
The machine suddenly
stops during hea�ng.
The temperature exceeds
the threshold of the
thermal cut- off.
Cool the machine before
use.
MAIN TECHNOLOGY SPECIFICATIONS
MODEL
LOW
HIGH
POWER REGULATION RANGE (W)
NTH15-18AR
800
1500
Power supply: AC 120V ~ 60Hz