Loading ...
Loading ...
Loading ...
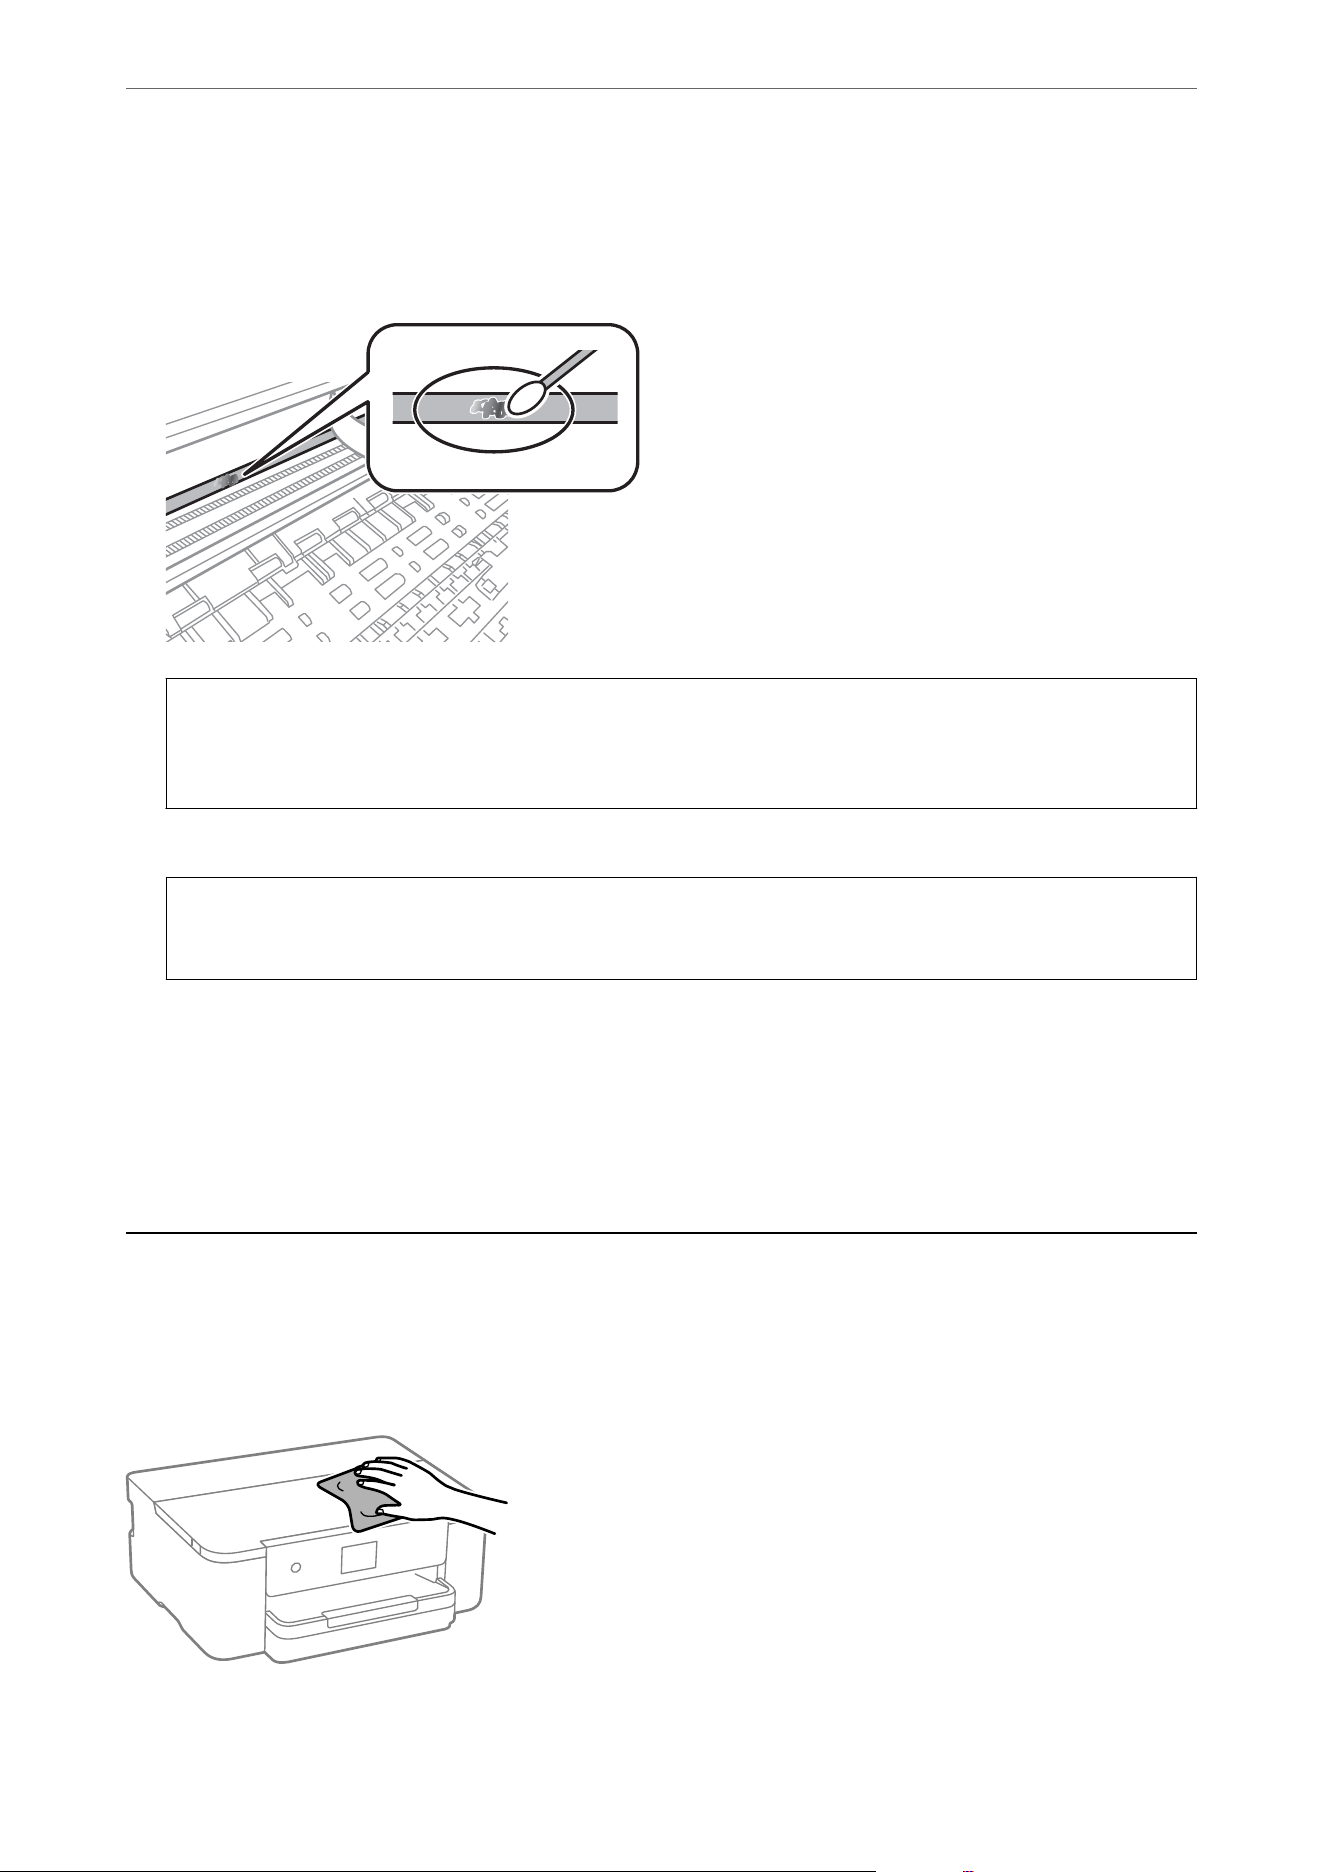
4. Moisten a cotton swab with the water with a few drops of detergent so that it is not dripping water, and then
wipe the smeared part.
Be careful not to touch the ink that has adhered inside the printer.
c
Important:
Wipe
o
the smear gently. If you press the cotton swab too hard to the
lm,
the springs of the
lm
may be
dislocated and the printer may be damaged.
5. Use a new dry cotton swab to wipe the
lm.
c
Important:
Do not leave any
bers
on the
lm.
Note:
To prevent the smear from spreading, frequently replace the cotton swab with a new one.
6. Repeat steps 4 and 5 until the lm is not smeared.
7.
Visually check that the
lm
is not smeared.
Cleaning the Printer
If the components and the case are dirty or dusty, turn
o
the printer and clean them using a
so,
clean cloth that
has been dampened with water. If you cannot remove the dirt, try adding a small amount of mild detergent to the
damp cloth.
Maintaining the Printer
>
Cleaning the Printer
74
Loading ...
Loading ...
Loading ...