Loading ...
Loading ...
Loading ...
10
ASSEMBLY
INSTALLING THE DUST COLLECTION
ATTACHMENT
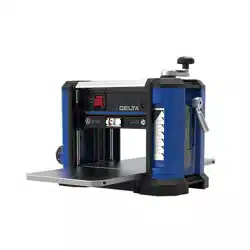
1. Using the cutterhead height adjusting handle
PC3
, raise
the main housing up high enough to allow clearance
for the T-Handle T30 Torx Wrench
PC5
.
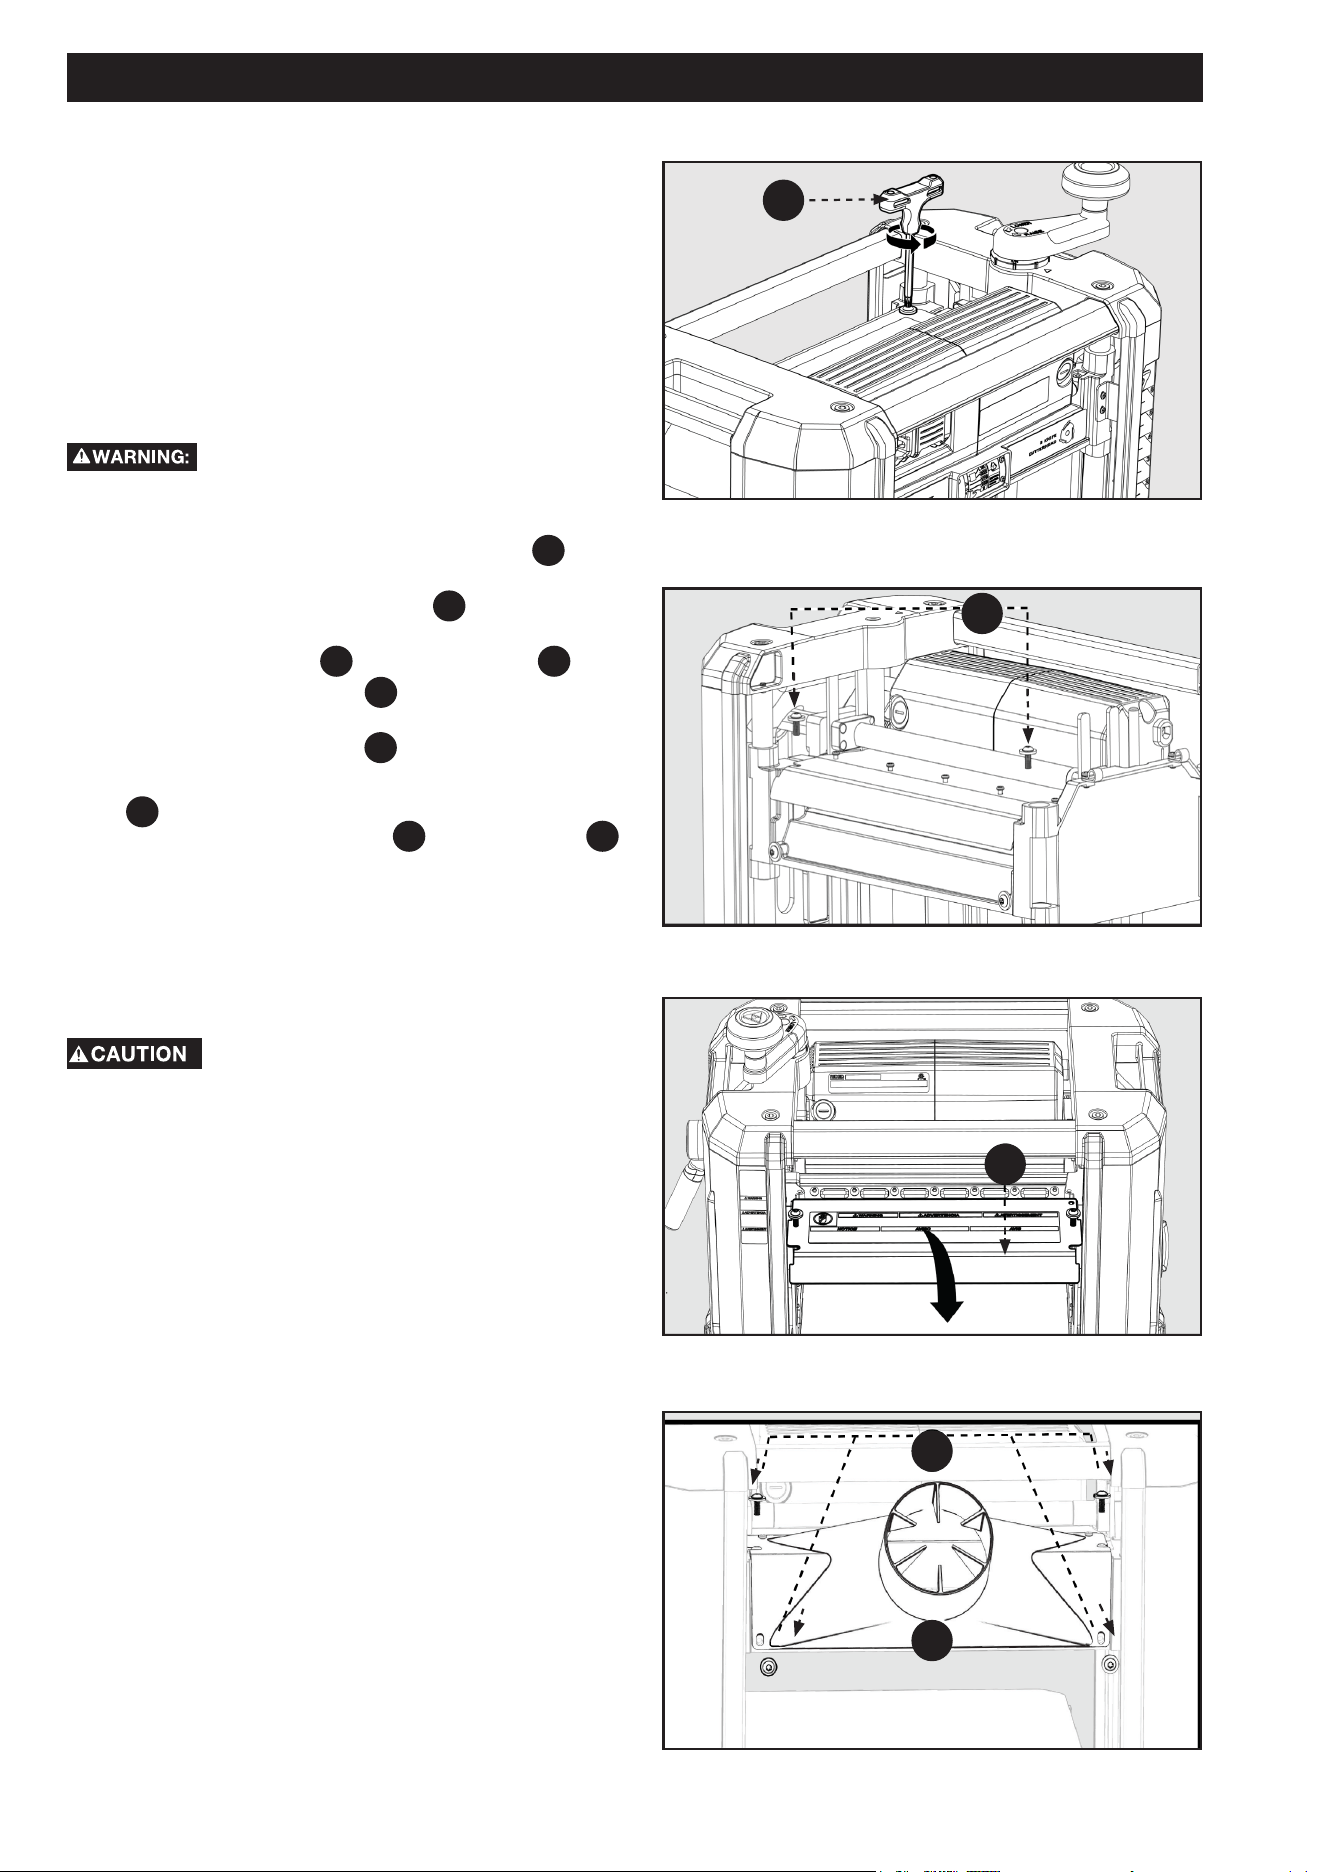
2. Using the wrench provided, remove the two M6 x
20mm Torx screws
PC6
and flat washers
PC7
that
secure the dust deector
F11
. Save these for step 4.
See Figures 5 & 6.
3. Remove the dust deector
F11
. See Figure 7.
4. Align the four slots in the dust collection attachment
F17
with holes in the frame, see Figure 8. Secure using
four M6 x 20mm Torx screws
PC6
and at washers
PC7
(two from step 2).
5. Reverse the procedure to reinstall the dust deector.
Install the dust deector with the label up and curved
lip pointing down.
6. Store the extra mounting screws with the dust
collection attachment when it is not in use.
ALWAYS disconnect the machine from
the power source before removing or installing any
attachment or accessory.
You have two options for dust management. The rst is the
dust deector and the second is the dust collection attachment
to attach your machine to a dust collector.
NOTE: The dust deector comes factory installed and can be
used if the user elects not to use a dust collector system.
PREPARING FOR DUST
MANAGEMENT
When using the dust collection attachment,
DO NOT operate the unit without a hose connected and a
dust collector in operation. The dust collection attachment is
designed to accept a 4 inch hose. ALWAYS replace the dust
deflector when the dust collection attachment is not in use.
FIGURE 5
FIGURE 6
FIGURE 7
FIGURE 8
PC6
F11
PC6
PC5
F17
Loading ...
Loading ...
Loading ...