Loading ...
Loading ...
Loading ...

4 Quick Start
4.1 Unpacking
Unpack the instrument carefully and inspect it for any damage that may have
occurred during shipment. If there is shipping damage, notify the carrier
immediately.
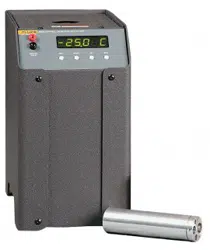
Verify that the following components are present:
•
9103 Dry-well
•
Insert for configuration ordered
•
Power Cord
• Insert Removal Tongs
• 9930 Software
• Serial Cable
• Manual
4.2 Setup
Place the calibrator on a flat surface with at least 6 inches of free space around
the instrument. Plug the power cord into a grounded mains outlet. Observe that
the nominal voltage corresponds to that indicated on the back of the calibrator.
Turn on the power to the calibrator by toggling the switch on the power entry
module. The fan should begin quietly blowing air through the instrument and
the controller display should illuminate after 3 seconds. After a brief self-test
the controller should begin normal operation. If the unit fails to operate please
check the power connection.
The display will begin to show the well temperature and the Thermal Electric
Devices will start operating to bring the temperature of the well to the set-point
temperature.
4.3 Power
Plug the instrument power cord into a mains outlet of the proper voltage, fre
-
quency, and current capability. Refer to Section 3.1, Specifications, for power
details. Turn the instrument on using the rear panel “POWER” switch. The in
-
strument will turn on and begin to heat to the previously programmed tempera
-
ture set-point. The front panel LED display will indicate the actual instrument
temperature.
11
4 Quick Start
Unpacking
1.888.610.7664 sales@GlobalTestSupply.com
Fluke-Direct.com
Loading ...
Loading ...
Loading ...