Loading ...
Loading ...
Loading ...
CUTTING AIDS AND ACCESSORIES
AUXILIARY RIP FENCE FACING
Use an auxiliary rip fence facing when needed for special cuts,
such as ripping material that is thin enough to slide under the
rip fence provided with your saw, or when a taller rip fence
is necessary to complete your cut. To add an auxiliary wood
facing to one or both sides of the rip fence, select a piece of
wood with smooth surfaces, Attach the wood to the rip fence
with two clamps. (see Figure 35) For most work, 3/4-inch
(19mm) or 1-inch (25mm) stock is suitable.
FIGURE 35
AUXILIARY MITER GAUGE FACING
An auxiliary miter gauge facing is used to increase the surface
area of the miter gauge face.
The use of miter gauge with auxiliary facing is the same as
original miter gauge (without auxiliary facing). See Page 21 for
the use of miter gauge.
If desired, you can fit the miter gauge with an auxiliary wood
facing that should be at least 1-inch (25mm) higher than the
maximum depth of cut, and at least as wide as the miter
gauge.
This auxiliary wood facing can be fastened to the front of the
miter gauge by using two wood screws through the holes (A)
provided in the miter gauge body and into the wood facing.
See Figure 36. Make sure the screws are long enough to
secure the facing, but do not extend all the way through the
wood.
FIGURE 36
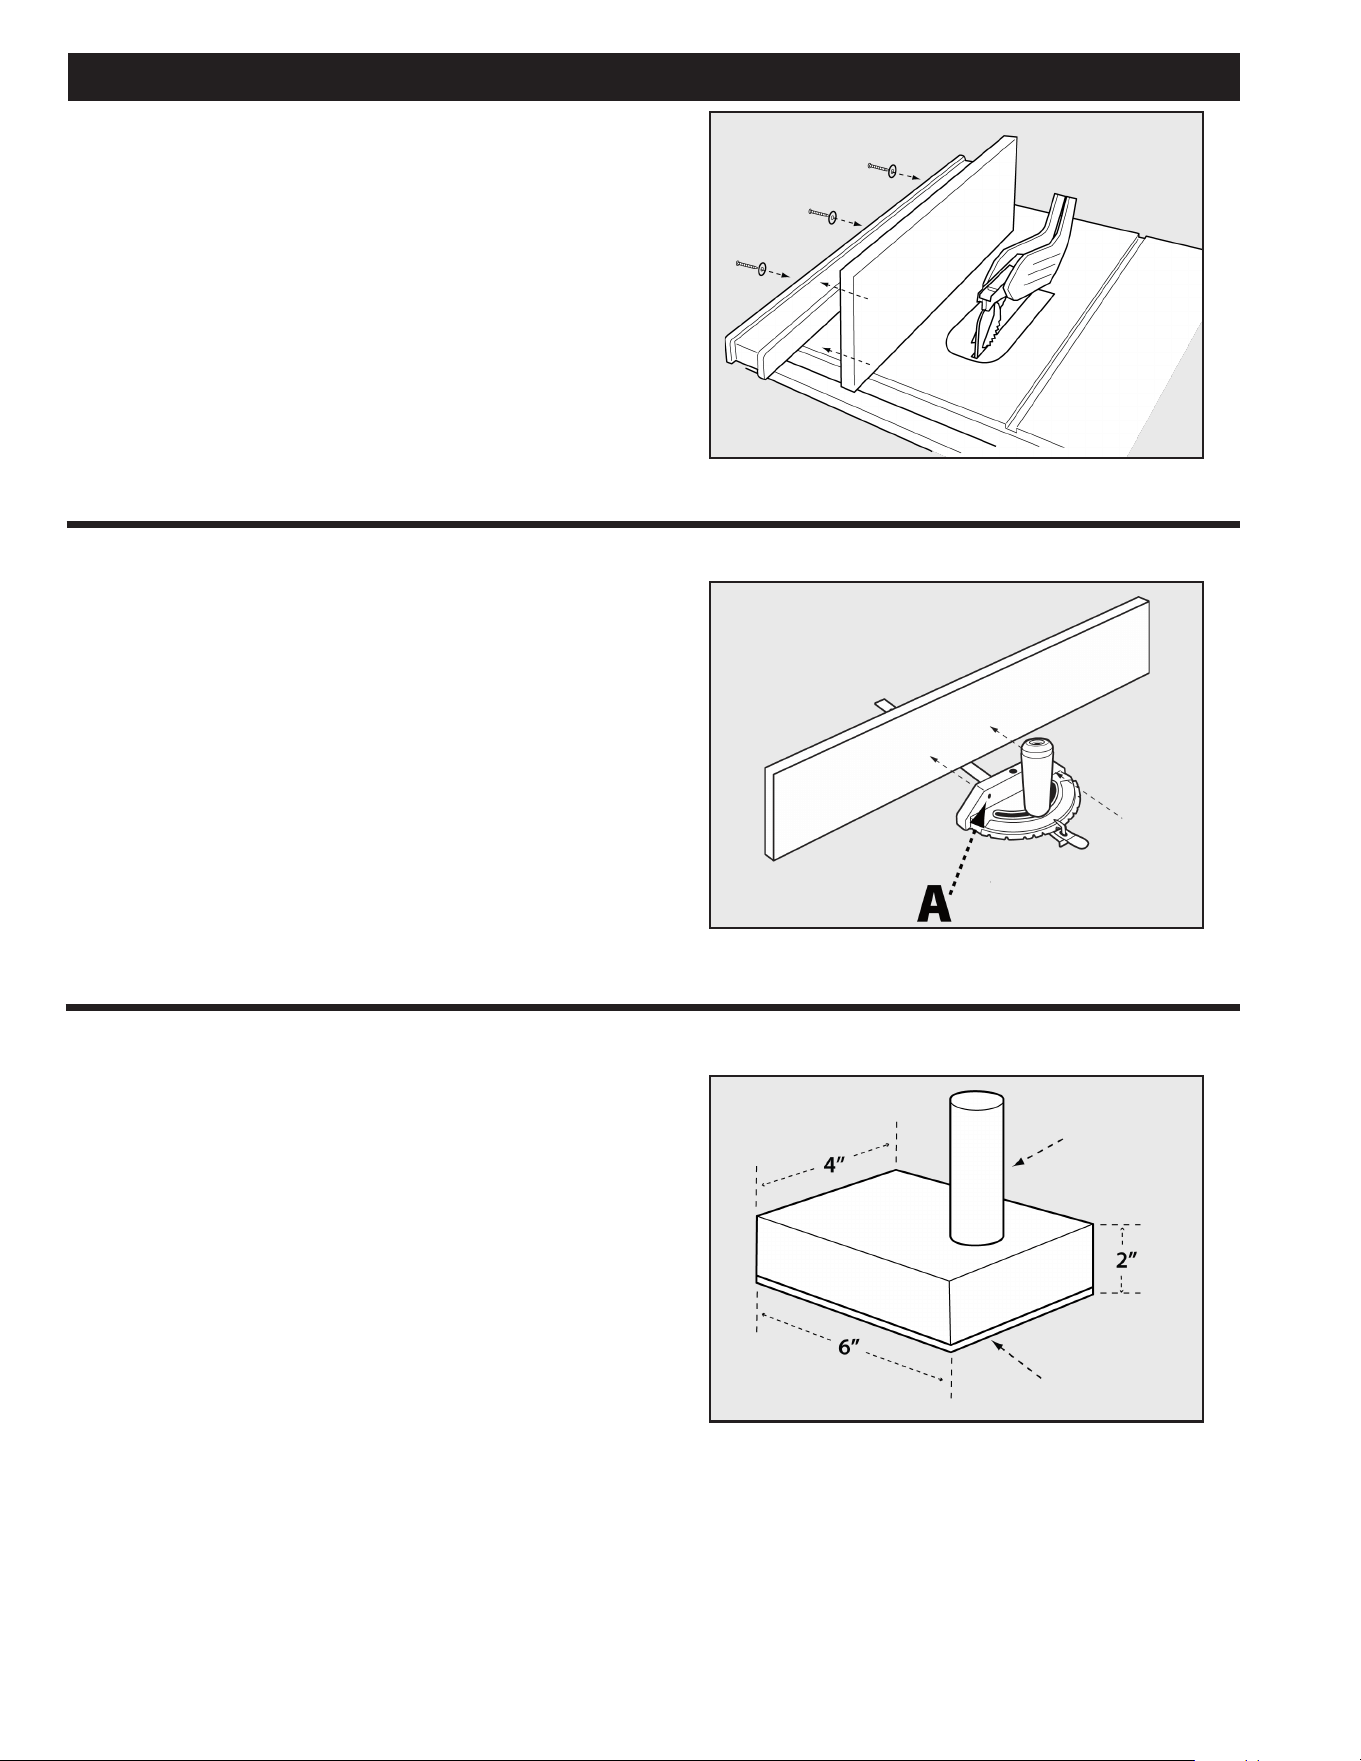
PUSH BLOCK
1. Select a piece of wood about 4-inches wide, 6-inches
long and 1- to 2-inches thick (a cuto from a 2 by 4
makes a good blank for a push block).
2. Drill a hole in the block and glue in a dowel to use as
a handle (you can angle the hole to provide a more
comfortable grip on the handle).
3. Glue a piece of rough or soft material such as
sandpaper or rubber to the bottom of the block to grip
the workpiece (old mouse pads work well). See Figure
37.
FIGURE 37
Wooden
dowel
Sandpaper or
old
mouse pad
material
Push blocks are blocks used to securely hold down the
workpiece against the table. They include some gripping
surface or handle to hold the block. Any screws running
through the underside of the block to fasten the handle should
be recessed in order to avoid contact with the workpiece.
Grooving and rabbeting
Clamping a featherboard in front of the blade can increase
safety during non-through cuts, like grooving and rabbeting,
and through cuts. Use a featherboard to guide the workpiece
against the table and fence when making non-through
cuts such as rabbeting. A featherboard helps to control the
kickback.
28 29
Loading ...
Loading ...
Loading ...