Loading ...
Loading ...
Loading ...
22
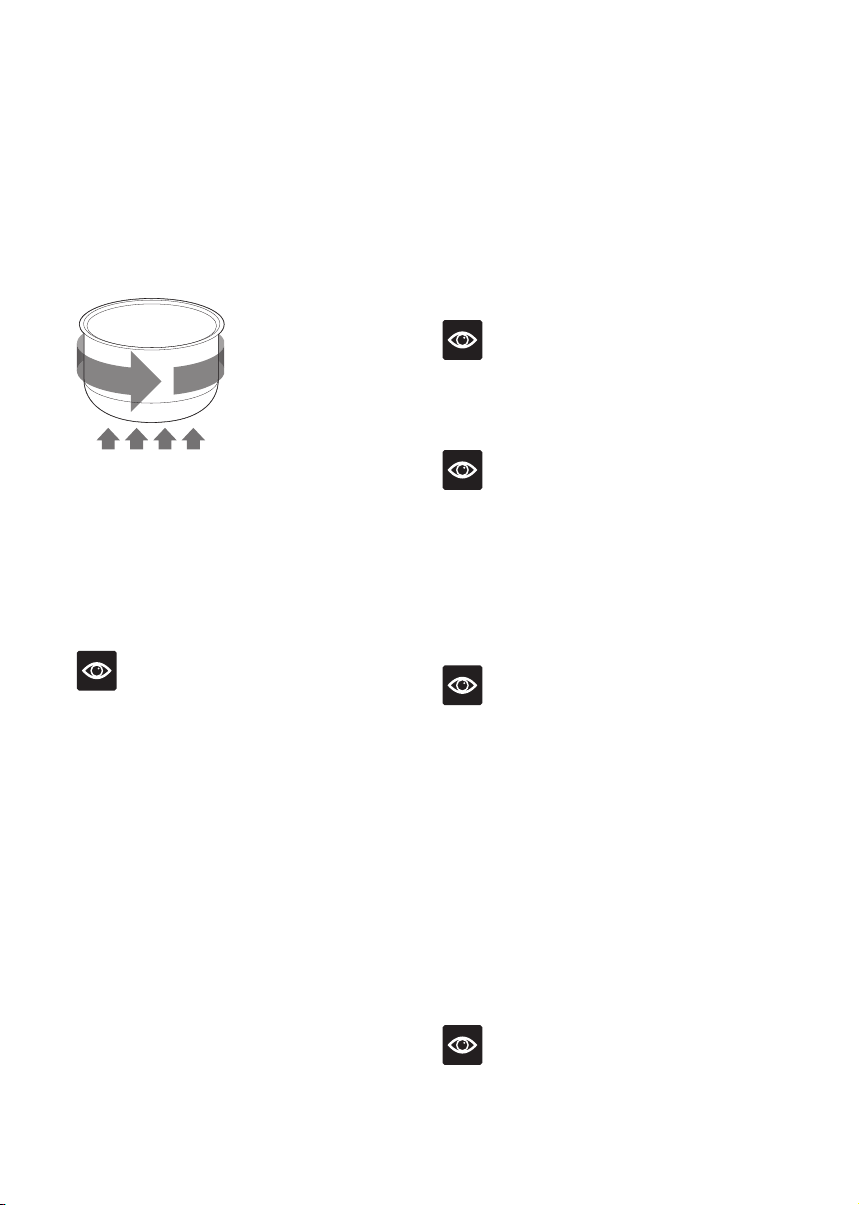
At Step 1, to select the SINGLE ELEMENT,
press the COOK button. The single element
operates the bottom element only and is
represented on the display as the letter ‘d’.
To select the dual element press the BREAD
button. The dual element operates the bottom
and side wrap around heating elements and
is represented on the display as the letter ‘C’.
Steps 2 and 3 then allow you to manually
adjust both the temperature and time.
Side wrap around
heating element
Bottom
heating element
To skip any of the 4 cooking stages, program the
time in Step 3 to read 0:00, and the multi cooker
will move to the next cooking stage.
For example, if you program the time for d1 at
0:20, then program d2 at 0:10, d3 at 0:15 and d4
at 0:00, the multi cooker will work through
Stage 1, 2, 3 and skip Stage 4.
NOTE
The heating elements ‘d’ and ‘C’ can be
adjusted in Step 1 of each of the 4 cooking
stages.
For example, you can program a single recipe
as d1, C2, C3, d4 meaning that in Stage 1 and
4, the single element with operate, and Stage 2
and 3, the dual elements will operate.
HINT
• It is recommended to have your recipe
available before you start programming.
• Record your saved custom recipes in the blank
table provided at the end of this book.
HOW TO SAVE CUSTOM RECIPES
1. Press the CUSTOM button and the unit will
display Program 1 (P01).
2. Press the + and - buttons until the preferred
custom program number is displayed on the
screen between P01 and P10.
3. Press the SET button to confirm the program
number and to move to Step 1; Element. The
screen will display ‘d1’.
4. In Step 1, if desired, press the BREAD button
to change the heating element from Single
(d1), to Dual (C1). Press the COOK button to
revert to single heating element.
5. Press the MENU button to go to Step 2;
Temperature. The default temperature of
100°C will display. To adjust the temperature,
press the + and - buttons.
NOTE
The number next to ‘d’ or ‘C’ represents the
cooking stage. For example, ‘C1’ represents
dual heating element ‘C’ on cooking Stage ‘1’.
NOTE
Press the MENU button to move through each
STEP. Do not press the SET button as it will
revert to the program setting.
6. Press the MENU button to go to Step 3; Time.
The default cooking time 0:00 will display.
To adjust the cooking time, press the + and –
buttons.
NOTE
Refer to the Custom Steps and Stages table on
page 20 for the custom time and temperature
ranges.
7. Press the MENU button to set. Cooking
Stage 1 is now complete, ready to program
Stage 2.
8. The screen will now display ‘d2’ to represent
cooking Stage 2. Repeat How To Save
Custom Recipes steps 4–7 to program
Stage 2–4, until all 4 Stages have been
programmed.
9. Once programming is complete, press the
SET button to save the recipe. Record the
recipe and program number for future use.
NOTE
To update a recipe program that has been saved,
select the program number and follow the steps
in How To Save Custom Recipes.
LMC600_ANZ_IB_D19.indd 22 5/9/19 4:06 pm
Loading ...
Loading ...
Loading ...