Loading ...
Loading ...
Loading ...
"TEMPERATURE CONTROLLED" COOKING
The temperature probe is used Co judge doneness when
cooking or reheating food. Set the desired food tempera-
ture with the TEMP CONTROL and the desired power
level with the COOK CONTROL. When the food reaches
the desired temperature, the oven will hold the food at the
desired temperature up to one hour.
TEMPERATURE SETTING &
DISPLAY TEMPERATURE
Temperatures from 115°F to 185°F can be chosen and set
in the oven. The temperature should be set in five-degree
increments. The display window will show the rise in food
temperature in five-degree increments.
For example, when a temperature of 125°F is set, the
display window will show the temperature as it rises from
115°F to 120°F and then to 125°F. The lowest tempera-
ture number that can be displayed is 115°F. Therefore,
even though the food may be less than 115°F, the display
will remain at II5°F until the food is heated to above
115°F.
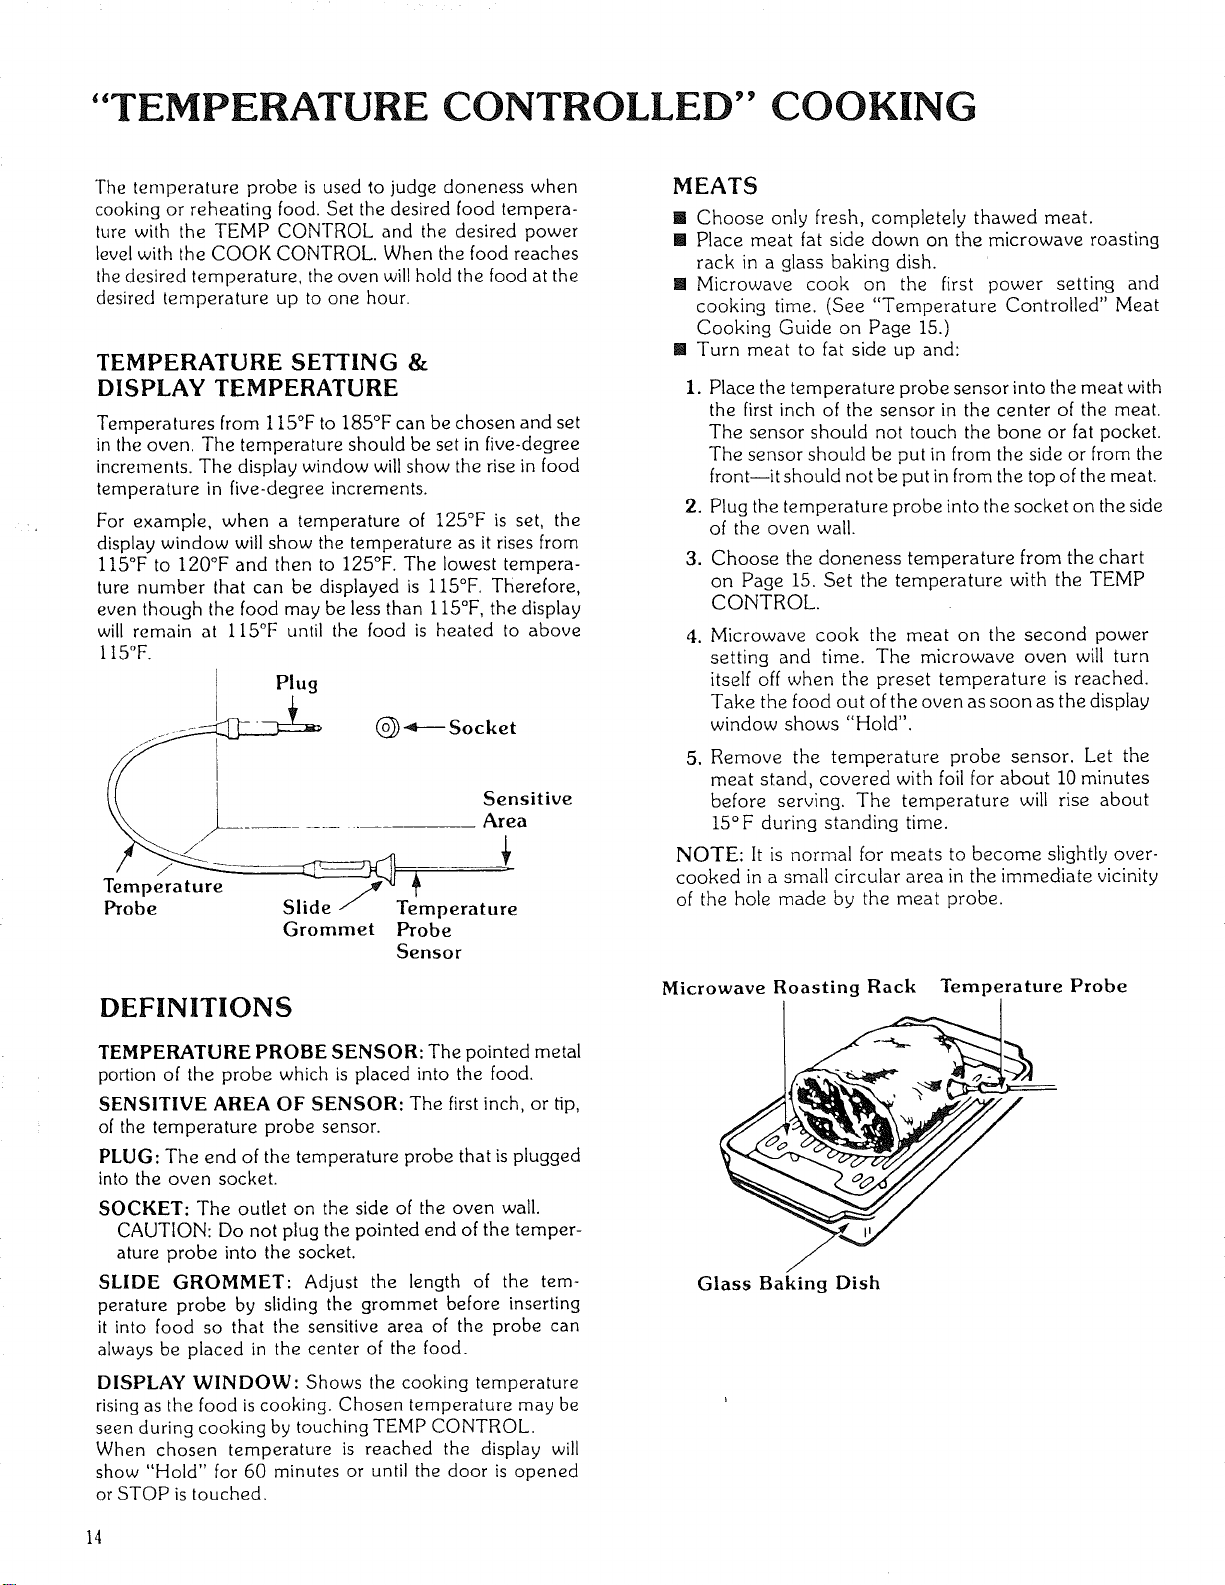
Plug
(_-_--Socket
Sensitive
Area
Tempera ture __/..,,
Probe Slide / Temperature
Grommet Probe
Sensor
DEFINITIONS
TEMPERATURE PROBE SENSOR: The pointed metal
portion of the probe which is placed into the food.
SENSITIVE AREA OF SENSOR: The first inch, or tip,
of the temperature probe sensor.
PLUG: The end of the temperature probe that is plugged
into the oven socket.
SOCKET: The outlet on the side of the oven wall.
CAUTION: Do not plug the pointed end of the temper-
ature probe into the socket.
SLIDE GROMMET: Adjust the length of the tem-
perature probe by sliding the grommet before inserting
it into food so that the sensitive area of the probe can
always be placed in the center of the food.
DISPLAY WINDOW: Shows the cooking temperature
rising as the food is cooking. Chosen temperature may be
seen during cooking by touching TEMP CONTROL.
When chosen temperature is reached the display will
show "Hold" for 60 minutes or until the door is opened
or STOP is touched.
MEATS
[] Choose only fresh, completely thawed meat.
[] Place meat fat side down on the microwave roasting
rack in a glass baking dish.
[] Microwave cook on the first power setting and
cooking time. (See "Temperature Controlled" Meat
Cooking Guide on Page 15.)
[] Turn meat to fat side up and:
i. Place the temperature probe sensor into the meat with
the first inch of the sensor in the center of the meat.
The sensor should not touch the bone or fat pocket.
The sensor should be put in from the side or from the
front--it should not be put in from the top of the meat.
2. Plug the temperature probe into the socket on the side
of the oven wall.
3. Choose the doneness temperature from the chart
on Page 15. Set the temperature with the TEMP
CONTROL.
4. Microwave cook the meat on tile second power
setting and time. The microwave oven will turn
itself off when the preset temperature is reached.
Take the food out of the oven as soon as the display
window shows "Hold".
5, Remove the temperature probe sensor. Let the
meat stand, covered with foil for about 10 minutes
before serving. The temperature will rise about
15°F during standing time.
NOTE: It is normal for meats to become slightly over-
cooked in a small circular area in the immediate vicinity
of the hole made by the meat probe.
Microwave Roasting Rack Temperature Probe
Glass Baking Dish
14
Loading ...
Loading ...
Loading ...