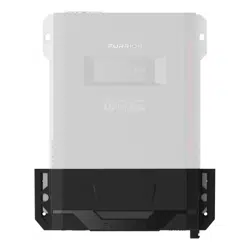
Solar Charge Controller
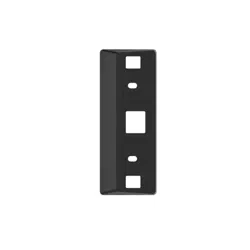
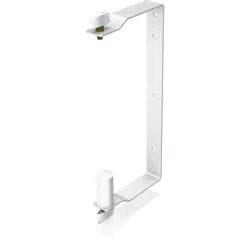
Mounting Bracket
Installation Guide
Model:
FSCC60PWM-BL
Furrion Innovation Center & Institute of Technology
● 52567 Independence Ct., Elkhart, IN 46514, USA ● Toll free: 1-800-789-3341
● Email: [email protected]
©2007-2021 Furrion Ltd. Furrion
®
and the Furrion logo are trademarks licensed for use
by Furrion Ltd. and registered in the U.S. and other countries.
For Patent Info: www.furrion.com/pages/patents
FURRION.COM
IG-FEN00001 V6.0
Please read this quick start guide and
follow the steps carefully. This quick
start guide will help you to install the
device properly and avoid improper
usage.
Features
• High current connectors.
• Allows for pre-installation
of cables for solar panel and
battery connection.
• Compatible with Furrion MPPT
Solar Charge Controllers
(models FSCC30PW and
FSCC60PW).
• Easy to install Furrion MPPT
Solar Charge Controller.
What’s in the Box
Make sure you have the following
items included in the packaging. If
any items are damaged or missing,
contact your dealer.
Item Description Quantity
1
Solar Charger
Mounting
Bracket
1
2
Flat head
screw
(ST4.2*19mm)
4
Wire and Cable Size
The wiring and installation
methods must conform to all
national and local electrical code
requirements, and need to follow
RVIA regulations.
PV Wire Size
Since the PV outputs can vary due
to the array connection method,
the minimum wire size must be
in accordance with the maximum
array short-circuit current. The PV
array is suggested to be connected
in series.
Please use PV Photovoltaic wire,
the reference size as below:
PV short
circuit
current
Wire
Gauge
Maximum
Wire
Length
10A 12AWG 30FT
NOTE:
The PV wire size listed is
only for reference. If there is a long
distance between the PV array and
the controller, larger wires can be
used to reduce the voltage drop
and improve performance.
Battery Cable Size
The battery cable size must
conform to the rated current, the
reference size as below:
Model
FSCC30PW-
BL
FSCC60PW-
BL
Maximum
charge
current
25A 50A
Cable
Gauge
10AWG 6AWG
Maximum
Cable
Length
15FT 15FT
NOTE: The cable size is only
for reference. If there is a long
distance between the controller
and the battery, larger cables can
be used to reduce the voltage drop
and improve performance.
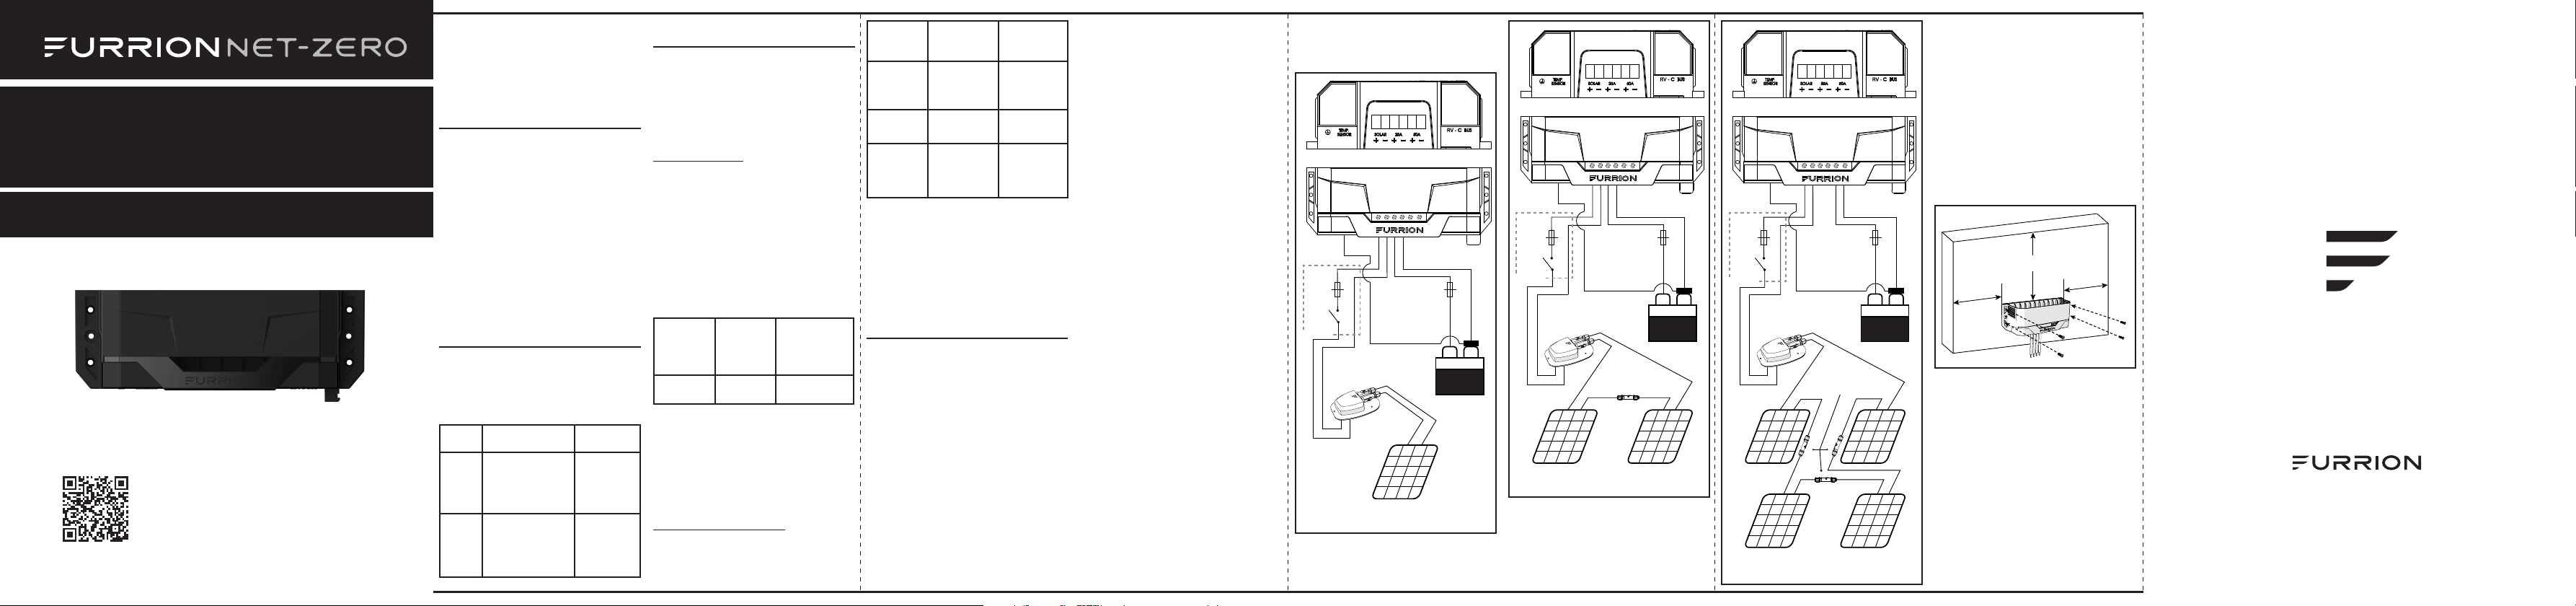
Installation
1. Connect the solar panel and
battery to the solar charger
mounting bracket.
• Loosen the positive (+) and
negative (-) terminal screws of
the solar ports.
• Feed the solar cables into the
ports. Red wire to positive (+),
black wire to negative (-).
• Tighten the screws until
secured. The torque force for
the screw should be 25lbs-inch
for 10AWG wire, 30lbs-inch for
8AWG wire, and 35lbs-inch for
6AWG wire.
• Repeat the steps above to
connect the battery to the solar
charger mounting bracket.
NOTE:
• An inline fuse can be installed
to the positive wire between the
rooftop solar electrical box and
the mounting bracket of solar
charge controller.
• An inline fuse can be installed
to the positive wire between
the battery and the mounting
bracket of solar charge
controller.
• The rating of the fuse is
determined by the maximum
input rating of the solar panel,
or output of the controller.
• A DC breaker is recommended
to be installed between the
solar input and the mounting
bracket of solar charge
controller.
• The rating of the switch is
determined by the maximum
input rating of the solar panel,
or output of the solar charge
controller.
• Based on the current of the
MPPT charger you purchased,
connect the battery to the
corresponding 25A or 50A
charging port.
NOTE: If the battery cable is
connected to the 50A port by
RV manufacturer, a 25A MPPT
controller will work without
moving the wiring to the 25A
port.
Bottom view
- +
PV
array
Fuse
Rooftop Solar
Electrical Box
P/N: FSFP16MW-BL
P/N: FSEB30JWL-BL
Battery
+ -
Temperature Sensor
P/N: C-FSCC60PW-A01,
C-FSCC60PW-A02
P/N: FBF12A100E
+
-
-
+
Disconnect
Fuse\
Breaker
Optional
Bottom view
Fuse
- +
PV
array
- +
PV
array
P/N: FSFP16MW-BL P/N: FSFP16MW-BL
Furrion Solar Connector
P/N: FSEB30JWP-BL
Battery
+ -
Temperature Sensor
P/N: C-FSCC60PW-A01,
C-FSCC60PW-A02
P/N: FBF12A100E
Rooftop Solar
Electrical Box
P/N: FSEB30JWL-BL
+
-
-
+
Disconnect
Fuse\
Breaker
Optional
Bottom view
Fuse
- + - +
- +
PV
array
- +
PV
array
P/N: FSFP16MW-BL P/N: FSFP16MW-BL
Furrion Solar Connector
P/N: FSEB30JWP-BL
Battery
+ -
Temperature Sensor
P/N: C-FSCC60PW-A01,
C-FSCC60PW-A02
P/N: FBF12A100E
Rooftop Solar
Electrical Box
P/N: FSEB30JWL-BL
+
-
-
+
Disconnect
Fuse\
Breaker
Optional
2. Choose an appropriate
mounting position and attach
the solar charger mounting
bracket on the wall using four
self-tapping screws.
3. The bracket needs to be
installed with enough space
above it to allow for clearance
of the controller.
Top: 17"
Left and Right Sides: 8"
Min. 8”
Min. 8”
Min. 17”
https://furrion.com/pages/
downloads-power-distribution
* To view the multi-language user manual, please
access the link or scan the QR code.
* Pour obtenir le manuel d’utilisateur multilingue,
accédez au lien ou scannez le QR code.
* Para ver el manual de usuario en otros idiomas,
acceda al siguiente enlace o escanee el código QR.