Loading ...
Loading ...
Loading ...
PSR-E473, PSR-EW425 Owner’s Manual
46
Recording Your Performance
On this instrument, there are two different ways you can record your performances: Song
(with MIDI), and Audio.
Song Recording
You can record your performances to the internal memory as User Songs. This approach makes editing easy,
as you can record to individual tracks, erase tracks after recording, and re-record individual tracks, etc. You can
record a maximum of 10 User Songs and up to a total of about 19,000 notes. User Songs can be exported to a
USB flash drive as MIDI files, which can be played and edited on other MIDI devices or sequencers (page 59).
Audio Recording
You can record your performances and save them to a USB flash drive as audio files. You can also record audio
from the [MIC INPUT] jack, the [AUX IN] jack, and the [USB TO HOST] terminal. Audio files are in WAV format
(44.1 kHz, 16 bit, stereo), and the maximum recording time is 80 minutes. These audio files can be transferred
to and played back on computers and smart devices.
This section explains how to record a new Song to
the internal memory without specifying a track.
1
Make the desired settings including the
Main Voice selection.
2
Make the desired settings for recording
your performance.
• If you want to record only the melody perfor-
mance, press the [SONG/AUDIO] button.
• If you want to record a performance with a
Style, press the [STYLE] button.
• If you want to record a performance with a
Groove, press the [GROOVE CREATOR] but-
ton.
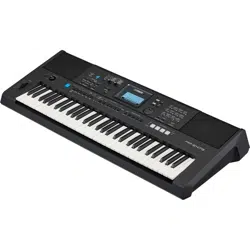
3
Press the [REC] button to enter the
Record Ready mode.
This operation selects the lowest-numbered
unrecorded User Song from 031 to 040 (User 1 to
10) as the recording target.
To exit from this mode, press the [REC] button
again.
4
Start recording.
The operation to start recording differs depending
on the button you pressed in Step 2.
• [SONG/AUDIO] button: Play any note to start
recording.
• [STYLE] button: Play a chord in the Auto
Accompaniment area to start recording with
Style playback. Press the [START/STOP] but-
ton to start playback of the rhythm only, and
then play the keyboard to start recording.
• [GROOVE CREATOR] button: Specify a chord
in the Auto Accompaniment area or press the
[START/STOP] button to start recording with
Groove playback.
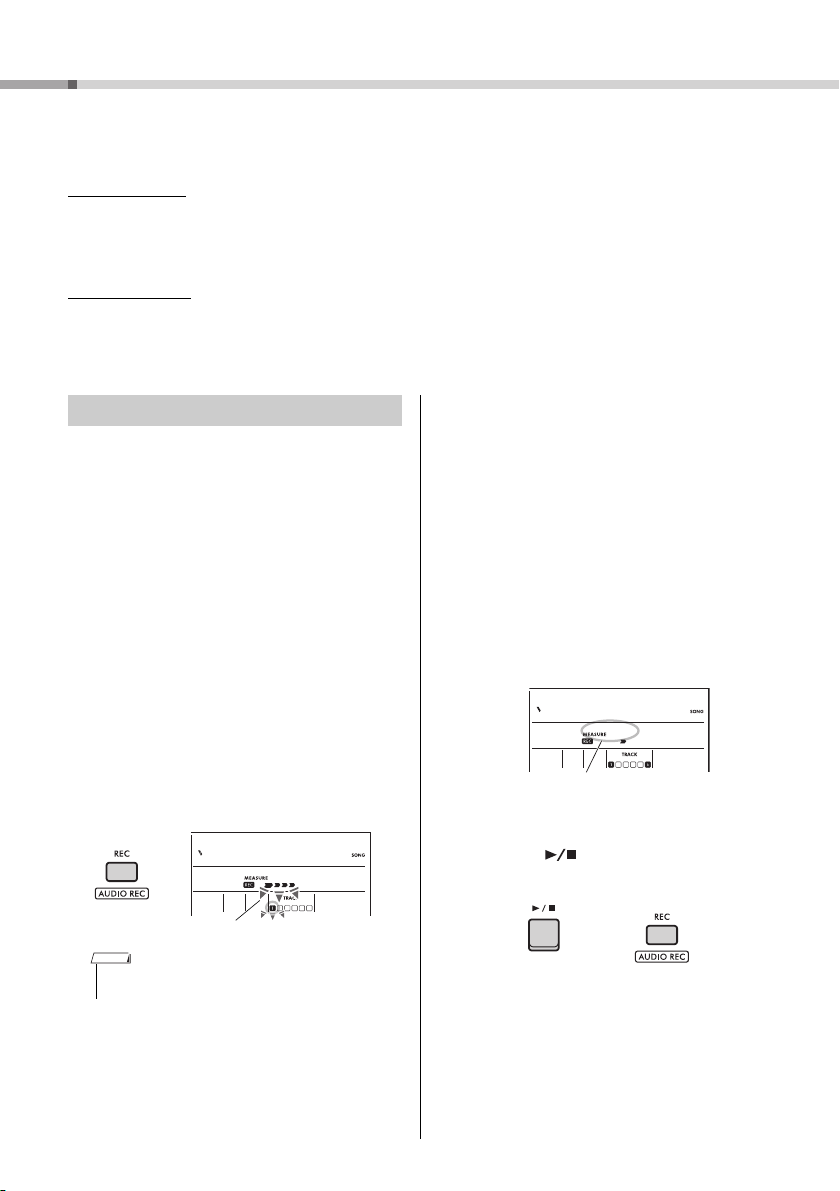
The current measure will be shown on the display
while recording.
5
Press the [ ] (Start/Stop) or [REC]
button to stop recording.
After you finish recording, "Writing!" appears to
indicate storing the recorded data. When the data
is stored, the recorded track numbers in the dis-
play will light.
Recording a New User Song
The ACMP on/off status cannot be changed while in
Record Ready mode.
User 1
001
PEC
FlashesFlashes
NOTE
User 1
003
PEC
Current measure
or
Loading ...
Loading ...
Loading ...