Loading ...
Loading ...
Loading ...
Freezer Features
Frost-Free System
The refrigerator and freezer sections are completely frost-
free. Defrosting is automatic under normal conditions.
Refrigerator and freezer sections never have to be
defrosted.
Automatic Ice Maker (some models)
• Make sure ice bucket is in place and ice maker arm(A) is
down (B).
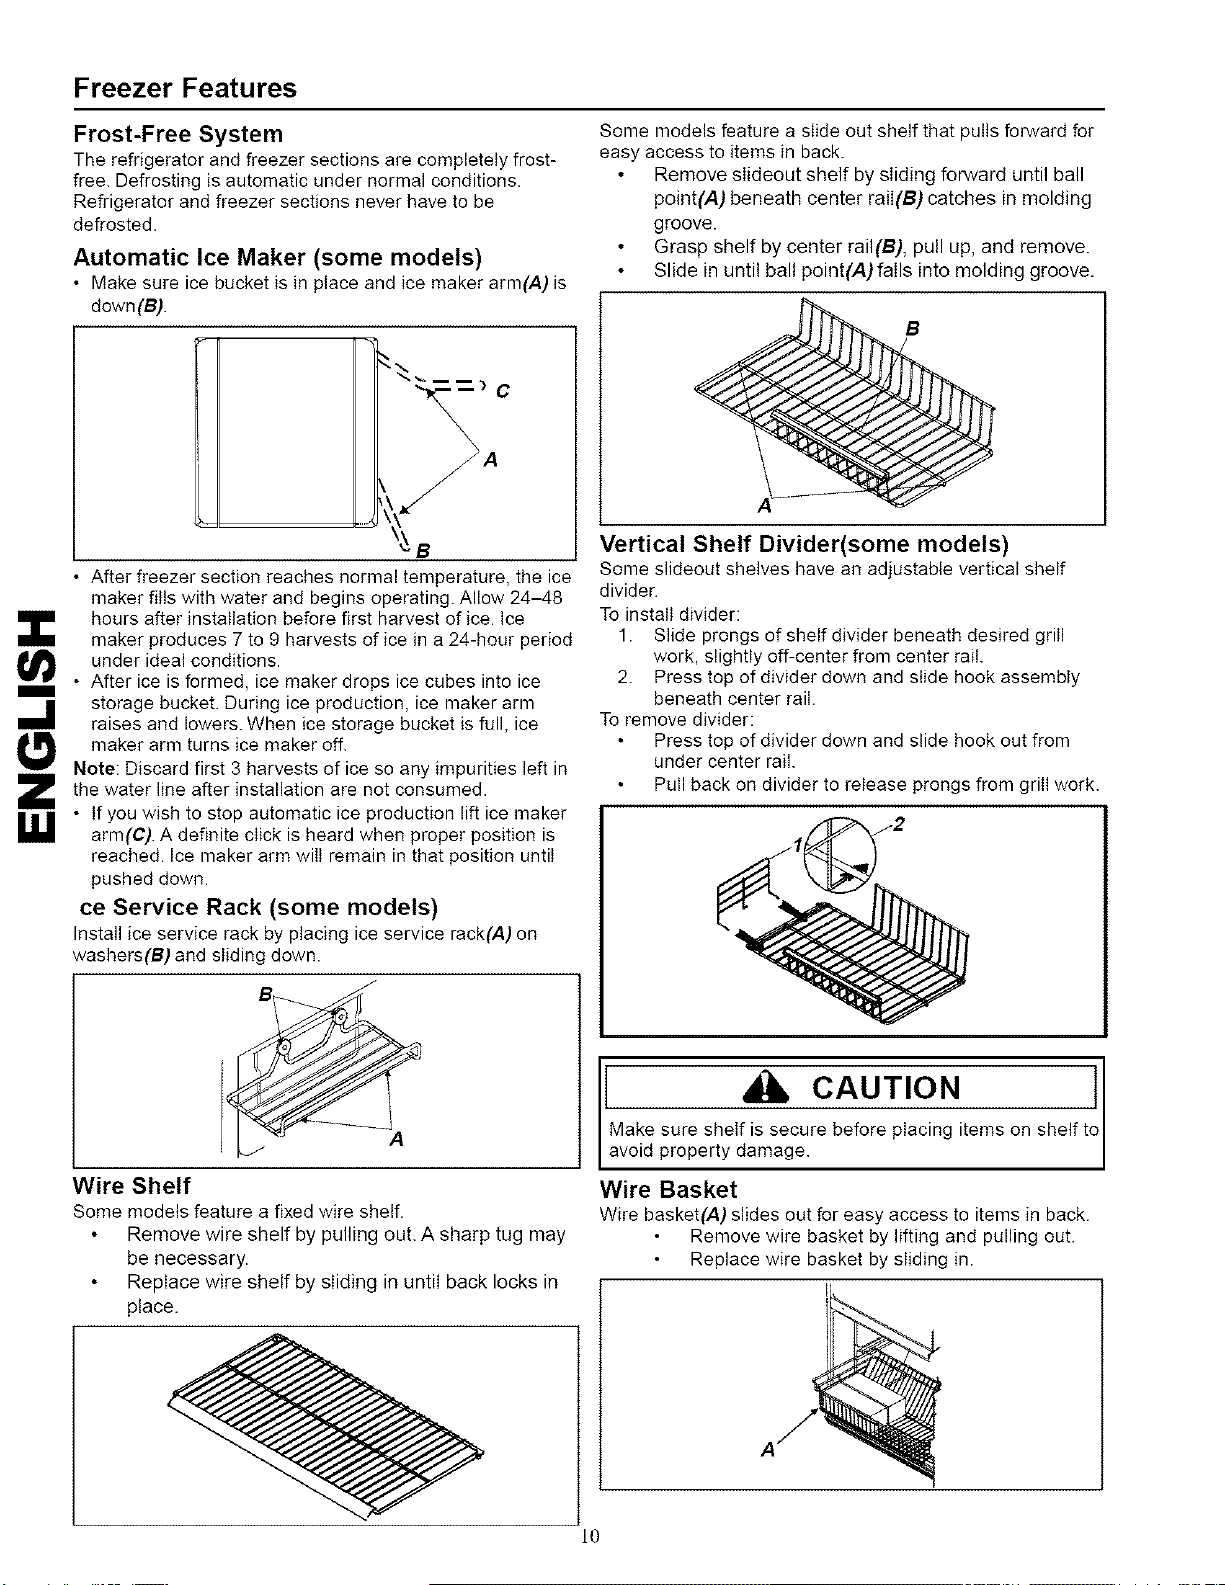
Some models feature a slide out shelf that pulls forward for
easy access to items in back.
Remove sIideout shelf by sliding forward until ball
point(A) beneath center rail(B) catches in molding
groove.
Grasp shelf by center rail(B), pull up, and remove.
Slide in until ball point(A)fails into molding groove.
m
U_l
After freezer section reaches normal temperature, the ice
maker fills with water and begins operating. Allow 24-48
hours after installation before first harvest of ice. Ice
maker produces 7 to 9 harvests of ice in a 24-hour period
under ideal conditions.
• After ice is formed, ice maker drops ice cubes into ice
storage bucket. During ice production, ice maker arm
raises and lowers. When ice storage bucket is full, ice
maker arm turns ice maker off.
Note: Discard first 3 harvests of ice so any impurities left in
the water line after installation are not consumed.
• If you wish to stop automatic ice production lift ice maker
arm(C). A definite click is heard when proper position is
reached. Ice maker arm wili remain in that position untii
pushed down.
ce Service Rack (some models)
Install ice service rack by placing ice service rack(A) on
washers(B) and sliding down.
Wire Shelf
Some models feature a fixed wire shelf.
Remove wire shelf by pulling out. A sharp tug may
be necessary.
Replace wire shelf by sliding in until back locks in
place.
Vertical Shelf Divider(some models)
Some slideout shelves have an adjustable vertical shelf
divider.
To install divider:
1. Slide prongs of shelf divider beneath desired grill
work, slightly off-center from center rail.
2. Press top of divider down and slide hook assembly
beneath center rail.
To remove divider:
Press top of divider down and slide hook out from
under center rail.
Pull back on divider to release prongs from grill work.
J CAUTION !
Make sure shelf is secure before placing items on shetf t
avo d property damage.
Wire Basket
Wire basket(A) slides out for easy access to items in back.
Remove wire basket by lifting and pulling out.
Replace wire basket by sliding in.
]0
Loading ...
Loading ...
Loading ...