Loading ...
Loading ...
Loading ...
8
Installation & Operation Instructions 800.558.1711
DEHUMIDIFIER INSTALLATION
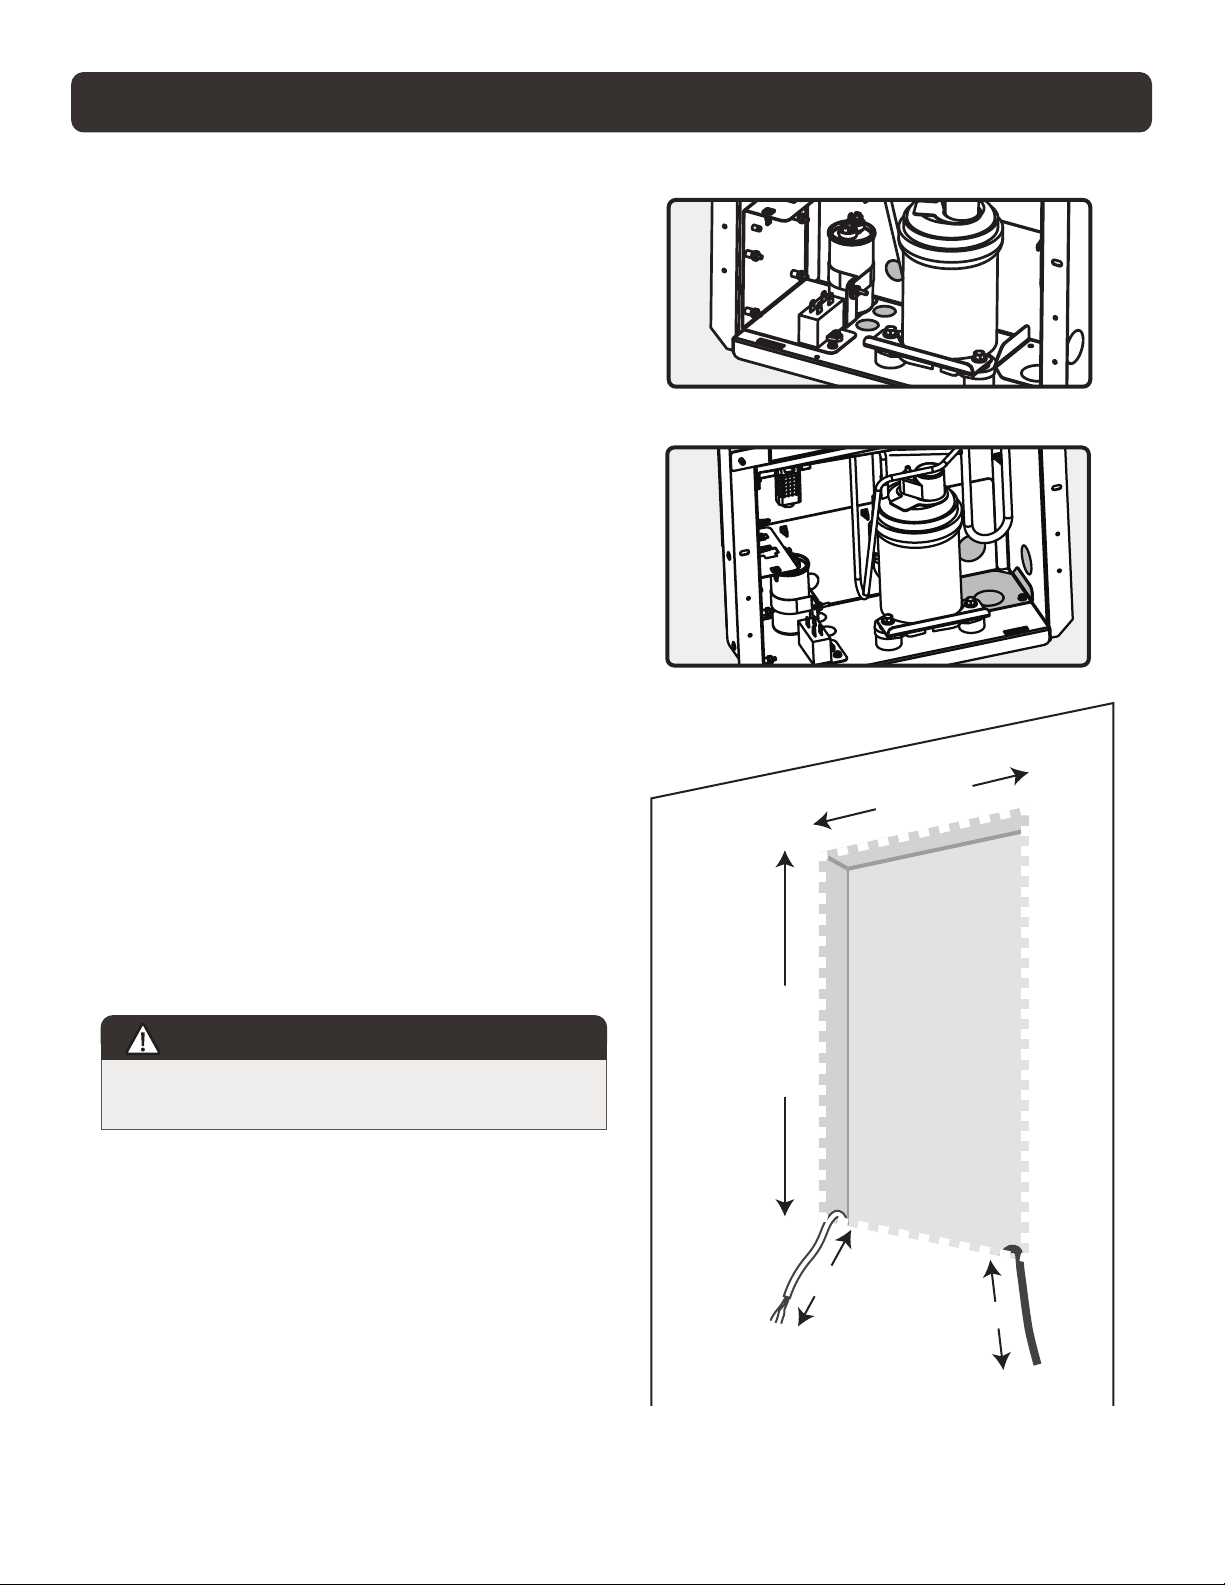
Inside of Wall
Drain
Hose
Electrical
Wiring
14 1/2"
30 1/4
14"
14"
Steps 5 - 8
Step 4. The drain hose can exit through the back,
side, or bottom of the unit. Once the location is
determined, remove the appropriate knock out.
If exiting through the bottom, remove the access
cover to facilitate routing of the drain line.
Save access cover for reinstallation after drain
line is routed.
Step 5. After installation location has been determined,
use a stud nder, locate and mark stud walls.
Step 6. Using measuring tape and pencil, measure
14 1/2" across and 30 1/4" down and draw a line.
Step 7. Using a square or ruler, score the lines
and cut with drywall saw.
Depending on installation, both walls may need to
be cut through.
4.
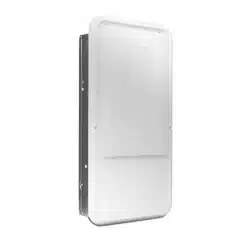
Step 3. There are three electrical knock outs, one on
the back and two on the bottom of the unit. Remove
appropriate knock out and install non-metallic cable
clamp with clamp screws inside of unit oriented so
they are accessible for tightening later.
If using included power cord, insert cord through non-
metallic cable clamp so that a minimum of ½” insulation
jacket is inside of cabinet before tightening non-metallic
cable clamp screws. Make electrical connections using
included wire nuts.
3.
Step 8. If not using included power cord, route the
electrical wire from the circuit breaker or disconnect
switch through the wall cavity and extend out of the
opening by 14" to 20".
Use the 10' drain hose provided or the appropriate
length of hose to come through the wall cavity
or back of the unit and extend out of the opening
by 14".
If cutting through both walls, electrical wiring
and drain hose may be routed dierently. Use
appropriate routing for your installation.
WARNING!WARNING!
SHUT OFF BREAKER / POWER
BEFORE BEGINNING INSTALLATION.
Loading ...
Loading ...
Loading ...