Loading ...
Loading ...
Loading ...
Metal Finishes
- Trim parts
Oven Interior
Cha L Co.lLi.ued
• Wash with soap and water, a glass cleaner, or mild liquid sprays.
To prevent scratching or dulling of the finish, do not use mildly abrasive, abrasive, harsh or caustic cleaners such
as oven cleaners.
Clean frequently using mild abrasive cleaners and a plastic pad.
Do not use metallic scouring pads because they will scratch the surface.
When using commercial oven cleaners follow the manufacturer's instructions.
Wipe up acidic spills (tomato or milk based foods) as soon as possible with soap and water. If the spill is not
wiped up, it may discolor the porcelain.
To make cleaning easier, remove the oven door, if desired. (See Maintenance section.)
Oven Racks • Clean with soapy water.
Remove stubborn soil with cleansing powder or soap-filled scouring pad. Rinse and dry.
Plastic Finishes
- Door handle
(selectmodels)
- Backguard trim
- End caps
When cool, clean with soap and water, rinse and dry.
Use a glass cleaner and a soft cloth.
NOTE: Never use oven cleaners, abrasive or caustic liquid or powdered cleansers on plasticfinishes. These cleaning agents
will scratch or marfinish.
NOTE: To prevent staining or discoloration,wipe up fat, grease or acid (tomato, lemon, vinegar, mill _'uit juice,
marinade) immediately with a dry paper towel or cloth.
Ma tenance
Ore. Door
• o remove:
1. When cool, open
the oven door to
the first stop posi-
tion (opened about
four inches).
2. Grasp door at each side. Do not use
the door handle to lift door.
3. Lift up evenly until door clears hinge
arms.
To rep|ace:
1. Grasp door at each side.
2. Align slots in the door with the hinge
arms on the range.
°
Slide the door down onto the hinge
arms until the door is completely
seated on the hinges. Push down on
the top corners of the door to com-
pletely seat door on hinges. Door
should not appear crooked.
NOTE: The oven door on a new range
may feel "spongy" when it is closed.
This is normal and will decrease with
use.
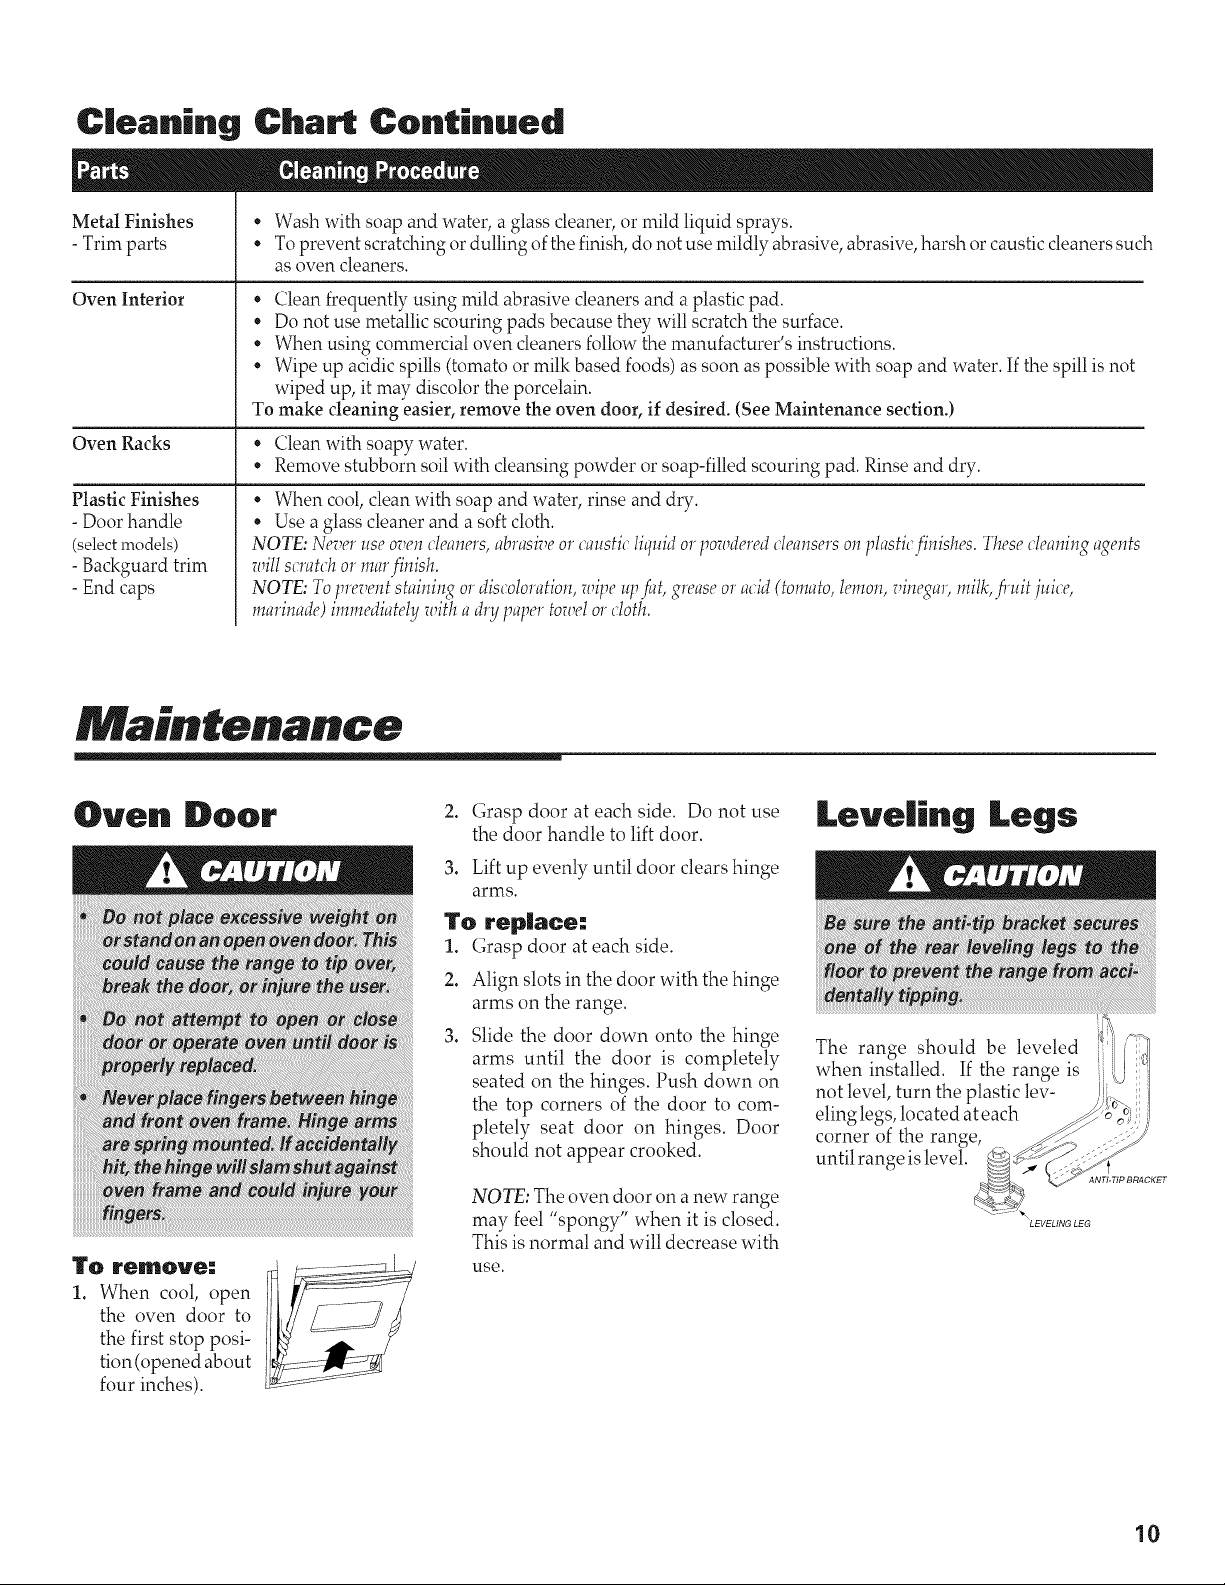
Leveling Legs
The range should be leveled
when installed. If the range is
not level, turn the plastic lev-
eling legs, located at each
corner of the range,
until range is level.
LEVELING LEG
10
Loading ...
Loading ...
Loading ...