
Loading ...
Loading ...
Loading ...
10
NOTE:
This appliance must only be installed on the adjustable feet supplied. It must not be
fitted with rear rollers or castors as this appliance is intended for stationary
installations only.
This appliance is fitted with adjustable feet to enable the appliance to be positioned
securely and level. This should be carried out on completion of the electrical
connection. Refer to the 'Electrical Connection' section.
1. Check that all the feet are in place and are tightened firmly.
2. Roughly adjust the four feet to make the bratt pan steady and level.
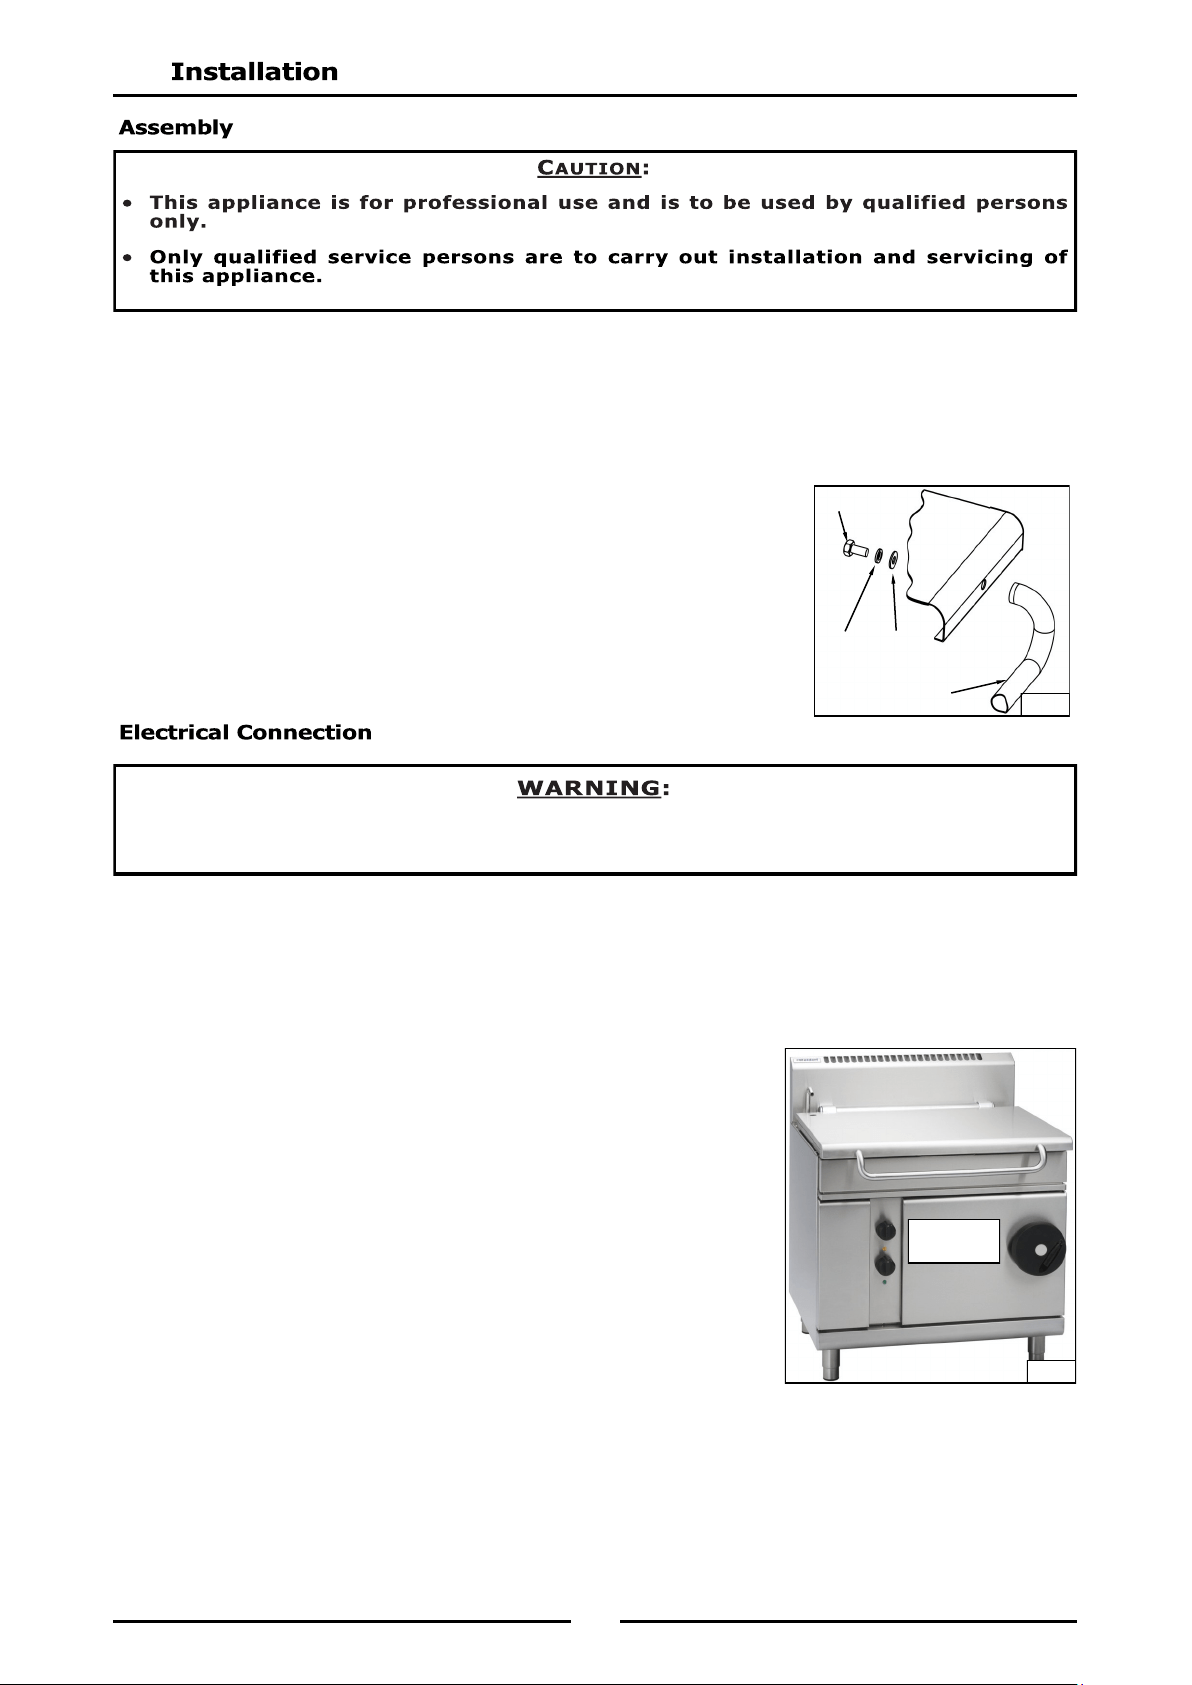
3. To assemble the handle to the lid, unpack the handle assembly. Place
the handle on the outside of the lid with the curved part of the handle
facing downwards. (Refer to Fig 1).
4. Fit the bolts with spring washers and flat washers from the inside of
the lid and tighten the bolts to secure the handle in position.
NOTE: ALL ELECTRICAL CONNECTIONS MUST ONLY BE CARRIED OUT BY AN AUTHORISED
PERSON.
Each appliance should be connected to an adequately protected power supply and an isolation switch
mounted adjacent to, but not behind the appliance. This switch must be clearly marked and readily
accessible in case of fire.
1. Check that the electricity supply is correct as shown on the Rating
Plate attached to the lower front
hand side of the front sill panel.
2. The supply terminal connections are located at the rear of the the
appliance. Refer to ‘Electrical Connections’ in the ‘Specifications’
section of the manual.
3. Refer to the appropriate wiring standards for the size of cable
that is to be used for the current drawn on that line.
4. When connecting a Waldorf electric appliance to the main supply,
ensure that the following is carried out:-
An isolating switch is fitted nearby and accessible.
Supply wires are the correct size for the current drawn.
The fuse('s) on the wall are the correct current rating.
A grommet is fitted around the wiring entry holes into the
appliance.
Wiring connection must be tight.
5. Remove the front panel and control panel to allow connection access for the electrical supply.
6. Connect the mains supply to L1, L2 and L3 fuse carrier connections for 3 phases.
7. Connect neutral and earth conductors to neutral stud and earth stud respectively.
8. For all connections ensure that conductors are secure and appropriately terminated.
Handle
Nut
Spring & Flat
Washers
Fig 1
THIS APPLIANCE MUST BE EARTHED. IF THE SUPPLY CORD IS DAMAGED, IT MUST BE REPLACED BY A SUITABLY
QUALIFIED PERSON IN ORDER TO AVOID A HAZARD.
Rating Plate
Location
Fig 2
Loading ...
Loading ...
Loading ...