Loading ...
Loading ...
Loading ...
50
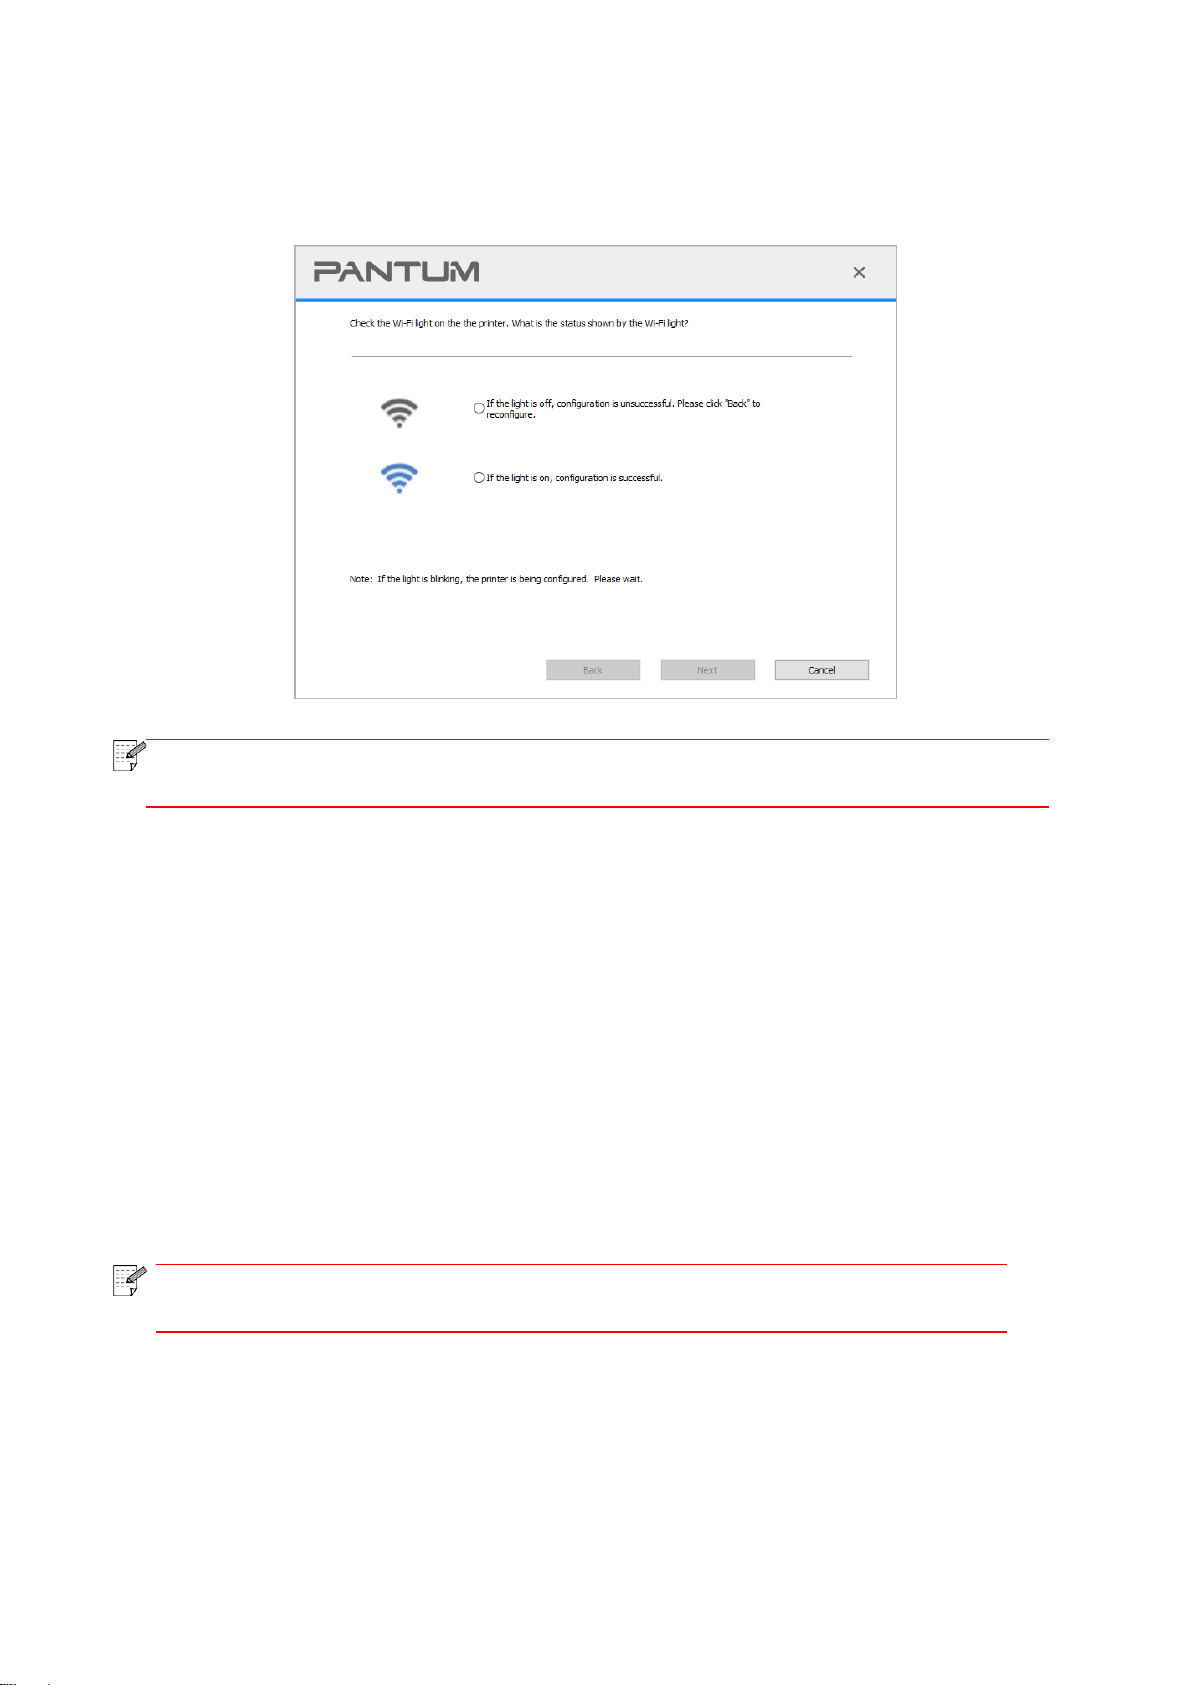
2) Judge if the printer is successfully connected according to the status of Wi-Fi indicator on
printer. If configuration failed, please click “Previous” to configure again; if configuration
succeeded, please click “Done” to complete configuration.
Note:
• If the printer cannot be used normally after wireless network setup is finished,
please install the drive again.
5.1.2. Wi-Fi Protected Setup (WPS) setup
If the access point (wireless router) supports Wi-Fi Protected Setup (WPS), the Wi-Fi key on the
control panel of printer and WPS key on access point (wireless router) can be pressed in order to
connect the printer to wireless network.
5.1.2.1. Preliminary preparations
1. The access point (wireless router) supports Wi-Fi Protected Setup (WPS).
2. A printer that has wireless network function.
5.1.2.2. Wi-Fi Protected Setup (WPS) method
1. Turn on the power of printer and access point (wireless router).
2. Make sure the printer is in ready state.
Note:
• If the printer is in sleep mode, it can be woken up by pressing any key on the
control panel of printer.
3. Press "Wi-Fi" button on the printer panel for over 2s until the Wi-Fi indicator flashes in blue and
then release the button.
4. Press the WPS key on access point (wireless router) within 2min and then release it.
5. When the access point (wireless router) and printer start to connect, the blue Wi-Fi indicator of
printer starts to blink. The blue Wi-Fi indicator of printer will be normally on after successful
connection.
Loading ...
Loading ...
Loading ...