Loading ...
Loading ...
Loading ...
10 CUSTOMER SUPPORT TEAM:: +44 (0) 333 220 6056
6. Carefully lift the appliance up, ensuring
that the top rear ledge of the wall re
engages with the wall bracket and is
sitting centrally. This process should be
carried out by two people to avoid injury
or damage to property or the appliance.
Do not let go of the appliance until
you are sure it is safely attached to the
bracket.
7. Gently bring the wall re down against
the wall. Mark the two xing hole
positions for the lower xing bracket on
the wall, then remove the wall re.
8. Drill the wall and insert the wall plugs.
9. Ret the wall re to the wall and
fasten the bottom xing bracket to
the wall using the screws provided to
permanently x the wall re in place.
10. Remove the front panel. Unpack the
logs from the bag and place them along
the light unit in the desired position.
11. Put the front panel back in place.
USING YOUR APPLIANCE
Helpful advice before tting:
The appliance can be operated either by the
switches located on the left hand side of the
re under its canopy or by the supplied remote
control.
MANUAL OPERATION
The ON/OFF switch must be switched to ‘I’ to
begin operating the re.
The re is operated through the buttons located
on the right hand side of the re under the
canopy.
The re will beep to indicate that it is powered
up.
• Turn the appliance on by icking the
Power On/O switch to the On position,
represented by the symbol ‘I’.
• The fan heater has two separate settings
that are selected by pressing each of the
two heat selection switches on the main
body of the unit. Press the | switch for low
heat, or press the || switch for the high
heat setting.
• Press the I switch to select the 1000W
heat setting. The Heat 1 display will
illuminate to indicate this setting has been
selected.
• Press the II switch to select the 2000W
heat setting. The Heat 2 display will
illuminate to indicate this setting has been
selected.
• To turn the heater o press the Function
button again and set the power switch
to 0.
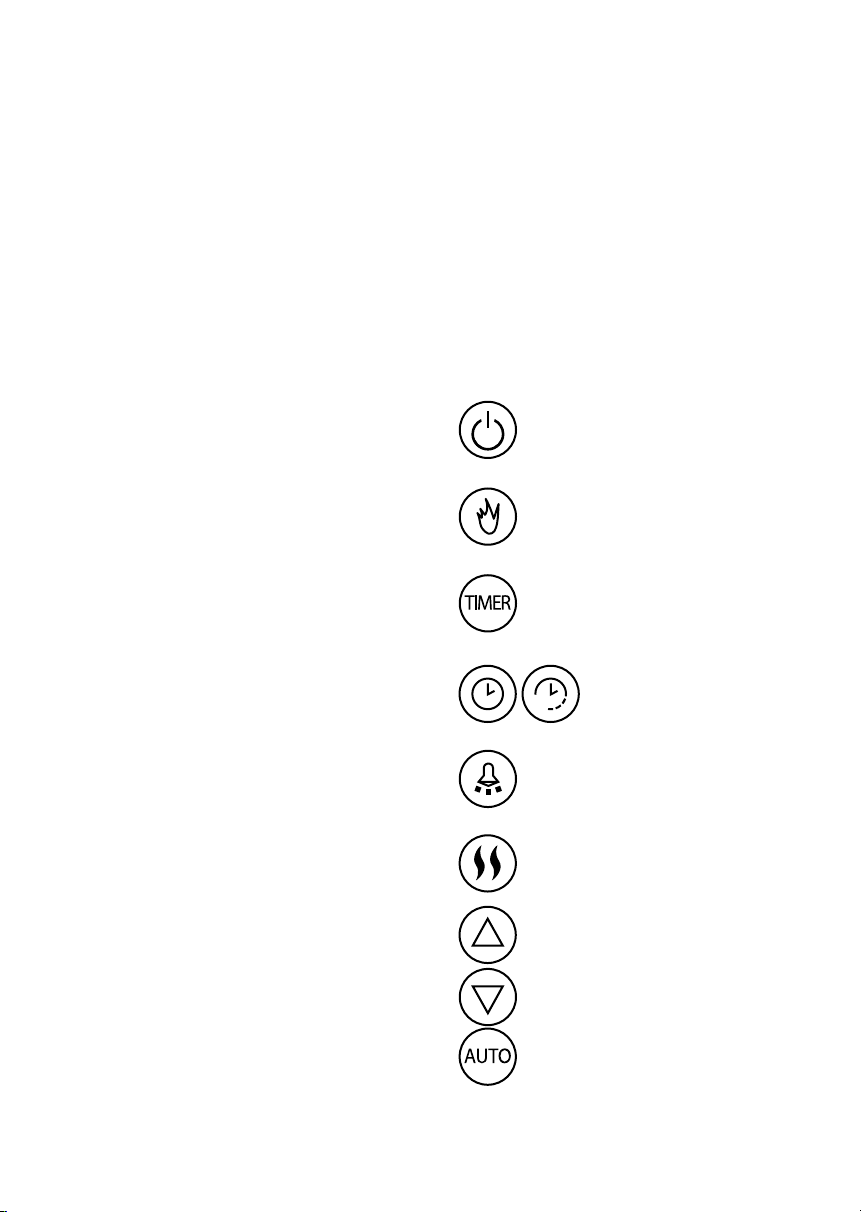
REMOTE OPERATION
Press once to turn the appliance
and ame eects on. Pressing
again turns the appliance and
ame eects o.
Press to cycle through the ame
eect settings.
Time Setting. See Setting the Time
and date.
Lamp Control. Press once to turn
the lamps on. Pressing again turns
the lamps o.
Heat Setting Selection. Press once
to activate 1000W heat, pressing
twice activates 2000W. Pressing
again will turn o the heating.
Advance Timer.
Decrease Timer.
Auto Mode Button. See auto
mode settings.
Timer Setting. See Setting
The Timer.
Loading ...
Loading ...
Loading ...