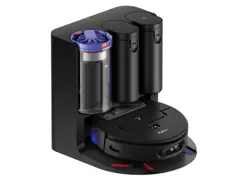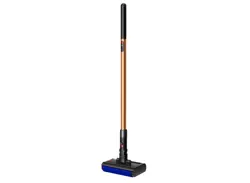
User manual
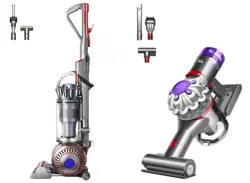
In the box
Getting started
Charging your machine
Changing your battery
Emptying your bin
Washing your bin
Washing your filter
Washing your brush bars
Washing your non-powered tools
Clearing blockages
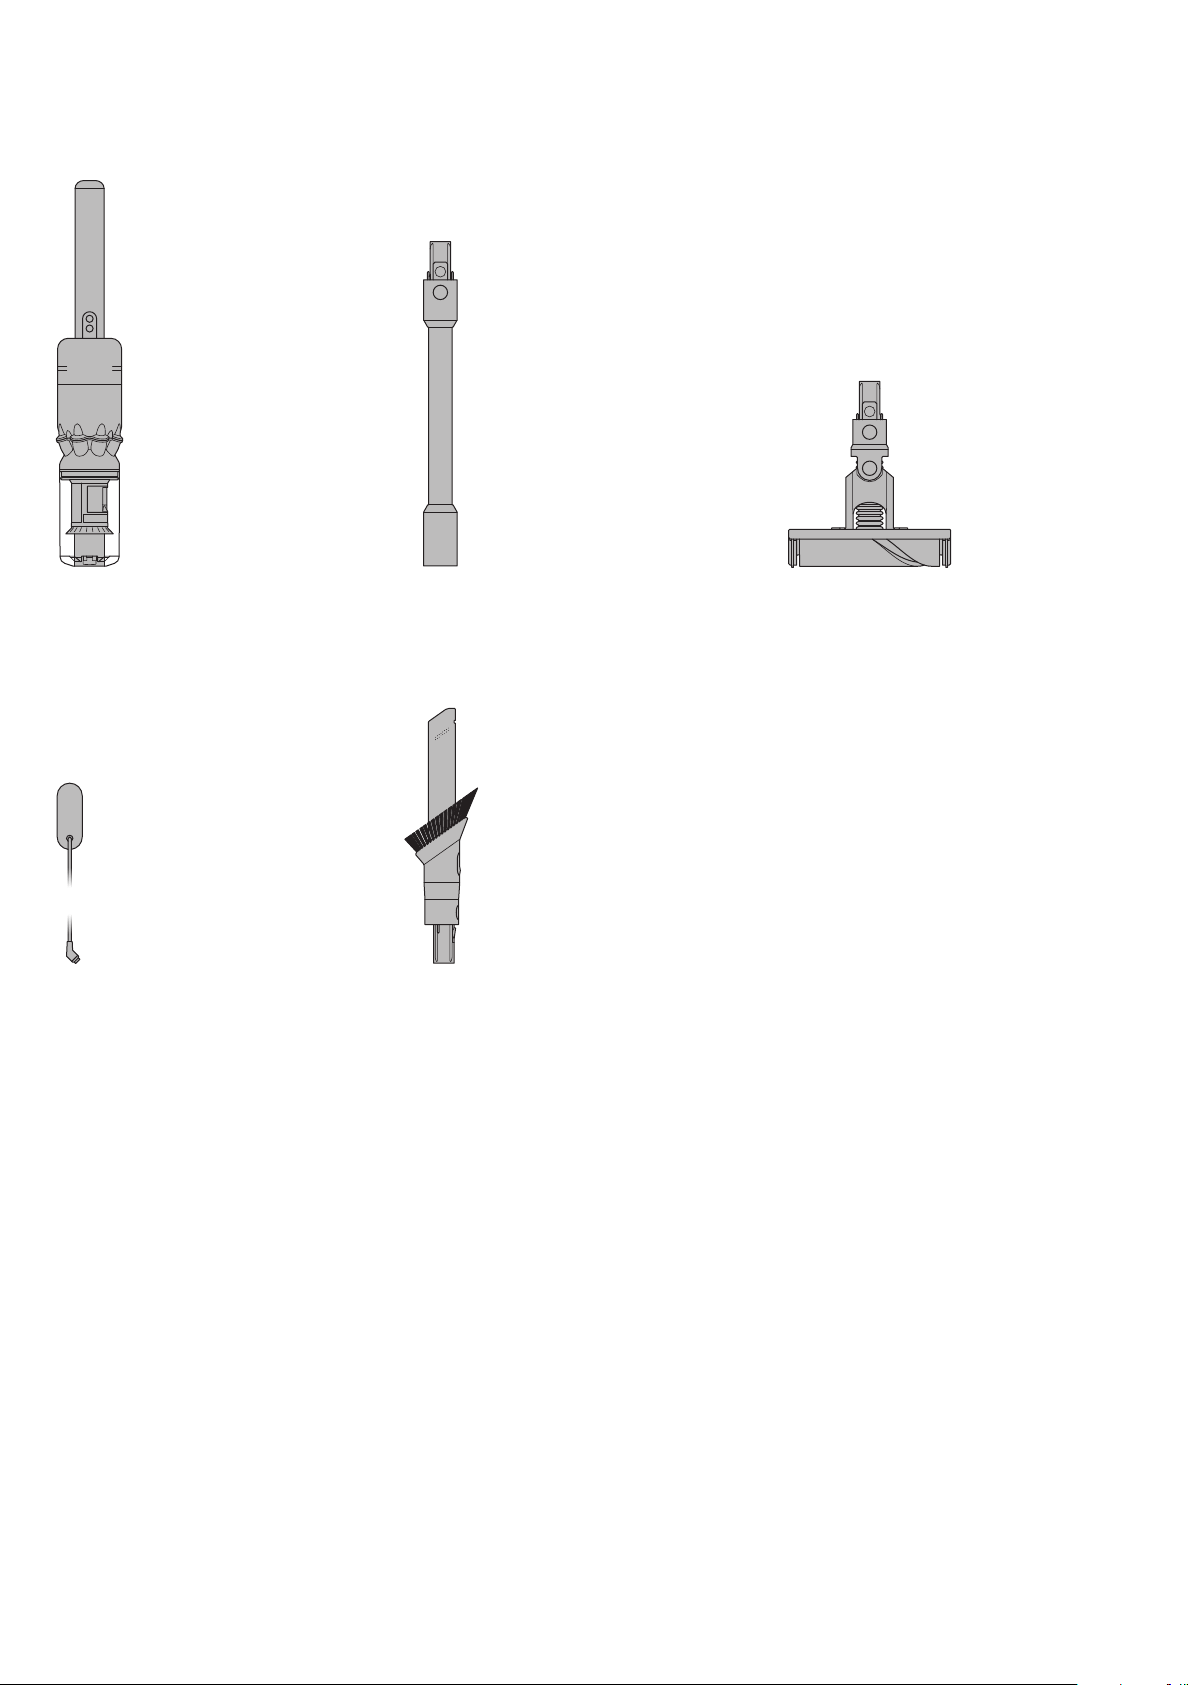
Dyson omnidirectional
soft roller cleaner head
Four 360°stabilizing casters
allow the cleaner head to glide in
all directions, making it easy to
navigate around obstacles and
clean in tight spaces.
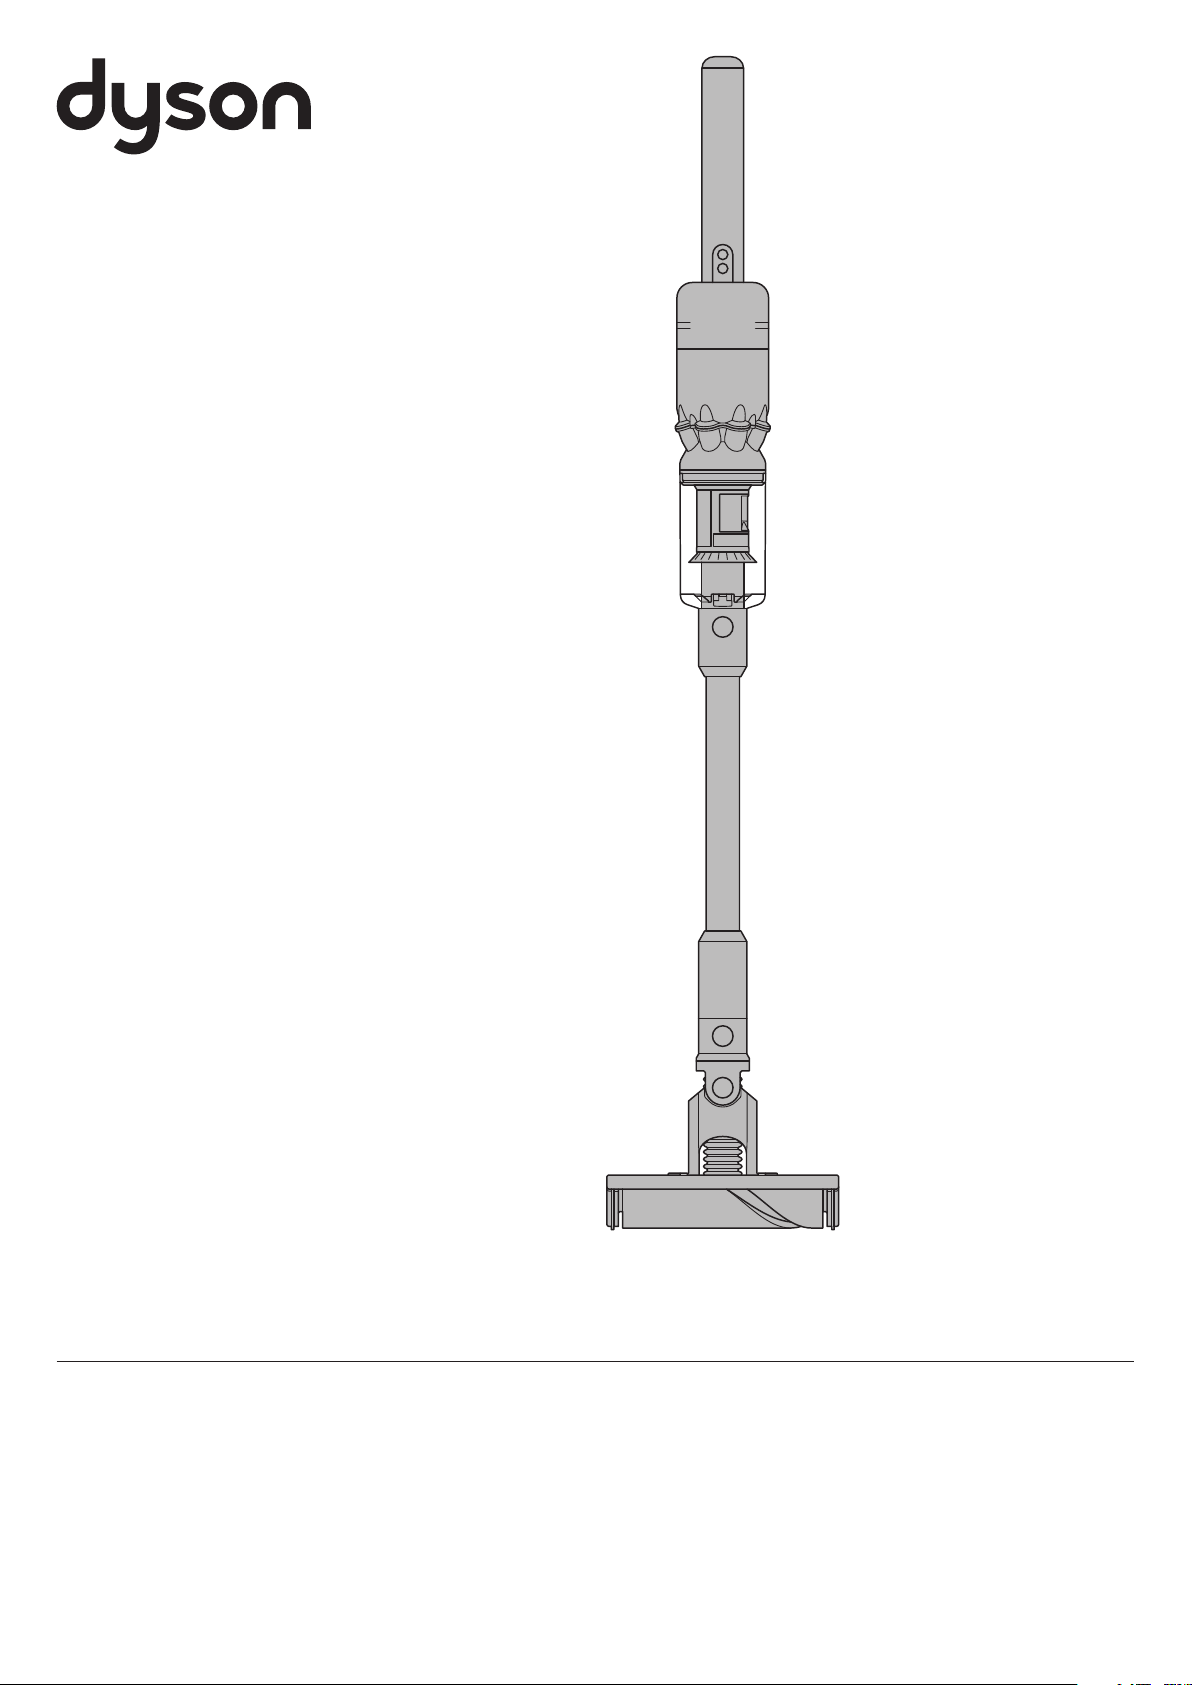
Vacuum cleaner
Wand
Charger
Charges your vacuum with
or without a dock.
Combination tool
Two tools in one –wide nozzle and
brush, for quick switching between
cleaning and dusting tasks around
your home or car.
In the box
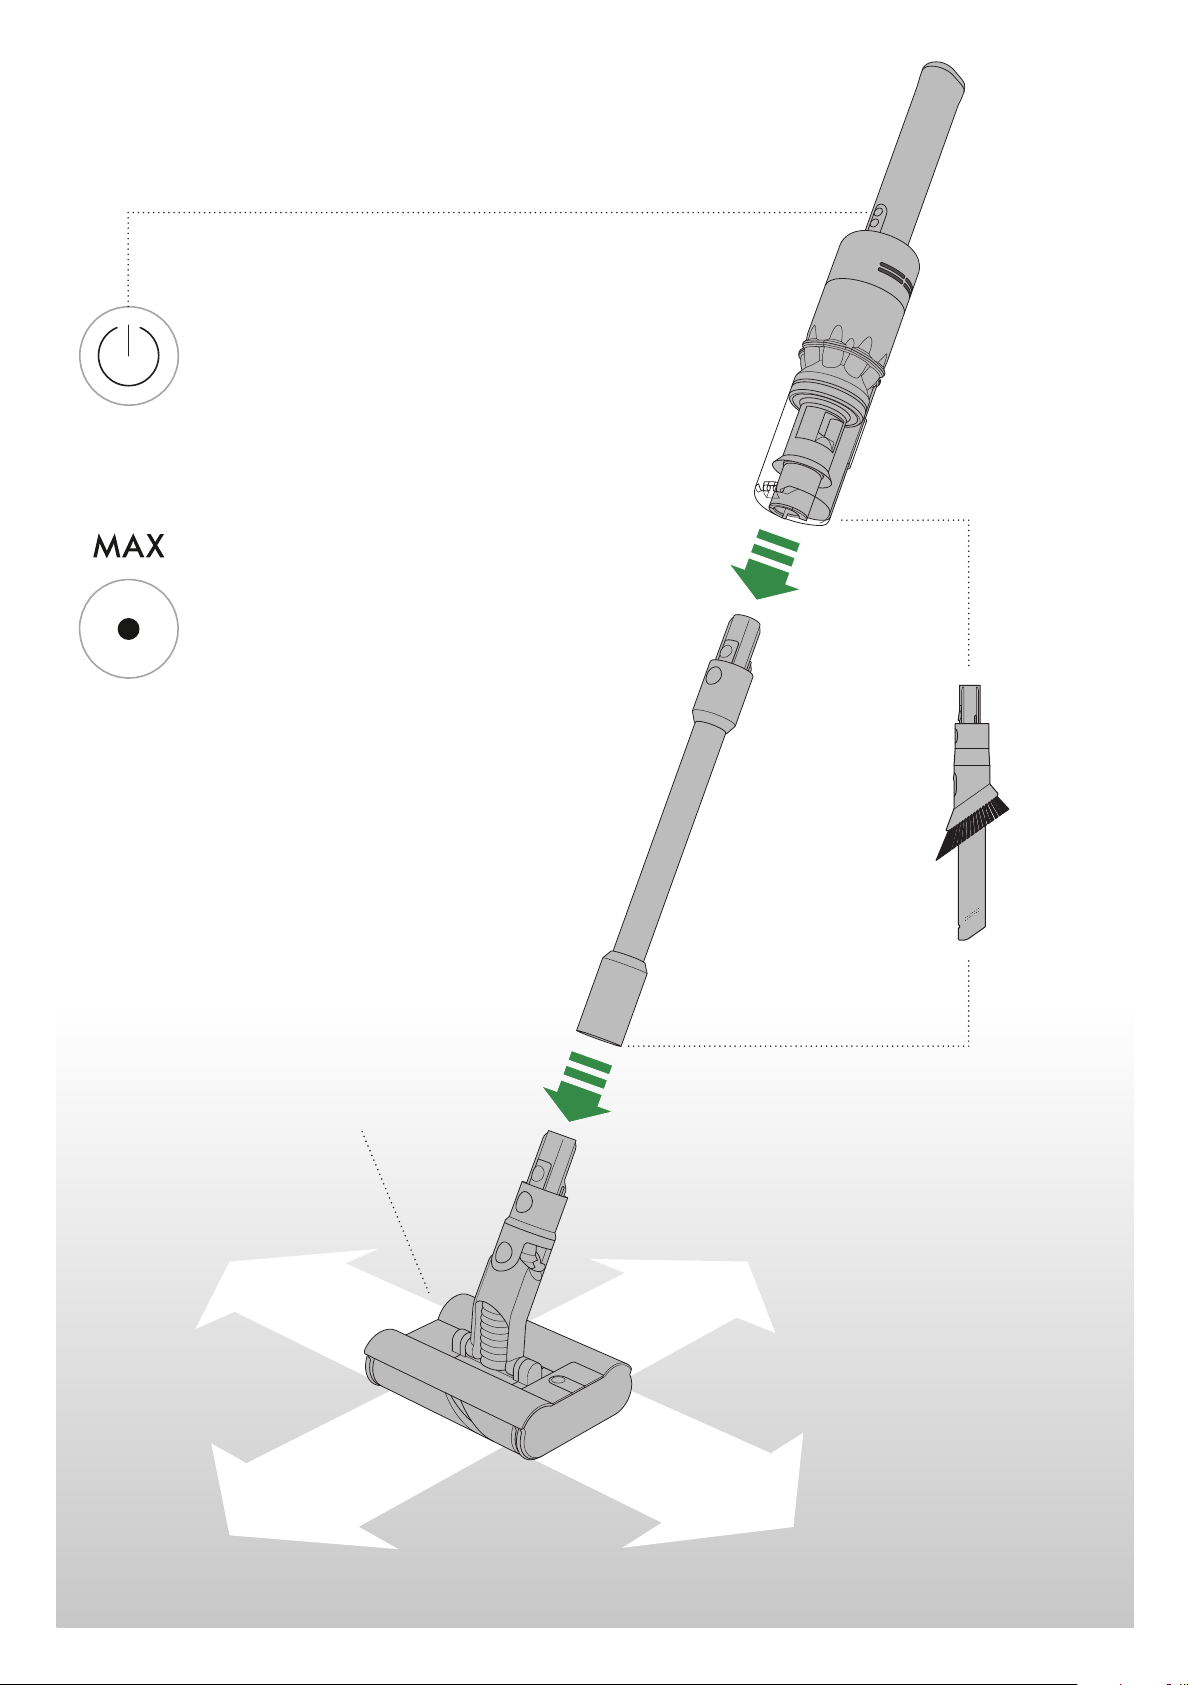
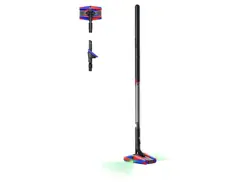
Power button
Easy power selection
buttons for simple control
and added maneuverability.
Press the button to change
power modes.
Eco mode
The optimum balance
of power and run time.
Max mode
Delivers maximum power.
For intensive cleaning of
ground-in dirt.
Dyson omnidirectional
soft roller cleaner head
Four 360°stabilizing casters
allow the cleaner head to glide
in all directions, making it easy
to navigate around obstacles
and clean in tight spaces.
Getting started
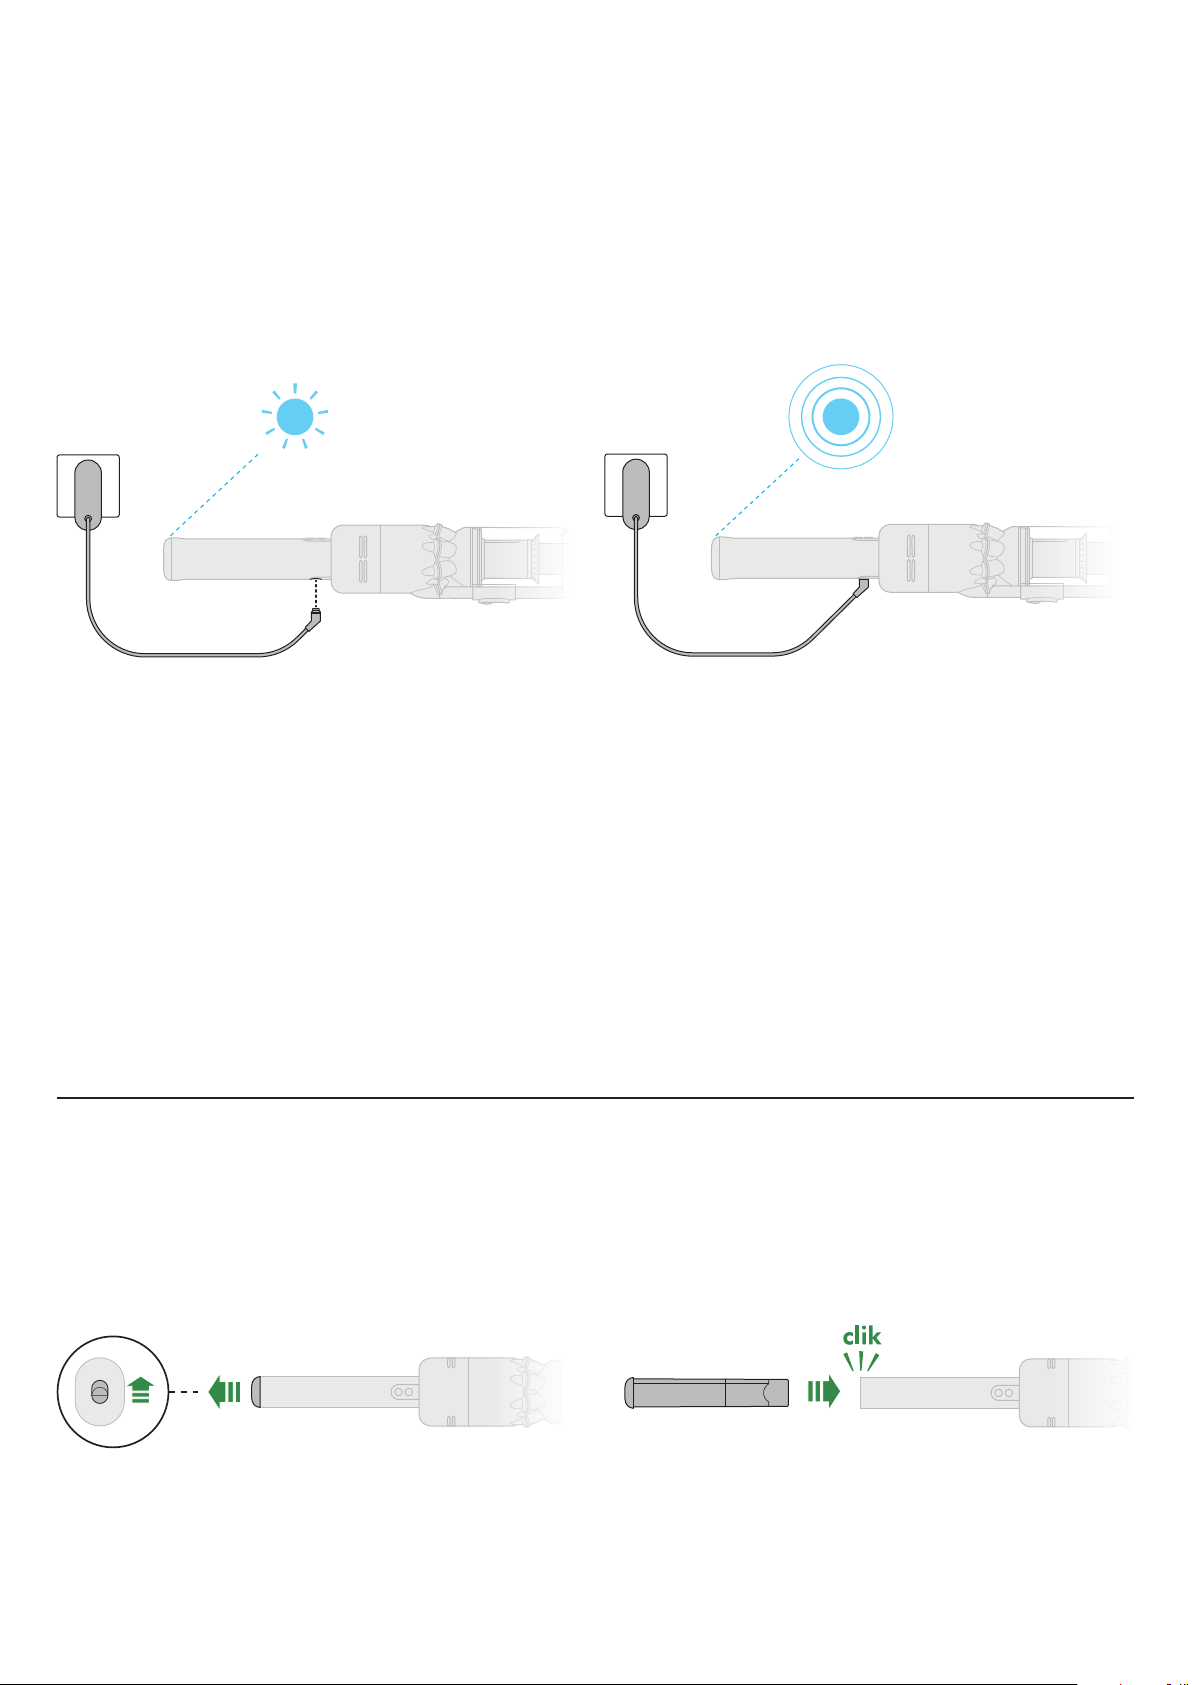
For the best experience, we recommend fully charging your
machine as soon as you open the box and after every clean.
Charging your machine
The LED light on the end of the handle will flash when the
power is running low and to charge your battery.
Charge your machine by either connecting the charger
directly to the charging point at the base of the handle of your
machine or docking on the docking station.
The LED light on the end of the handle will pulse with a blue
LED light when charging, and the light will go out when fully
charged.
It can take up to 3.5 hours to fully charge your battery.
Your battery has been designed to be left on charge.
Your machine won’t operate or charge if the ambient
temperature is below 5°C (41°F). This is designed to protect
both the motor and battery.
You can help prolong the battery life by leaving your machine
to cool down before recharging.
Removing your battery
Push up the battery release button on the top of the
handle and slide the battery out of the handle.
Charge the battery.
Refitting your battery
Align your battery with the handle and slide it in.
Push firmly until it clicks into place.
With the click-in battery, you can have flexible
charging anywhere.
Changing your click-in battery
2
1 3
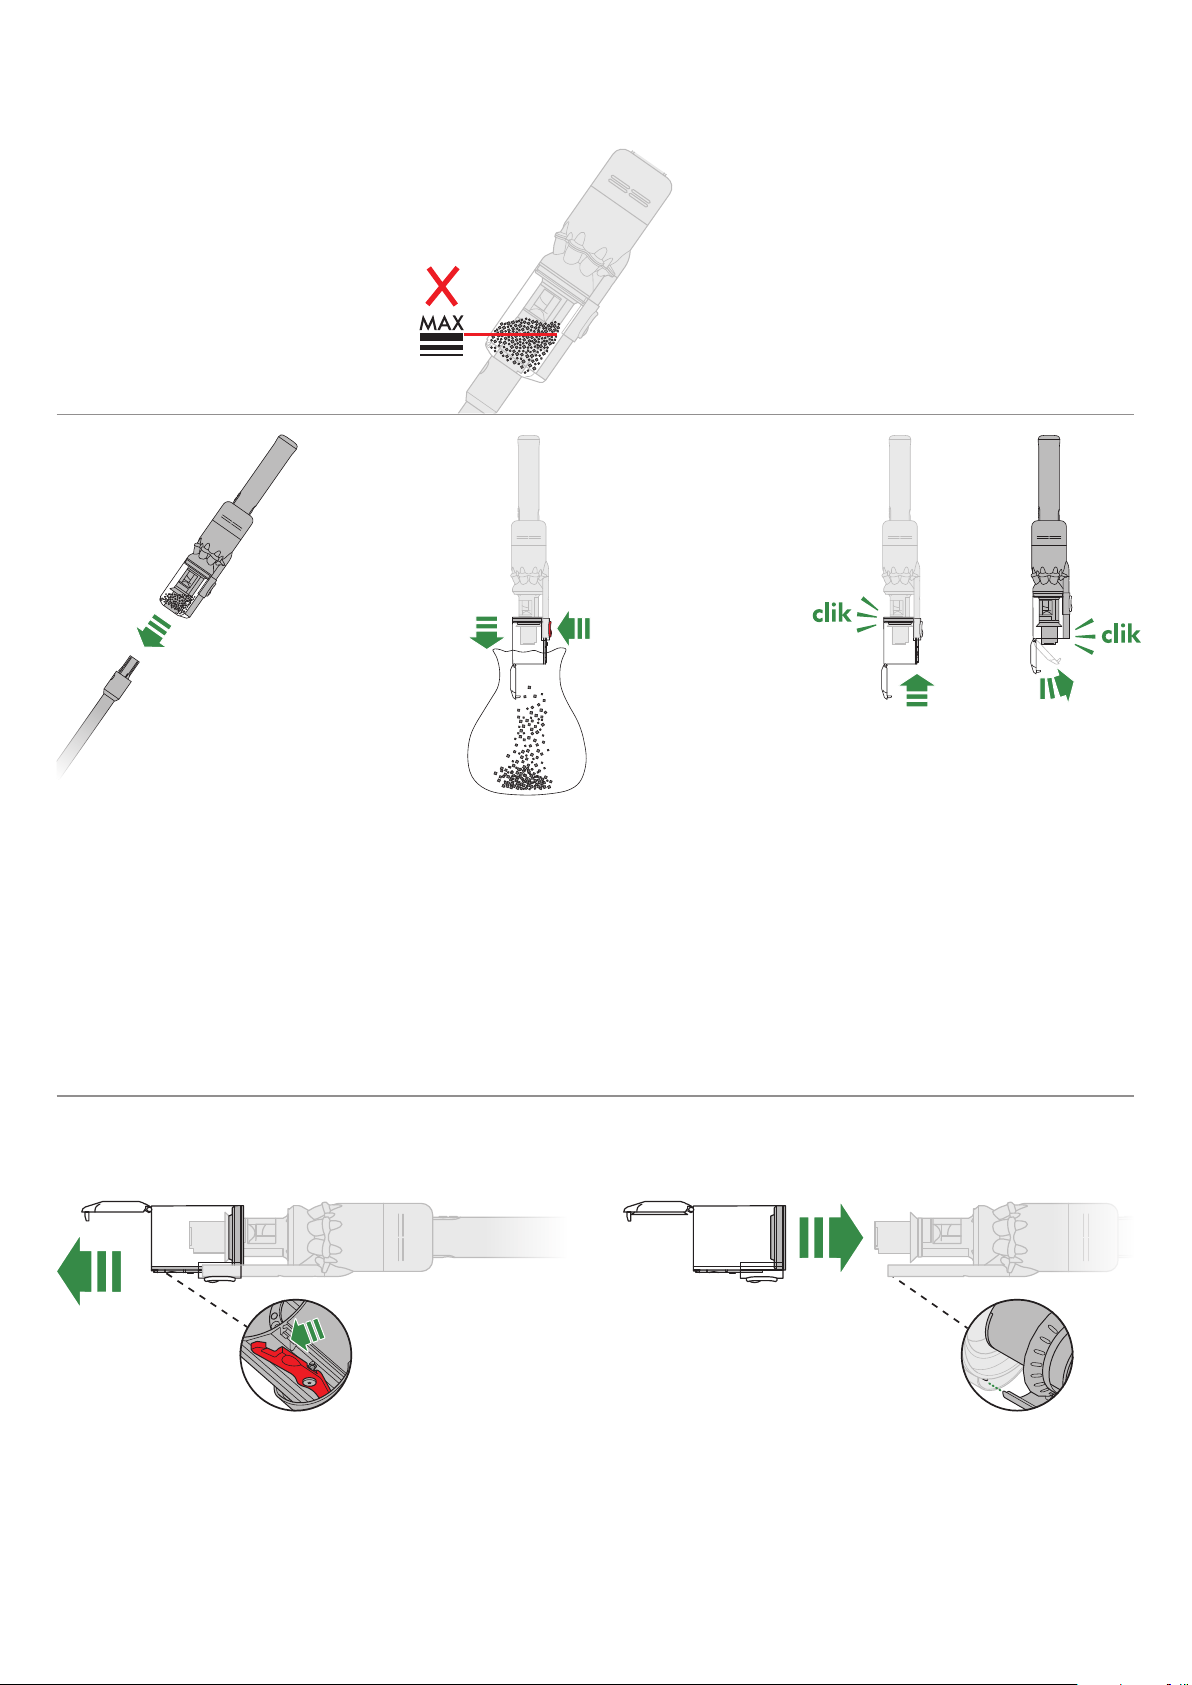
Empty your bin as soon as the dirt
reaches the MAX mark.
You may need to clean the
filter more often if you use your
machine with a full bin.
Emptying your bin
Press the red wand release button
and pull the wand away from the bin.
Hold your vacuum over a bin.
Push the red bin release button, taking
care not to press the power button. The
bottom of the bin will open and the
shroud will slide down inside the bin,
wiping away any dirt.
If the bin doesn’t open, check the bin
release button is pushed down fully.
To close the bin, push the bin base
upwards until the bin and lid both click
into place. Reconnect the wand.
To reduce contact with dust/allergens,
put your bin in a dust-proof bag when
emptying it. Remove the clear bin
carefully and seal the bag tightly.
Reconnect the wand.
Washing your bin
Don’t put any part of your machine in a dishwasher or use
detergents, polishes or air fresheners.
Empty your bin before washing it.
Push the red bin release lever on the bin runner and slide the
bin off the runner.
Wipe the bin with a damp cloth only.
Make sure that all parts of your bin are completely dry before
refitting it.
Slide the bin onto the runner.
3
4
clik
2
1
3
4
clik
2
1
1 2 3
2
1 3 4
Don’t put any part of your
machine in a dishwasher or
use detergents, polishes or
air fresheners.
Turn your filter counter-
clockwise and pull it away
from your machine.
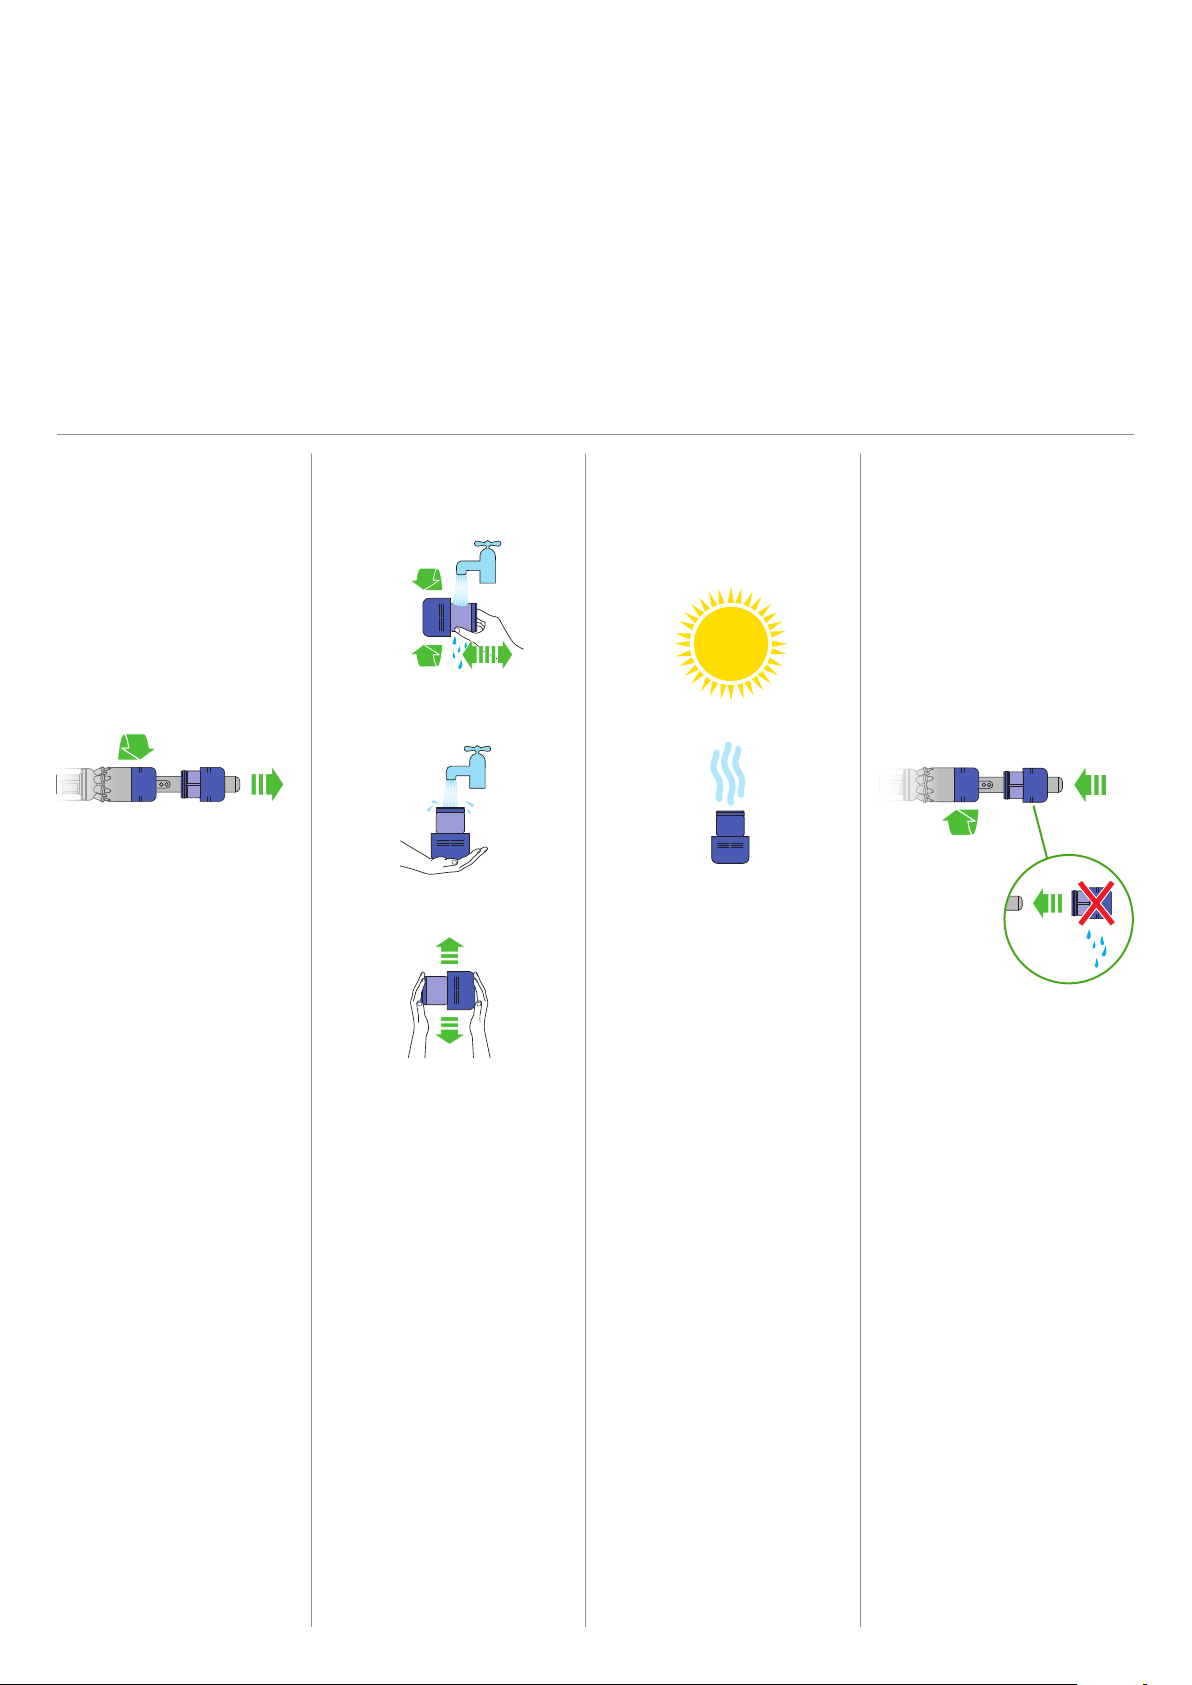
Before washing your filter,
tap it gently over a bin to
remove any excess dust
and debris.
Wash your filter with cold
tap water.
Wash the outside of the
filter, rubbing with your
fingers to remove the dirt.
Place your hand over one
end of the filter, fill the filter
with water and place your
other hand over the open
end. Shake to wash the
inside of the filter.
Repeat these steps until the
water runs clear.
Shake to remove any excess
water and place it with the
filter end up. Leave for at
least 24 hrs to dry.
Make sure the filter is
completely dry before
refitting.
To refit your filter, slide it
onto the handle and turn
it clockwise until it clicks
into place.
Your filter may need more
frequent washing if you
vacuum fine dust, use Max
mode frequently or use with
the bin full.
Wash your filter at least once a month
to maintain the best performance.
Make sure the filter is completely dry
before refitting.
Washing your filter
clik
clik
clik
clik
clik
clik
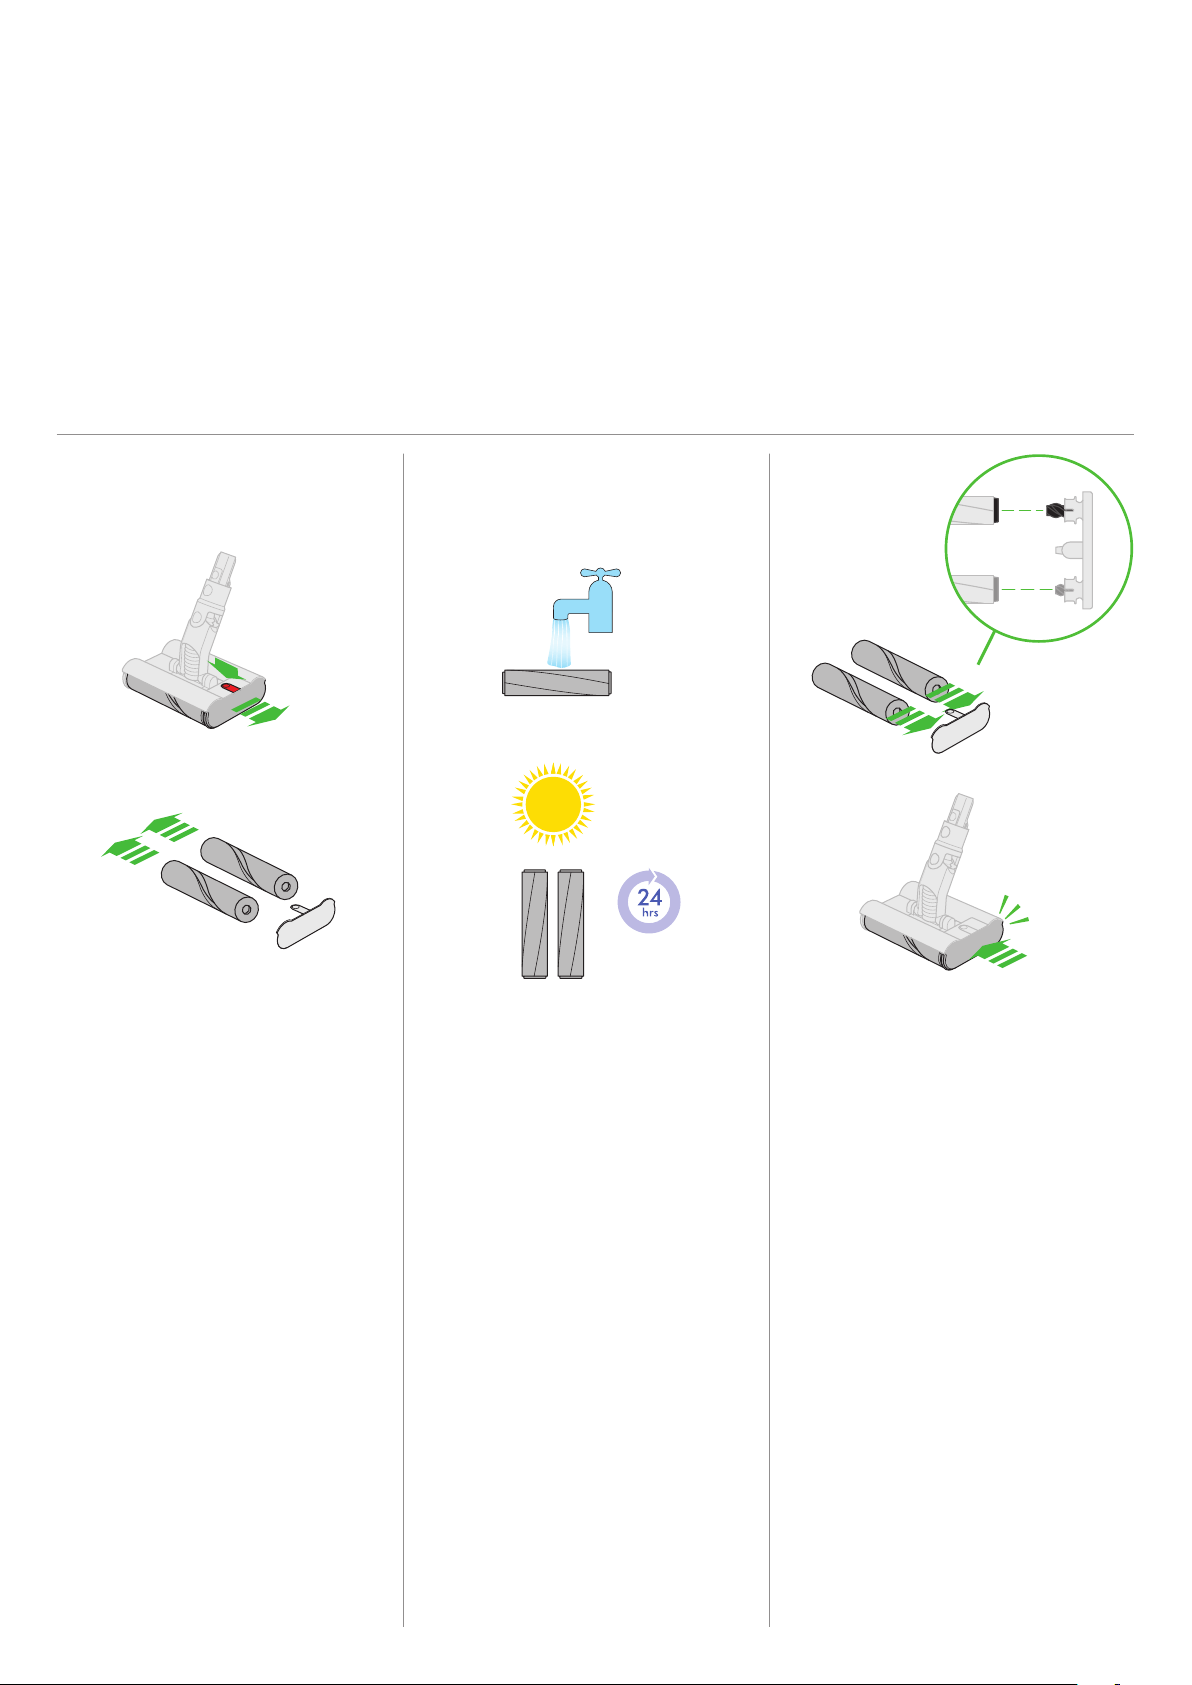
Make sure your brush bars are
completely dry before refitting.
Each brush bar is engineered to
correspond to a specific position on
the end cap. It is important that both
brush bars are fitted in the correct
position. Slide the assembled brush
bars back into the cleaner head.
Push the end cap until it clips securely
back into the closed position.
The cleaner head housing is not
washable and should only be wiped
over with a damp lint-free cloth.
Hold your brush bars under cold tap
water and gently rub to remove any
lint or dirt. Keep washing until the
water runs clear.
Stand the brush bars upright and
leave for at least 24 hours to dry.
Don’t put any part of your machine
in a dishwasher or use detergents,
polishes or air fresheners.
Press the cleaner head release button
to remove it from the wand.
Push the button on top of the cleaner
head to release the brush bars. Slide
them out of the cleaner head.
Pull the brush bars off the end cap
and put the end cap to one side, don’t
wash it.
1
2 3
To maintain optimum performance,
check and wash your brush bars regularly.
Washing your brush bars

Washing your non-powered tool
Combination tool
Wipe your non-powered tool with a damp cloth only.

1 2
If your machine detects a blockage, the motor will pulse
six times, You won’t be able to use your machine until the
blockage has been cleared.
If you try to use your machine when the motor is pulsing,
it will automatically cut out.
Leave your machine to cool down before looking for
blockages and, for your safety, take care not to touch the
power button.
Clearing blockages
Be careful of sharp objects that may be blocking
your machine.
Check for blockages in the cleaner head, and if needed,
follow the instructions for removing the brush bars.
Remove the bin and check for blockages in the main
body of your machine.
Make sure any blockages are completely cleared
and all parts are fitted before using your machine.