User manual
SV12 JN.00000 PN.000000-00-00
00.00.00 VERSION NO.01
Contents
Assembling your machine
Getting started
Power and continuous monitoring
Information menu
Auto mode
Airflow speed and direction
Oscillation
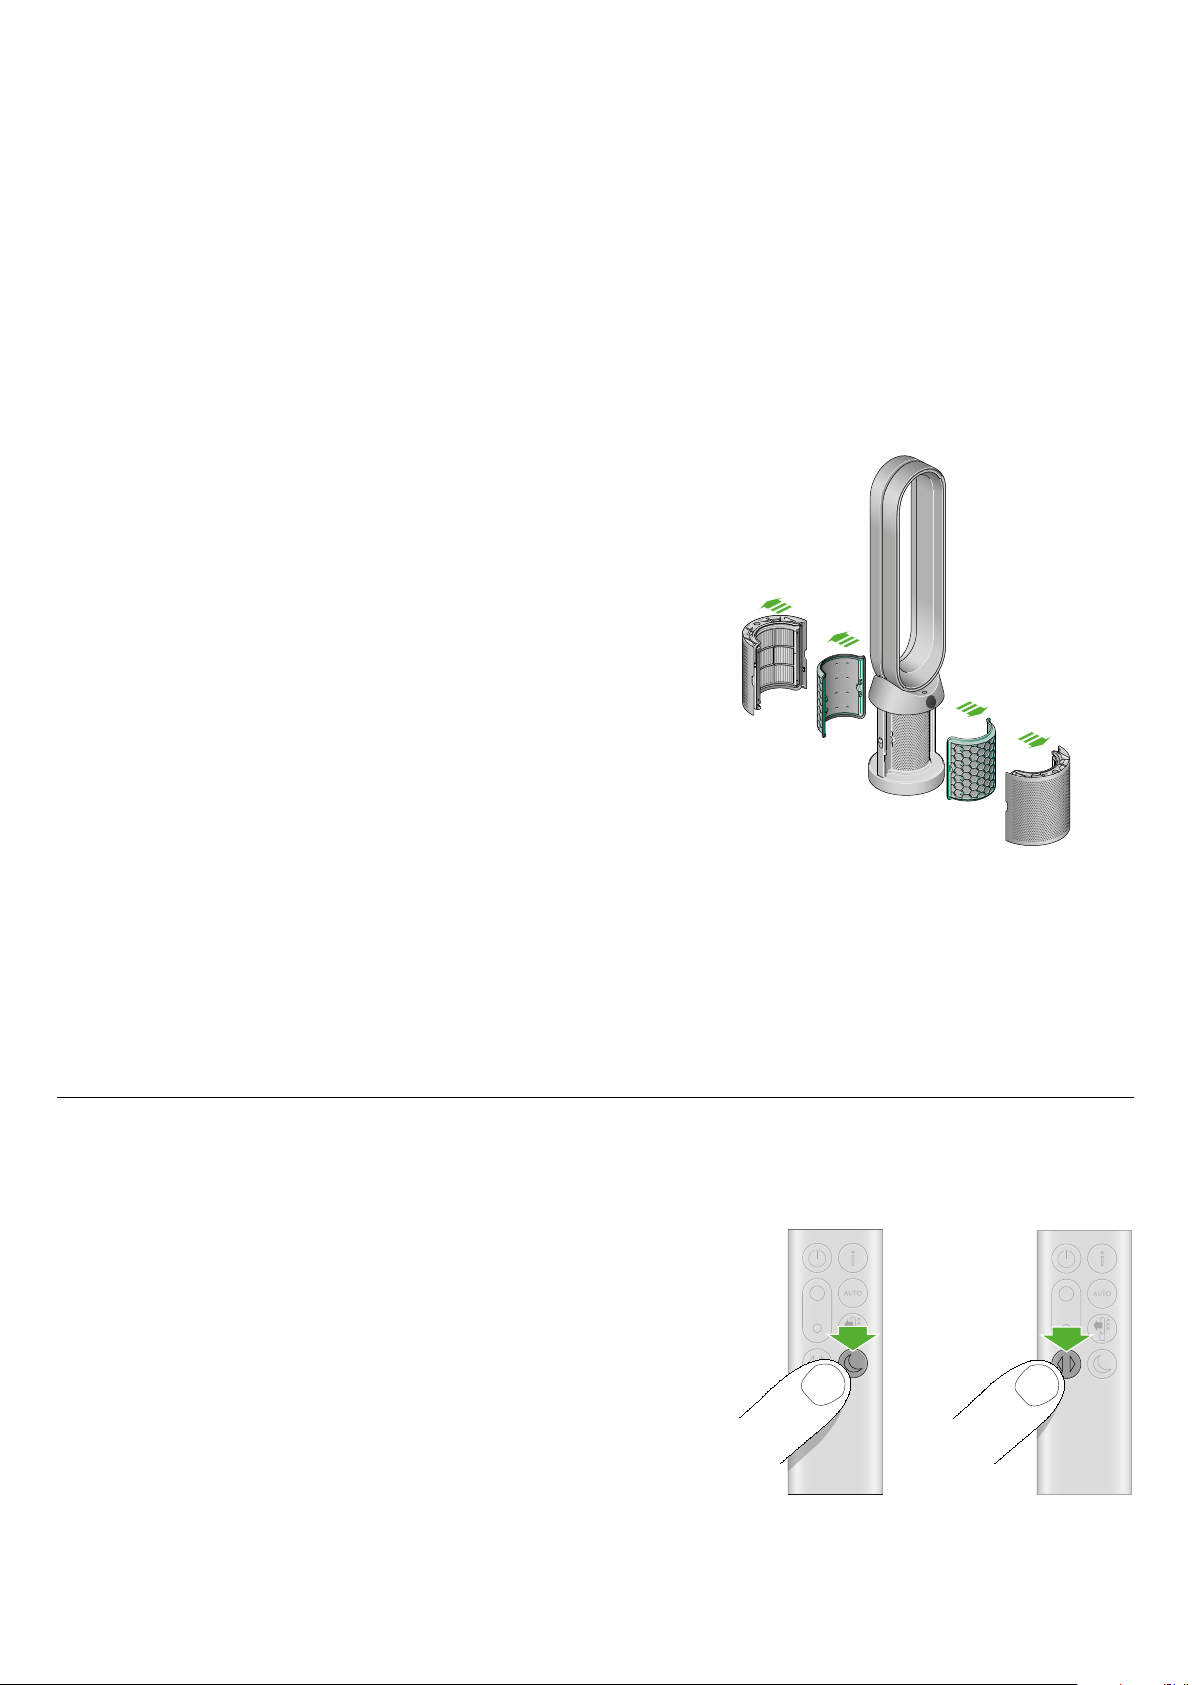
Night mode and Sleep timer
Changing your HEPA+Carbon filter
Resetting your HEPA+Carbon filter life
Changing your HEPA and carbon filters
Resetting your HEPA and carbon filter life
Looking after your machine
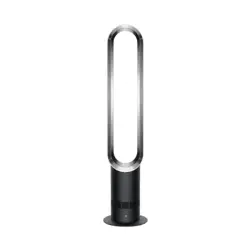
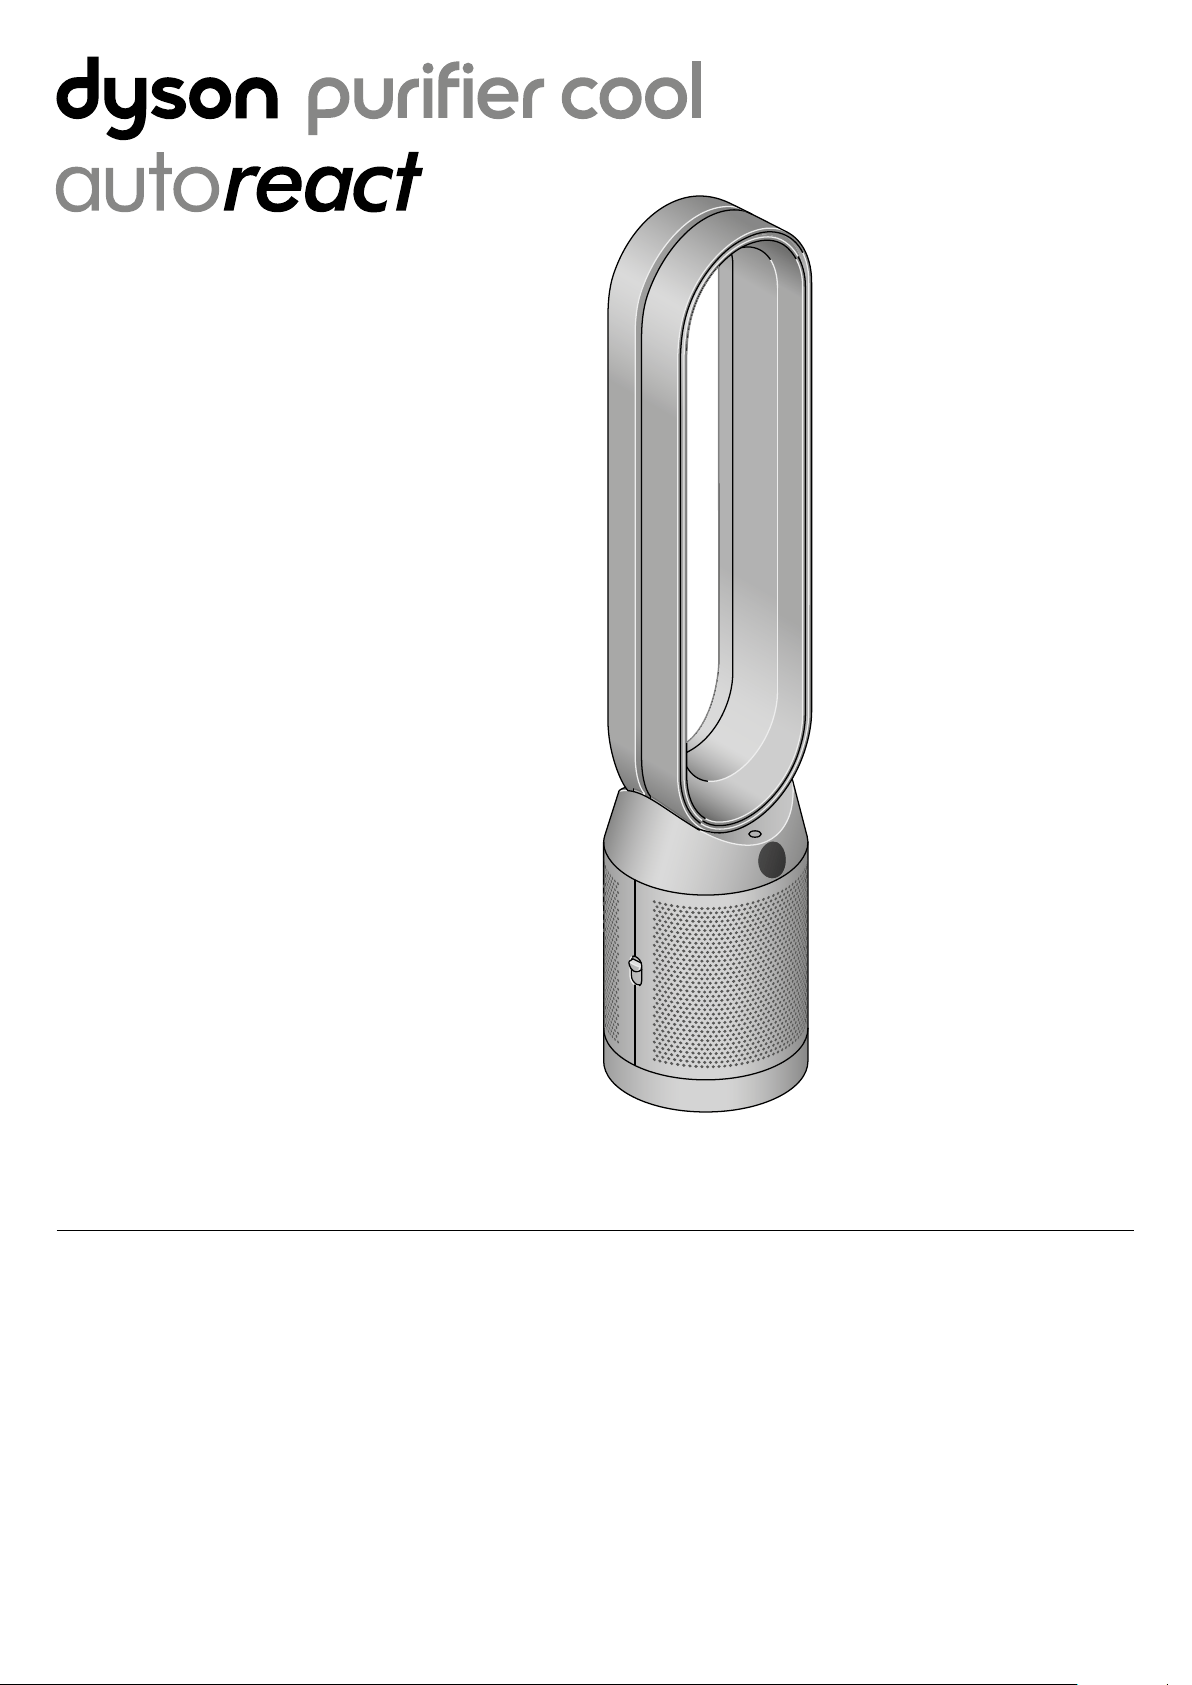
Dyson Purifier Cool Auto React
Front view of the Dyson Pure
Cool Auto React air purifier
fan, showing the amplifier
loop and mesh filter cover.

Assembling your machine
Getting started
Use both hands to lift your machine out of the box, by its base.
Do not lift out by the loop amplifier.
Assemble your machine with the filters that are supplied.
Supplied with a HEPA+Carbon filter.
Push your HEPA+Carbon filter into the outer cover and position onto
the base. Push firmly until both outer covers click securely into place.
Supplied with separate HEPA and carbon filters.
Push the carbon filters into place on the machine.
Push the HEPA filter into the outer cover. Put the outer covers into position
on the base and push firmly until they both click securely into place.
Standby on/off
Standby on/off
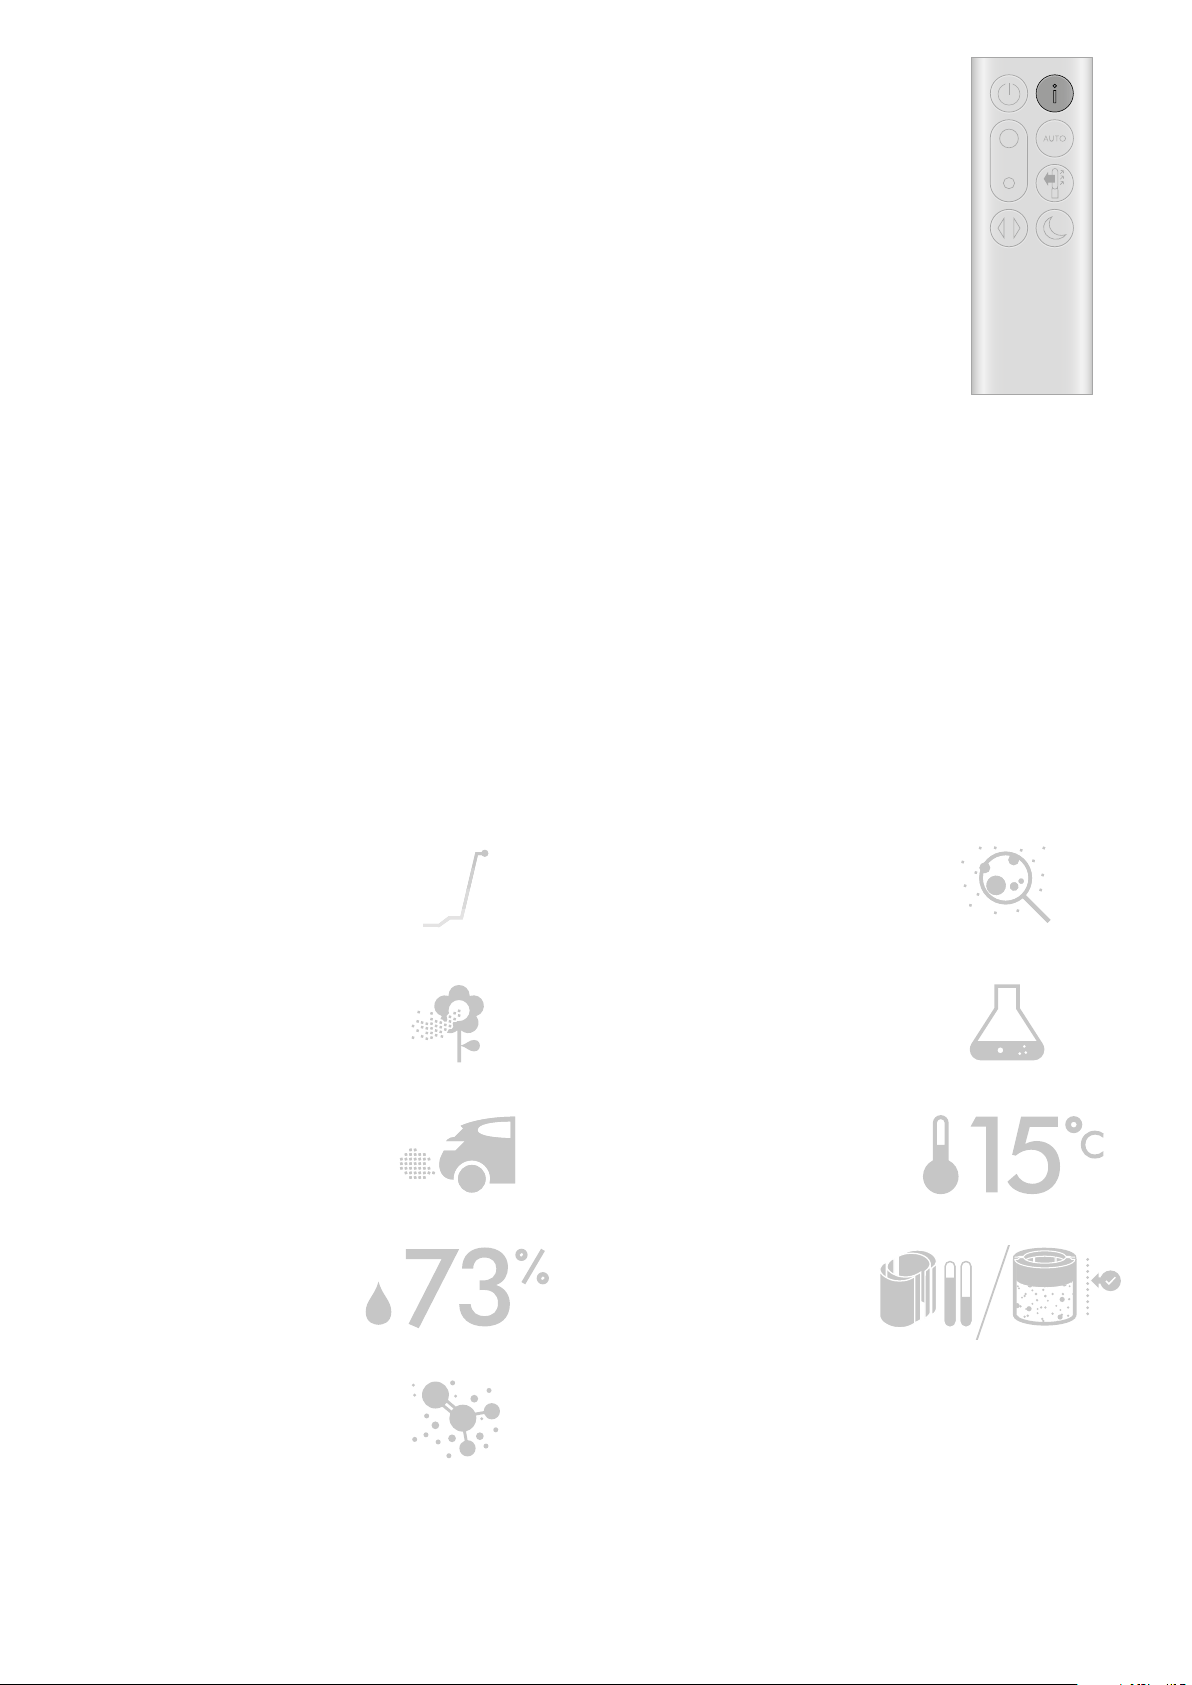
Remote control
Information menu
Airflow speed
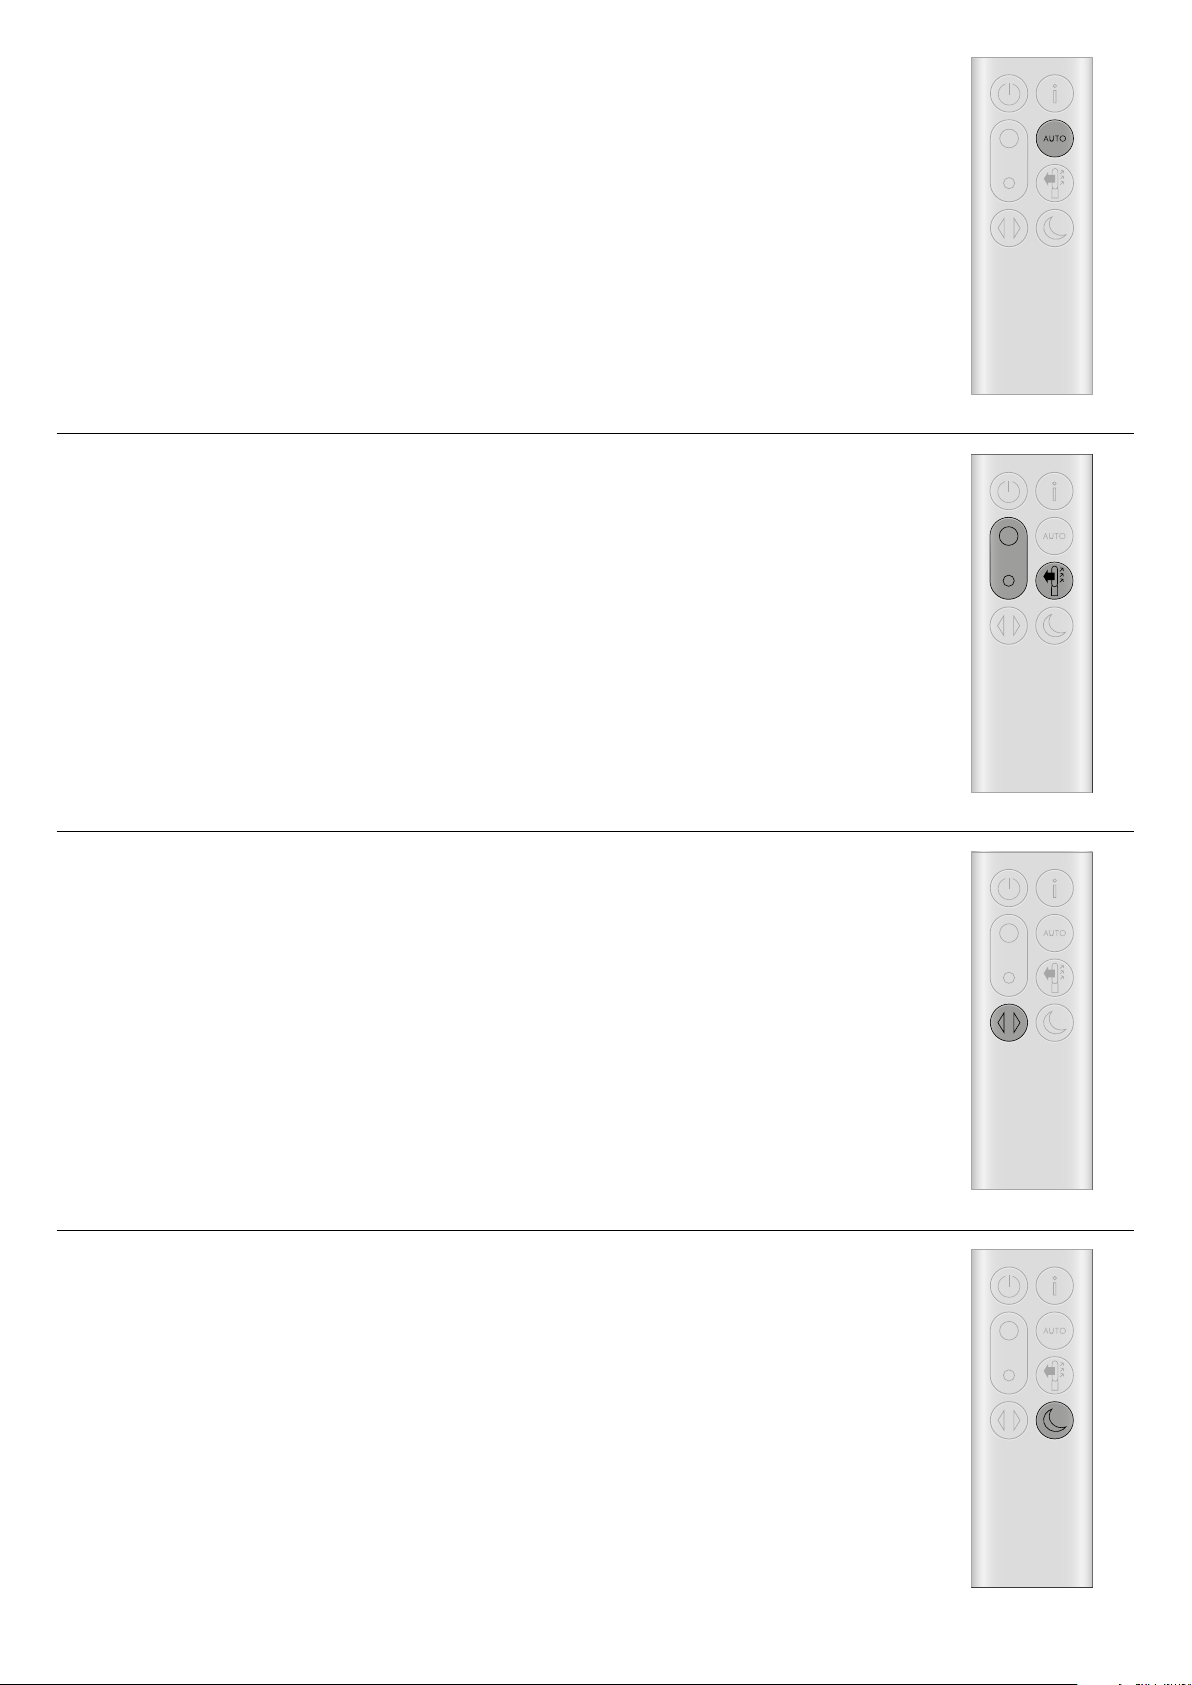
Auto mode
Oscillation on/off
Airflow direction
Night mode
Place the remote control on top
of the machine with the buttons
facing down.
Plug in and switch on.
Clik
Dyson Purifier Cool Auto React
Dyson Purifier Cool Auto React
The air purifier fan with the
filter covers open showing
a HEPA filter located in the
filter covers and a carbon
filter. Arrows demonstrate
that the carbon filter is
fitted directly to the base
of the machine and the
filter covers will need to be
assembled onto the base
of the machine.
An image of the air purifier fan with
the remote placed on the top of the
loop amplifier and the location of the
standby on/off button on the top of
the base of the machine.
The layout of the remote control with the power button on the top left, the
airflow speed toggle button in the middle left and the oscillation button on
the bottom left. On the top right-hand side is the Information menu button,
then going downwards is the Auto mode button, Airflow direction and then
the Night mode button at the bottom.
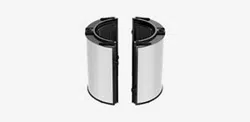
The air purifier fan with
the filter covers open
showing a HEPA plus
carbon filter located in
the filter covers. Arrows
demonstrate that the filter
covers will need to be
assembled onto the base
of the machine.

Power and continuous monitoring
Stand-by on/off
Continuous monitoring
Continuous monitoring
Press the Standby on/off button on your Dyson purifying fan or remote
control to stop your machine. It will continue to monitor the air quality.
Press and hold the Auto mode button on the remote control for 5 seconds
to turn it on. The LCD screen will indicate when continuous monitoring is
on or off.
Continuous monitoring is turned off by default. Once turned on, it will always
be active until you turn it off again.
With continuous monitoring turned on, your Dyson purifying fan will gather
air quality, temperature and humidity information, which is displayed on the
LCD screen.
Information menu
Press this button to scroll through the information being monitored by your
Dyson purifying fan.
Information about air quality, temperature, humidity and filter levels is shown
on the LCD screen.
When a particular type of pollutant causes air quality to decrease, a symbol
for the pollutant will show on the LCD screen.
Volatile organic compounds
Indoor humidity
Filters
Formaldehyde (HCHO)
Nitrogen dioxide and other oxidising gases
Indoor temperature
Particulate matter (PM2.5)
Particulate matter (PM10)
VOCs are typically odours that may be
potentially harmful. These can be found in
cleaning products, paints and furnishings.
The amount of water vapour in the air,
shown as a percentage.
The remaining filter life is shown
on the LCD screen and will
indicate when your filters need
replacing.
A common indoor pollutant. It can be
released for many years from furnishings,
floorings and glue.
These potentially harmful gases are released
into the air by combustion, for example, the
burning gas when cooking and in vehicle
exhaust emissions.
Monitor the ambient temperature to help
maintain a comfortable environment.
Microscopic particles up to 2.5 microns in size,
suspended in the air we breathe. These include
smoke, bacteria and allergens.
Larger microscopic particles up to 10 microns
in size, suspended in the air we breathe. These
include dust, mould and pollen.
Indoor air quality - 12 seconds
Monitor the current air quality with a graph
showing the last 12 seconds of data.
The remote control with
the information button
on the top right.
Set your Dyson purifying fan to Auto mode and the on-board sensors will
intelligently adjust the settings of the machine according to the air quality.
Air quality: your machine will pause when the target air quality has been
reached, switching on again when the air quality levels drop.
Airflow speed: the airflow speed will increase until the target air quality and
temperature have been reached.
Press the Airflow speed button to increase and decrease the airflow speed.
Press the Airflow direction button to change the direction of airflow from front
to back.
Change the airflow direction for your personal comfort.
Select the Airflow direction to Fan mode for airflow from the front for
purifying and cooling.
Auto mode
Airflow speed and direction
In Night mode, your Dyson purifying fan will continue to monitor and
respond to changes in air quality, but only using its quietest settings –
and with its LCD screen dimmed.
Press the Night mode and Sleep timer button to scroll through the
timer options.
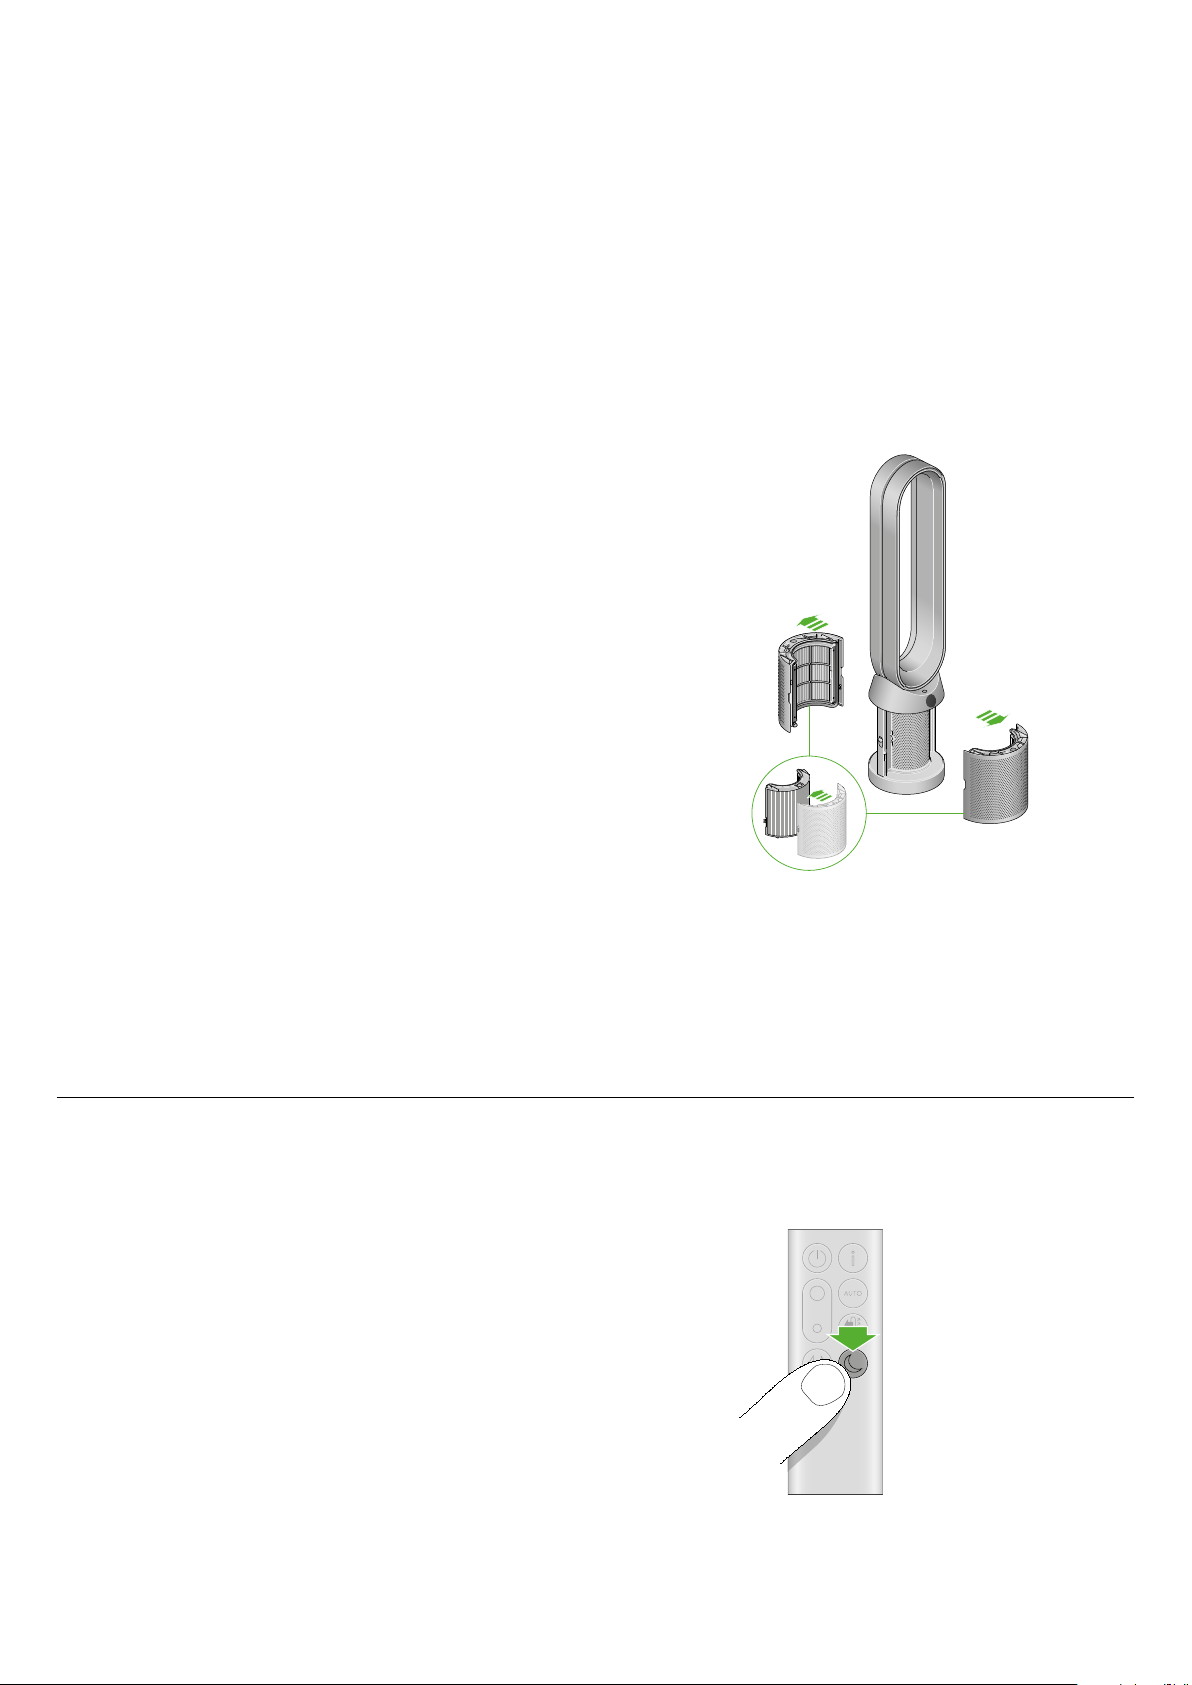
Oscillation
Night mode and Sleep timer
Press the Oscillation button to circulate the air around the room and scroll
through the oscillation settings from 0°to 350°.
The remote control with
the Auto mode button
below the Information
button on the right.
The remote control
with the Airflow speed
toggle button on the
left hand side, in the
middle. The Airflow
direction button is on
the right below the Auto
mode button.
The remote control with
the oscillation button
on the bottom left.
The remote control with
the Night mode and
sleep timer button on
the bottom right.
Changing your HEPA+Carbon filter
Supplied with a HEPA+Carbon filter.
To change your HEPA+Carbon filter, push down on the buttons either side
of your machine to release the outer cover. Push down on the tabs to remove
the filter.
Push the replacement filter into the outer cover and make sure the tabs click
into place.
Put the outer covers into position on your machine and push firmly until they
both click securely into position.
Plug in and switch your machine, and reset your filter life.
Resetting your HEPA+Carbon filter life
5
sec
Resetting your HEPA+Carbon filter life
It's important to reset your filter life after you have replaced your filter.
Press and hold the Night mode button on your remote control.
The display on your machine will countdown from five, the filter life will
be reset and your machine is ready to use.
Before changing your filter, switch off and unplug your Dyson purifying fan.
The remaining filter life is displayed on the screen and will indicate when
your non-washable filters need replacing. Press the Information button
on your remote.
You’ll need to reset the filter life on your machine.
Dyson Purifier Cool Auto React
The air purifier fan with the filter covers open
showing a HEPA plus carbon filter located in the
filter covers. Arrows demonstrate that the filter
covers will need to be assembled onto the base
of the machine.
Pressing the night mode
and sleep timer button
on the bottom right of
the remote control for 5
seconds.
Changing your HEPA and carbon filters
Supplied with separate HEPA and carbon filters.
To change your HEPA filter, push down on the buttons either side of your
machine to release the filter covers. Push down on the tabs to remove the
HEPA filter.
Push the replacement filter into the outer cover and make sure the tabs click
into place.
To change the carbon filter from your machine, remove the filter from the
base of your machine and insert the replacement filter.
Put the outer covers into position on your machine and push firmly until they
both click securely into position.
Plug in and switch your machine, and reset your filter life.
Resetting your HEPA and carbon filter life
Resetting your carbon filter life
Resetting your HEPA filter life
It's important to reset your filter life after you have replaced your filter.
Press and hold the Night mode button on your remote control.
The display on your machine will countdown from five, the filter life will
be reset and your machine is ready to use.
5
sec
5
sec
Press and hold the Oscillation button on your remote control.
The display on your machine will countdown from five, the filter life will
be reset and your machine is ready to use.
Before changing your filter, switch off and unplug your Dyson purifying fan.
The remaining filter life is displayed on the screen and will indicate when
your non-washable filters need replacing. Press the Information button
on your remote.
You’ll need to reset the filter life on your machine.
Dyson Purifier Cool Auto React
The air purifier fan with the filter covers open
showing a HEPA filter located in the filter covers
and a carbon filter. Arrows demonstrate that
the carbon filter is fitted directly to the base of
the machine and the filter covers will need to be
assembled onto the base of the machine.
Pressing the Oscillation
button on the bottom
left of the remote control
for 5 seconds.
Pressing the night
mode and sleep timer
button on the bottom
right of the remote
control for 5 seconds.

Looking after your machine
Error codes
Cleaning your machine
To always get the best performance from your Dyson purifying fan,
it’s important to regularly clean it and check for blockages.
If your machine is dusty, wipe with a damp lint-free cloth.
Look for blockages in the air inlet holes on the filter and the small
aperture inside the loop amplifier.
Use a soft brush to remove dust and debris.
Don’t use detergents or polishes to clean your machine.
If your machine shows an error code, try turning it off and then on again.
If this doesn’t clear the error code contact Dyson Customer Care.
For more information and support for your machine go online:
www.dyson.com/support