Loading ...
Loading ...
Loading ...
7
6
OPERATING INSTRUCTIONS
FILLING THE WATER RESERVOIR
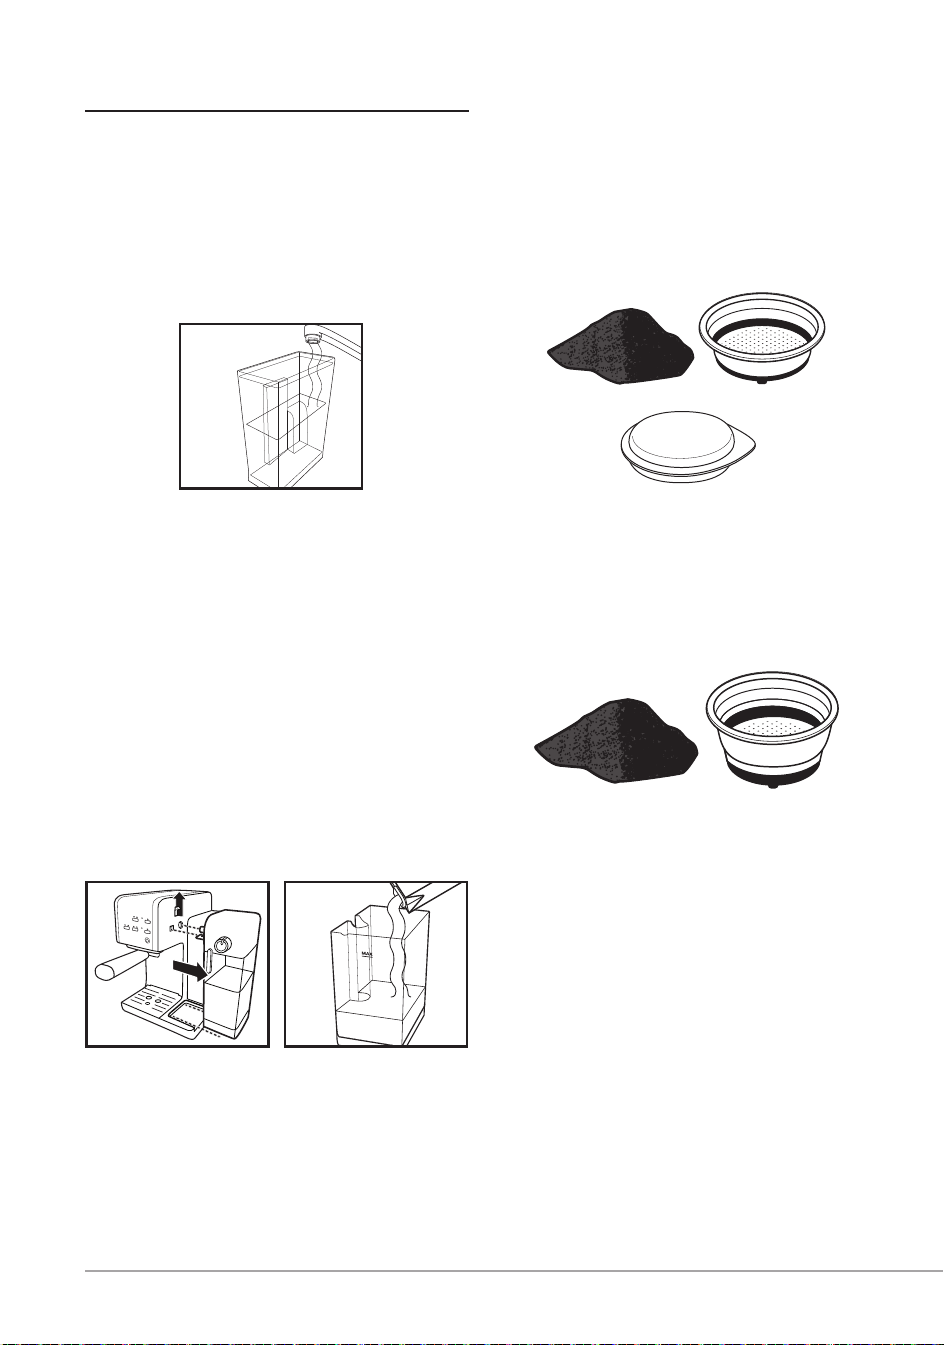
a. Fill the water reservoir with water (see
gure 1). You may use either a pitcher
to ll it up or remove it from the unit
and then ll it up under the tap. Fill
the reservoir with the desired amount
of water below the “MAX” level on
the reservoir. Never use warm or hot
water to ll the water reservoir.
b. Close the water reservoir lid. If you
removed it from the unit to ll up with
water, please make sure to place it
back tightly in its place.
FILLING THE MILK RESERVOIR
If you plan to prepare a cappuccino or
latte, remove the milk reservoir from the
unit by lifting up on the milk reservoir
release button, simultaneously sliding milk
reservoir out (see gure 2). Then, pour the
desired quantity of cold milk you estimate
you will need, making sure it is below the
“MAX” level on the reservoir (see gure 3).
Once nished, slide the milk reservoir back
onto the unit ensuring it ts tightly. You
should feel the milk reservoir lock in place.
NOTE: You can use any type of milk you
prefer, i.e. whole milk, low fat milk, organic
or soy milk
.
CHOOSING THE PORTA-FILTER
Your unit includes one porta-lter for use
with ground coffee and E.S.E. pods.
USING THE PORTA-FILTER FOR
GROUND COFFEE AND E.S.E PODS
CHOOSING THE FILTER
Select the lter to be used as follows:
a. FOR A SINGLE SHOT – use the lter
for a single shot of espresso if using
ground coffee, or if using E.S.E. (Easy
Serving Espresso) pods.
b. FOR A DOUBLE SHOT OR TWO
SINGLE SHOTS – use the lter for a
double shot of espresso. By placing
two small cups underneath the porta-
lter, you may prepare two single
shots of espresso at once.
NOTE: The pod lter included with
your unit has been designed to
work only with E.S.E. (Easy Serving
Espresso) (45 mm) pods.
PLACING THE FILTER ON THE PORTA-
FILTER
1. Insert the lter into the porta-lter,
making sure to align the lter dimple to
the porta-lter notch (see gure 4).
2. Turn the lter to the left or right to lock it
in place (see gure 5).
NOTE: To remove the lter for cleaning,
turn the lter to the left or right to align the
lter dimple to the porta-lter notch and
proceed to remove.
WARNING: Make sure the lter has
cooled down before attempting to remove
it from the porta-lter.
FILLING WITH COFFEE
Place selected lter in porta-lter as
follows:
FOR GROUND COFFEE:
a. Fill the lter with fresh, ne ground
espresso coffee about 3mm from the
rim (DO NOT overll).
b. Using the tamping part of the scoop,
push the coffee grounds downwards
as far as the tamper will go to get your
espresso grounds compact and even.
c. Clean any excess coffee from the rim
to ensure proper t under brew head.
FOR E.S.E. (EASY SERVING
ESPRESSO) PODS
Simply place the pod in the lter for a
single shot of espresso. If there is any
loose paper from the pod sticking out from
the lter, be sure to fold it inside to ensure
a good seal when brewing.
POD
Figure 1
Figure 3
POD
a. b.
c.
Figure 5Figure 4
Figure 2Figure 2
Loading ...
Loading ...
Loading ...