Loading ...
Loading ...
Loading ...
DJI Mavic 3 Classic User Manual
33
©
2022 DJI All Rights Reserved.
Exiting QuickShots
Press the Flight Pause button once or tap in DJI Fly to exit QuickShots. The aircraft will hover
in place.
• Use QuickShots at locations that are clear of buildings and other obstacles. Make sure
that there are no humans, animals, or other obstacles on the flight path. The aircraft
will brake and hover in place if there is an obstacle detected.
• Pay attention to objects around the aircraft and use the remote controller to avoid
collisions with the aircraft.
• DO NOT use QuickShots in any of the following situations:
a. When the subject is blocked for an extended period or outside the line of sight.
b. When the subject is more than 50 m away from the aircraft.
c. When the subject is similar in color or pattern with the surroundings.
d. When the subject is in the air.
e. When the subject moves fast.
f. The lighting is extremely low (<300 lux) or high (>10,000 lux).
• DO NOT use QuickShots in places that are close to buildings or where the GNSS signal
is weak. Otherwise, the flight path will be unstable.
• Make sure to follow local privacy laws and regulations when using QuickShots.
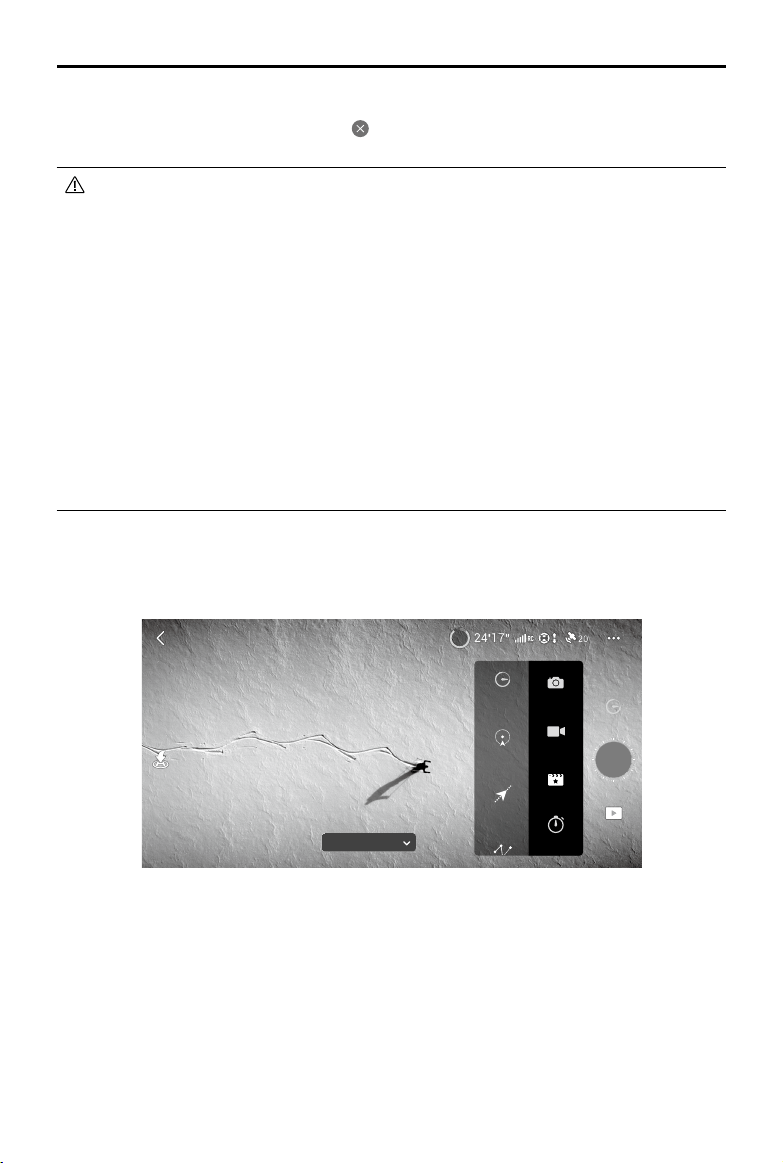
Hyperlapse
Hyperlapse shooting modes include Free, Circle, Course Lock, and Waypoint.
1:30:301:30:30
StorageStorage
+0.7+0.7
EVEV
5.1K 505.1K 50
RES&FPSRES&FPS
80
24
17
24
17
20
20
80 m
4.6m/s4.6m/s
DD
150
3m/s3m/s
HH
1x
AF
12400:10:20
AE
+1.0+1.0
EVEV
1014.4m
1.6m/s1.6m/s
DD
126m126m
7.9m/s7.9m/s
HH
Mode N
In-Flight
Video
Photo
MasterShots
Hyperlapse
Free
Circle
Course
Free
The aircraft automatically takes photos and generates a timelapse video. Free mode can be
used while the aircraft is on the ground. After takeoff, control the movement and gimbal angle
of the aircraft using the remote controller. Follow the steps below to use Free:
1. Set the interval time, video duration, and max speed. The screen displays the number of
photos that will be taken and how long the shooting time will be.
2. Tap the shutter/record button to begin.
Loading ...
Loading ...
Loading ...