Loading ...
Loading ...
Loading ...
21
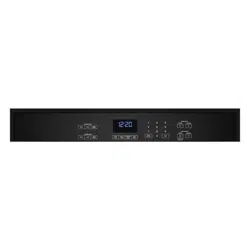
4. Make sure the door hinge notch is engaged on the bottom
of the oven cavity slot.
IMPORTANT: Do not close the door at this step or damage
may occur to the door hinge.
5. Lower the oven door to the fully open position. If the oven door
does not open to a full 90°, repeat steps 1 through 3.
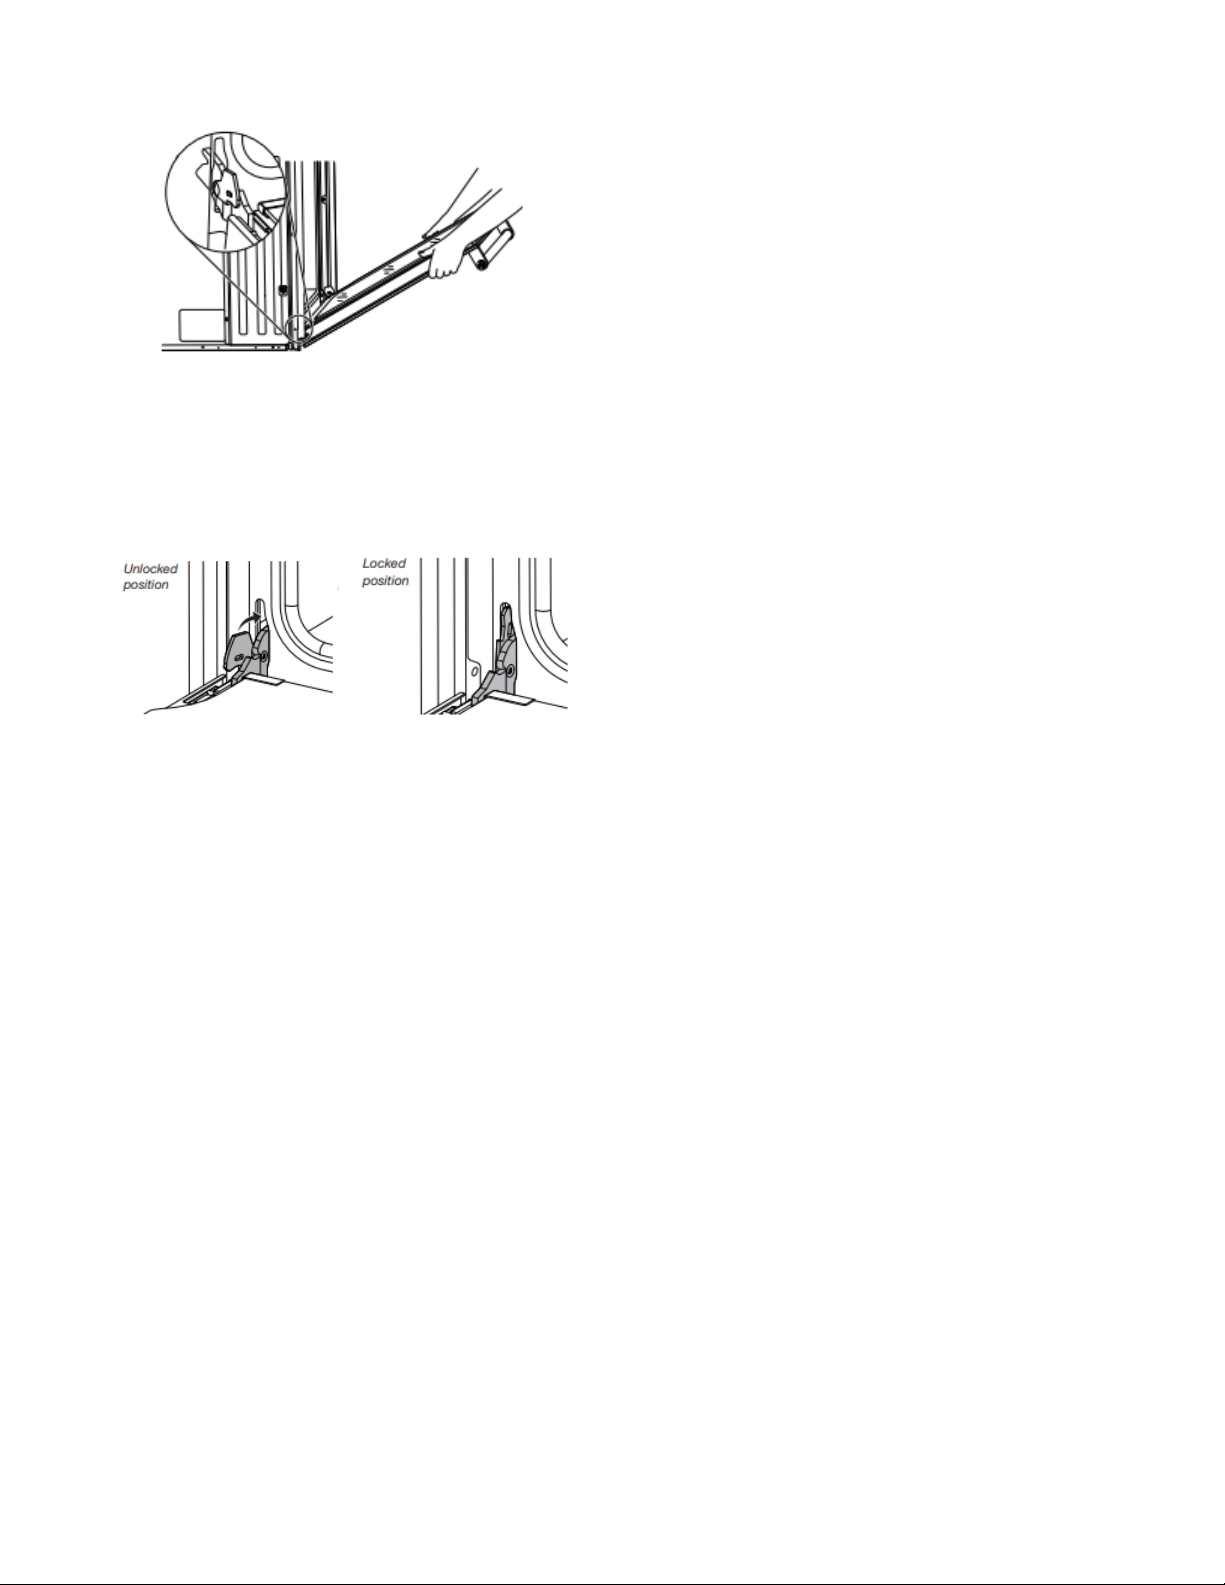
6. Locate the oven door hinge locks in the corners of the oven
door, and rotate the hinge locks toward the oven cavity to the
locked position.
7. After the door hinges have been locked, gently swing the door
upward to close. The door should not be forced closed.
8. When the hinges are properly installed and the door is closed,
there should be an even gap between the door and the control
panel. If one side of the oven door is lower than the other, the
hinge on that side is not properly installed.
Complete Installation
1. Check that all parts are now installed. If there is an extra part,
go back through the steps to see which step was skipped.
2. Check that you have all of your tools.
3. Dispose of/recycle all packaging materials.
4. For oven cleaning, read the “Oven Maintenance and Care”
section.
Check Operation of Single and Double Ovens
1. Turn on power.
2. At first use, set up the languages, clock, and any other
preferences, if available. For more information, read the online
“Control Guide”.
3. Start a broil cycle.
NOTE: Odors and smoke are normal when the oven is used
the first few times.
4. Wait 5 minutes, then check for heat.
If Oven(s) Does Not Operate, Check the Following:
■ Household fuse is intact and tight; or circuit breaker has
not tripped.
■ Electrical supply is connected.
■ See the online “Troubleshooting”.
5. Place the SatinGlide
™ Roll-Out Extension Rack for Smart
Oven+ Attachments in the lowest rack position in the unit to
make sure the correct accessory rack is on the bottom.
6. Press UPPER CANCEL/LOWER CANCEL on double ovens,
or press CANCEL on single ovens.
If you need Assistance or Service:
Please refer to the Quick Start Guide for contact information.
Loading ...
Loading ...
Loading ...