
Loading ...
Loading ...
Loading ...
English
11
WARNING: DO NOT INGEST BATTERY;
CHEMICAL BURN HAZARD. This product contains a
coin/button cell battery. If the coin/button cell battery
is swallowed, it can cause severe internal burns in just
2hours and can lead todeath.
• Keep new and used batteries away from children.
If the battery compartment does not close
securely, stop using the product and keep it away
fromchildren.
• If you think batteries might have been swallowed
or placed inside any part of the body, seek
immediate medicalattention.
• If the coin cell battery contents come into contact
with the skin, immediately wash area with mild
soap and water. If coin cell battery liquid gets
into the eye, rinse water over the open eye for
15 minutes or until irritation ceases. If medical
attention is needed, the battery electrolyte is
composed of an organic solvent and lithiumsalts.
• Do not incinerate or dispose of tool together with
household waste material! Tool that has reached
the end of its life must be collected separately
and returned to an environmentally compatible
recyclingfacility.
OPERATION
WARNING: To reduce the risk of serious personal
injury, turn unit off and remove the battery pack
before making any adjustments or removing/
installing attachments or accessories. An
accidental start-up can causeinjury. Exception—Tool
Connect™ functions and mode adjustments require
battery to beinstalled.
NOTICE: Always check the tool configuration prior
to use. If you are unsure of the current configuration,
press the mode button
14
(Fig. I) to set the tool
to the Home setting as described on the label and
thismanual.
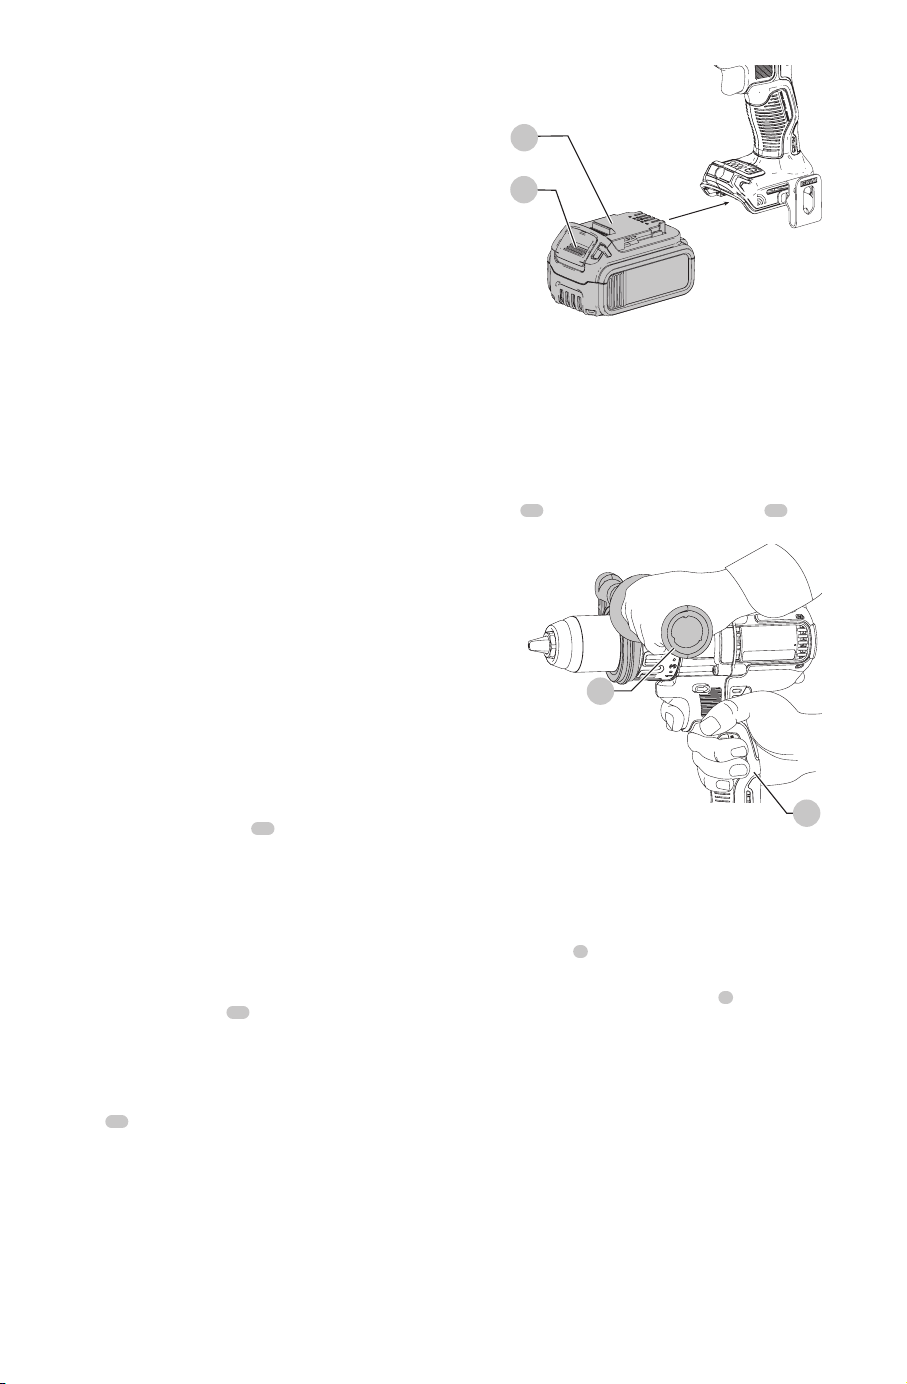
Installing and Removing the Battery Pack
(Fig. J)
nOTE: For best results, make sure your battery pack is
fullycharged.
To install the battery pack
11
into the tool handle, align the
battery pack with the rails inside the tool’s handle and slide
it into the handle until the battery pack is firmly seated in
the tool and ensure that it does notdisengage.
To remove the battery pack from the tool, press the release
button
10
and firmly pull the battery pack out of the tool
handle. Insert it into the charger as described in the charger
section of thismanual.
10
11
Fig. J
Proper Hand Position (Fig. K)
WARNING: To reduce the risk of serious personal injury,
ALWAYS use proper hand position as shown.
WARNING: To reduce the risk of serious personal
injury, ALWAYS hold securely in anticipation of a
suddenreaction.
Proper hand position requires one hand on the main
handle
12
and one hand on the side handle
13
regardless
if Bind-Up Control® is enabled ordisabled.
Fig. K
12
13
Screwdriving (Fig.C)
CAUTION: The torque output will be different in speeds
1, 2, and 3 for all torque adjustment collarsettings.
1. Select the desired speed/torque range using the
gear shifter
4
to match the speed and torque to the
plannedoperation.
2. Turn the torque adjustment collar
3
to the
desiredposition.
nOTE: Use the lowest torque setting required to
seat the fastener at the desired depth. The lower the
number, the lower the torqueoutput.
3. Insert the desired fastener accessory into the chuck as
you would any drillbit.
4. Make some practice runs in scrap or on unseen areas of
the workpiece to determine the proper position of the
torque adjustmentcollar.
5. Always start with lower torque settings, then advance
to higher torque settings to avoid damage to the
workpiece orfastener.
nOTE: When torque is achieved in screwdriving mode, the
unit will automatically shut off with a set of shortpulses.
Loading ...
Loading ...
Loading ...