Loading ...
Loading ...
Loading ...
9
ASSEMBLY INSTRUCTIONS
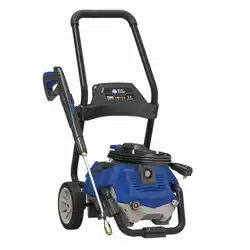
Locking Spray Gun (before Lance installation) To lock
trigger of spray gun (K), point gun away from you and
turn dial to lock (“3” and “9” position). Squeeze or pull
trigger to make sure it is locked. Always leave in locked
position when not in use. This ensures the gun is in
“safe” mode until it is ready for use. Turn dial to unlock
(“12” and “6” position) to release spray gun trigger.
Note: The trigger lock prevents trigger from being
accidentally engaged.
10
K
1
Locked
Unlocked
ASSEMBLY INSTRUCTIONS
11
*I
K
1
2
12
*I
*E
*C
P
1
2
13
*I
*E
*C
P
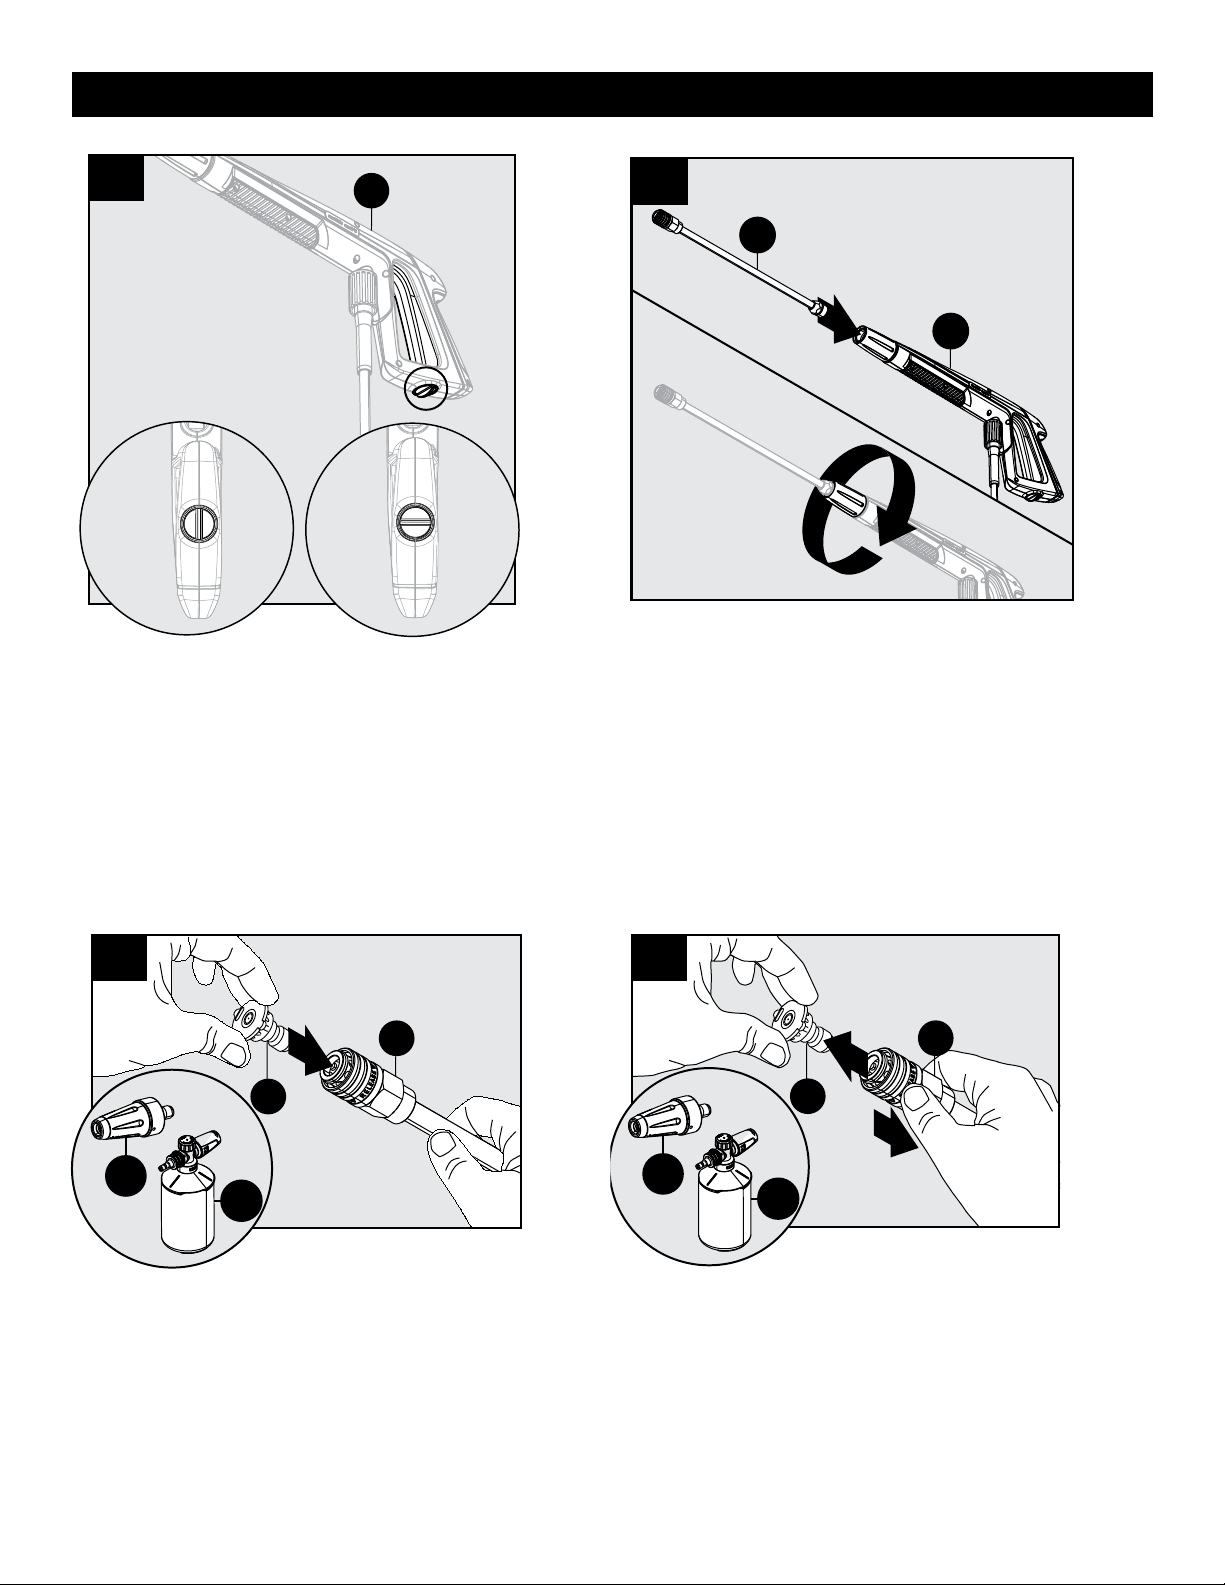
Extension Lance installation
While spray gun (K) is in the locked position, insert
lance (*I) into the end of the spray gun and turn
clockwise until fully in place. To remove, turn
counterclockwise.
To remove nozzle (*E), foam cannon (P) or rotary nozzle
(*C), pull back on collar of lance (*I) and pull out nozzle,
foam cannon or rotary nozzle.
Attach nozzle (*E), foam cannon (P) or rotary nozzle (*C)
into end of lance (*I) by pressing selected nozzle, foam
cannon or rotary nozzle into place. It will make a “click”
sound when rmly in place.
Note: Always push safety lock button to lock trigger
when changing lances and nozzles to ensure that they
do not accidentally eject with force during removal.
Loading ...
Loading ...
Loading ...