Loading ...
Loading ...
Loading ...
En
18
3 While pressing this unit’s [SHIFT] button, press the
effect parameter 3 button on the left side to select the
animation for the image effect.
4 Operate the pad displayed to the right of [Alignment]
to adjust the image effect’s display position.
5 From the pull-down menu to the right of [Animation],
select the animation’s options.
Select the animation’s scrolling method, speed, etc.
6 Operate the [Size] control to adjust the image effect’s
size.
7 Click [L], [M] or [R] to the right of [Output] to select
the image effect’s output channel.
[L]: Left channel
[M]: Mixed output
[R]: Right channel
8 Click .
The adjustments are saved.
Operating image effects
1 Press the effect parameter 3 button on this unit’s left
side to turn the image effect on.
2 Turn the effect parameter 3 control on this unit’s left
side to adjust the image effect’s opacity.
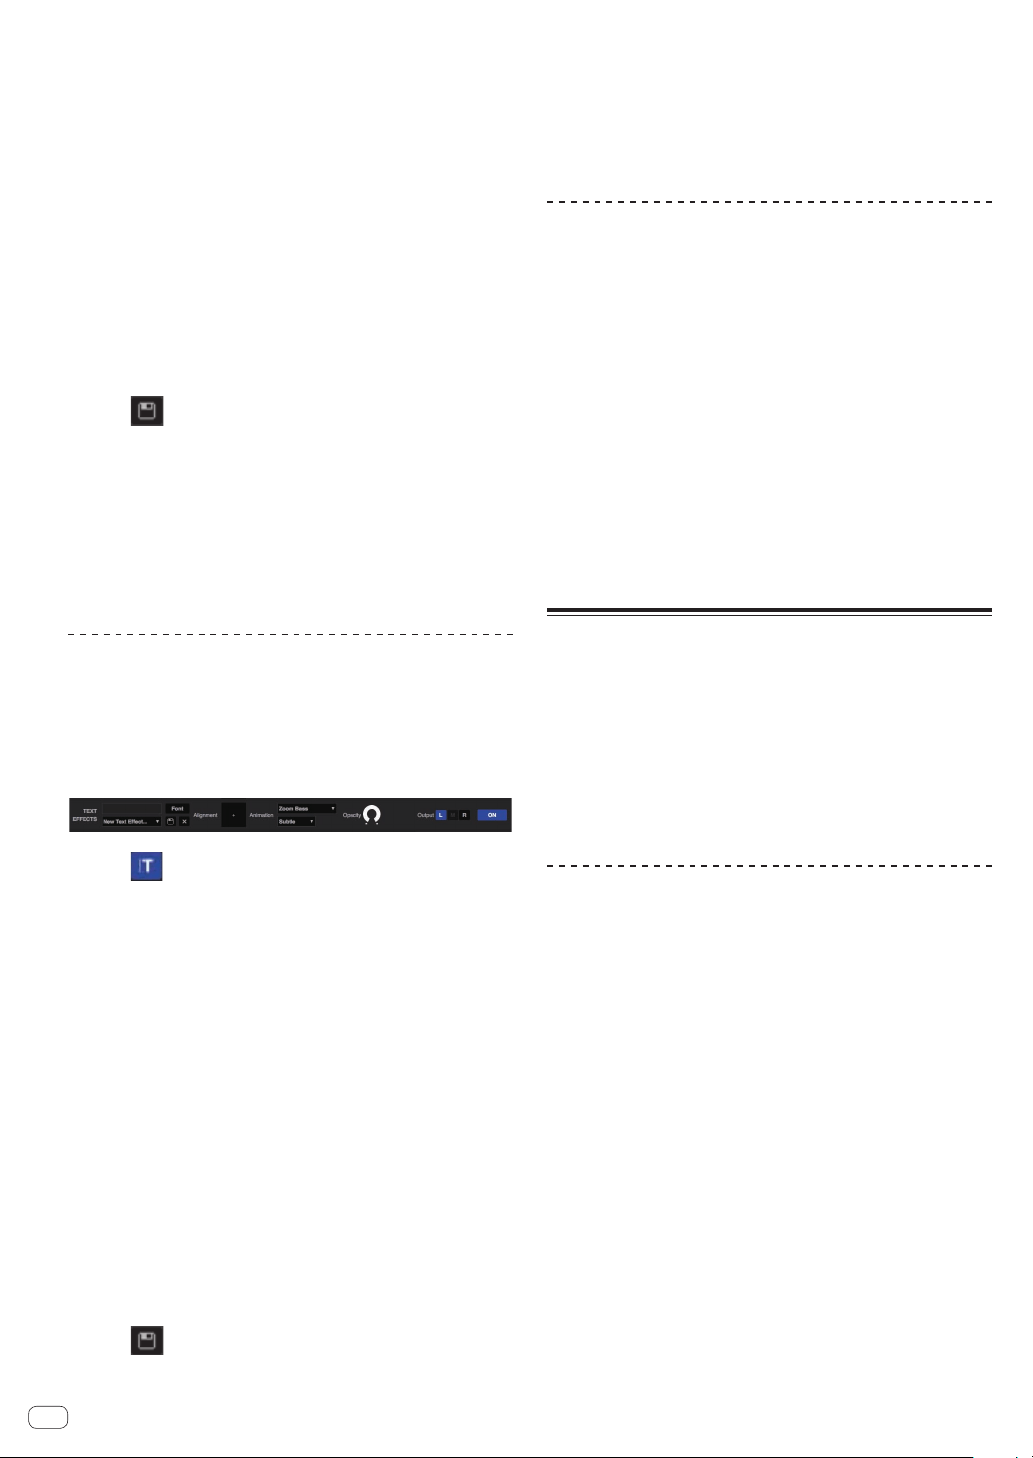
Using text effects
Making the preparations for using the text
effects
The main operations are performed on the [TEXT EFFECTS] panel on the
computer’s screen.
1 Click on the video panel on the computer’s
screen to open the [TEXT EFFECTS] panel.
2 Using the computer’s keyboard, input the text you
want to display into the text input field.
3 Click [Font] and set the font.
The font’s style, color and size can be set.
4 While pressing this unit’s [SHIFT] button, press the
effect parameter 3 button on this unit’s right side to
select the animation for the text effect.
5 Operate the pad displayed to the right of [Alignment]
to adjust the text effect’s display position.
6 From the pull-down menu to the right of [Animation],
select the animation’s options.
Select the animation’s scrolling method, speed, etc.
7 Click [L], [M] or [R] to the right of [Output] to select
the text effect’s output channel.
[L]: Left channel
[M]: Mixed output
[R]: Right channel
8 Click .
The adjustments are saved.
Operating the text effect
1 Press the effect parameter 3 button on this unit’s
right side to turn the text effect on.
2 Turn the effect parameter 3 control on this unit’s right
side to adjust the text effect’s opacity.
Using the fader transition function
Here we explain the operation for using the crossfader of the DJ mixer or
DJ controller used in combination with this unit to switch from the left
channel’s video to the right channel’s video.
1 Turn the left or right [FX BEATS] control to select the
type of transition effect.
When the left or right [TAP] button is pressed, the transition effect type
switches in order.
2 Press the left or right [TAP] button while pressing the
[SHIFT] button to turn on the crossfader link.
When the crossfader link is on, it is possible to switch from the left chan-
nel’s video to the right channel’s video using the crossfader of the DJ
mixer or DJ controller connected to the computer.
3 Slide the crossfader of the DJ mixer or DJ controller
connected to the computer from the left to the right.
The video switches from the left channel’s video to the right channel’s
video.
Using the slip mode
When the slip mode is turned on, normal playback with the original
rhythm continues in the background while loops or hot cues are being
played. When loop or hot cue playback is canceled, normal playback
resumes from the position to which the track has advanced while the
loop or hot cue was playing. The slip function can be used for a variety of
performances, without breaking rhythm.
The slip function can be used when the pad mode is set to the hot cue,
hot loop, auto loop, or manual loop mode.
! The [SLIP] button lights when the slip mode is set and flashes while
the sound is being played in the background.
Slip hot cue
1 Press the [HOT CUE] mode button.
The pad mode is set to the hot cue mode.
2 Set the hot cue.
Press a performance pad to set the hot cue.
3 Press the [SLIP] button.
The mode switches to the slip mode.
To cancel the slip mode, press the [SLIP] button again.
4 During playback, press and hold a performance pad.
Playback starts from the position at which the hot cue was set. Playback
continues as long as the performance pad is pressed.
Normal playback continues in the background while the hot cue is
playing.
5 Release your finger from the performance pad.
Playback starts from the position reached in the background.
Loading ...
Loading ...
Loading ...