Loading ...
Loading ...
Loading ...
En
10
Advanced Operation
The descriptions from this point on are for functions not described in
the Serato DJ software manual that are specifically for when this unit
and Serato DJ are used in combination.
Using auto loops
There are two ways to perform the auto loop operation: using the perfor-
mance pads and using the [AUTO LOOP] control.
! Auto loops can also be operated using the performance pads.
For details, see Using auto loops on page 12.
1 During playback, turn the [AUTO LOOP] control.
Sets the loop length by the specified number of beats.
2 Press the [AUTO LOOP] control.
A loop with the set number of beats is created automatically according
to the BPM of the currently playing track and loop playback begins.
! Even during auto looping, the loop length can be adjusted by
turning the [AUTO LOOP] control.
Canceling auto looping
During auto looping, press the [AUTO LOOP] control.
When the loop out point is reached, playback does not return to the loop
in point but continues normally.
Using the performance pads
Using hot cues
With this function, playback can be started instantaneously from the
position at which a hot cue is set.
! Up to eight hot cue points can be set and saved per track.
1 Press the [HOT CUE] mode button.
The [HOT CUE] mode button lights and the mode switches to the hot
cue mode.
2 In the play or pause mode, press a performance pad
to set the hot cue point.
The hot cue points are assigned to the respective performance pads as
shown below.
Hot cue1 Hot cue2 Hot cue3 Hot cue4
Hot cue5 Hot cue6 Hot cue7 Hot cue8
3 Press the performance pad at which the hot cue point
was set.
Playback starts from the hot cue point.
! Set hot cue points can be cleared by pressing a performance pad
while pressing the [SHIFT] button.
Using the Loop Roll function
When a performance pad is pressed, a loop with the number of beats
assigned to that pad is set and loop playback continues as long as the
pad is being pressed.
During loop roll playback, normal playback with the original rhythm con-
tinues in the background. When loop roll playback is canceled, playback
resumes from the position reached in the background at the point loop
roll playback was canceled.
1 Press the [ROLL] mode button.
The [ROLL] mode button lights and the mode switches to the roll mode.
2 Press the [PARAM.1/PARAM.2c] or [PARAM.1/
PARAM.2d] button.
The loop roll beats assigned to the performance pads switch each time
one of the buttons is pressed.
The following four settings can be made:
1 4 beats from 1/32
2 8 beats from 1/16
3 16 beats from 1/8
4 32 beats from 1/4
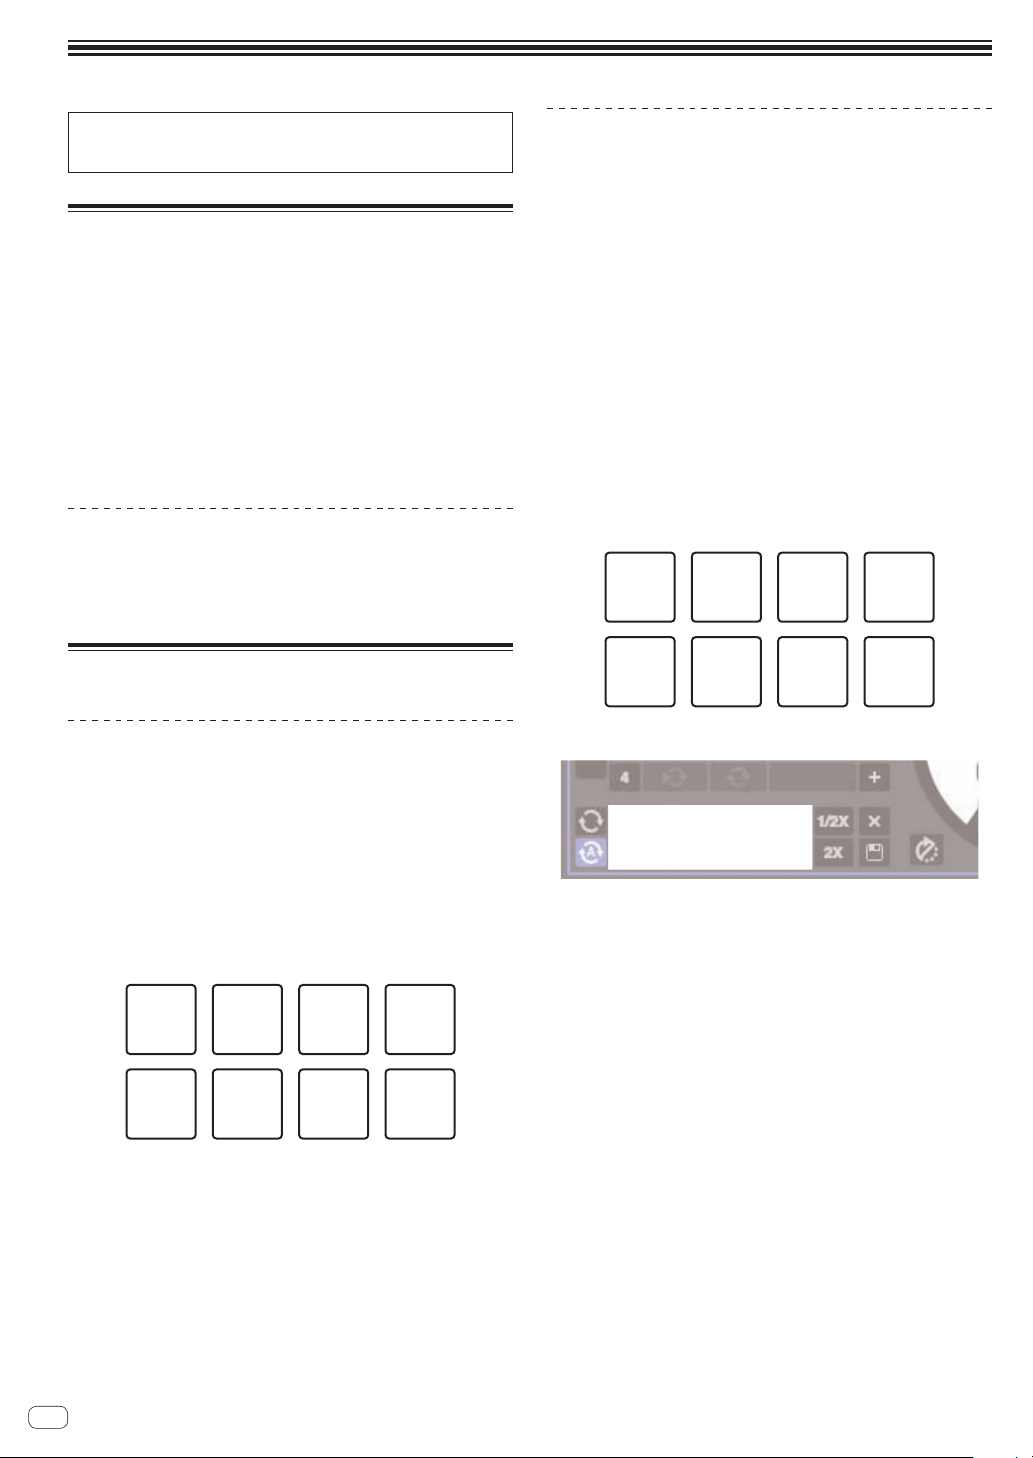
For example, with the “8 beats from 1/16” setting, the pads’ settings are
as shown below.
1/16 beat 1/8 beat 1/4 beat 1/2 beat
1 beat 2 beats 4 beats 8 beats
The range of beats set for the loop roll is displayed on the computer’s
screen.
3 Press and hold one of the performance pads.
A loop roll with the number of beats assigned to the pad that was
pressed is played. Playback continues in the background during loop roll
playback.
! The number beats in the currently playing loop roll can be
changed by turning the [AUTO LOOP] control during loop roll
playback.
4 Release the performance pad.
Loop roll playback is canceled, and playback resumes from the position
reached in the background.
Loading ...
Loading ...
Loading ...