Loading ...
Loading ...
Loading ...

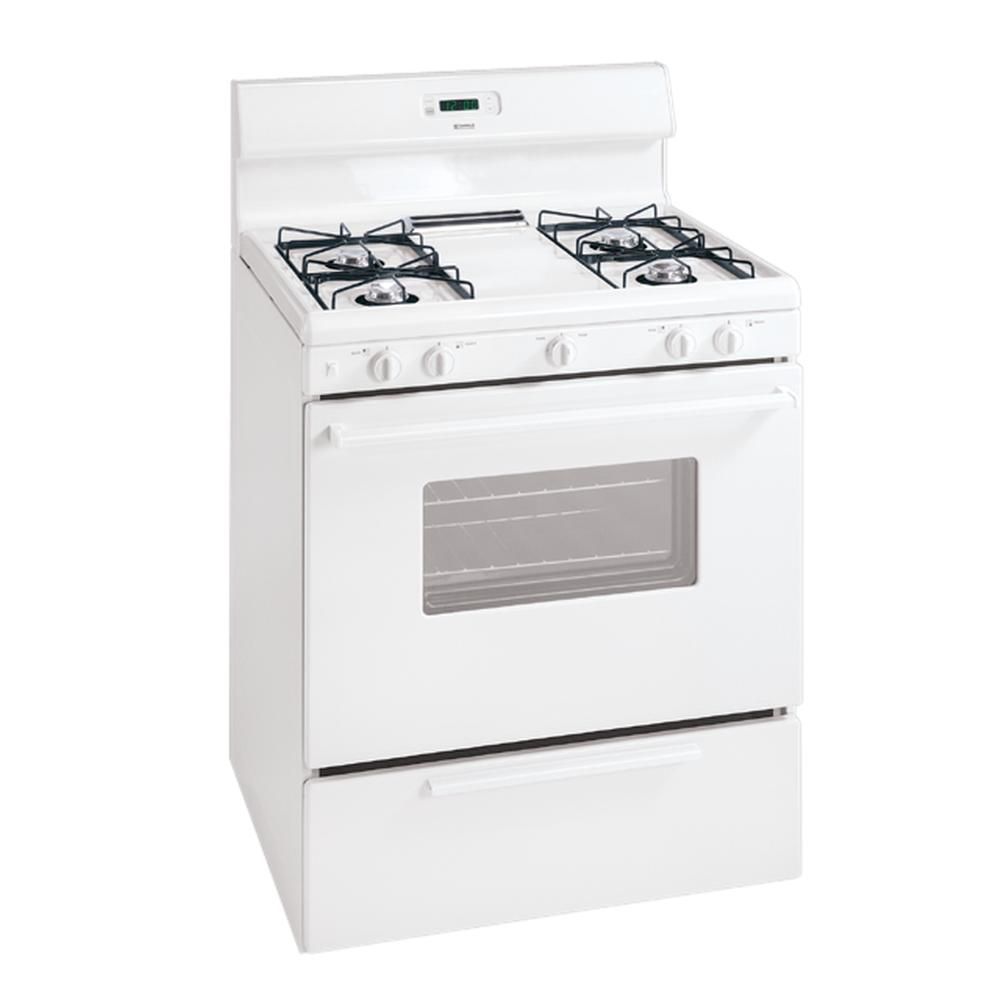
Check Surface Burners
To check for proper lighting, push in and turn a surface burner knob
to the LITE position. Each burner should light within four (4)
seconds in normal operation. Once the burner lights, the knob
should be rotated out of the LITE position. Try each knob separately
until all burner valves have been checked.
7. Air adjustment
The air shutter (adjustment) for each of the four top burners is
located at the open end of the venturi tube and sets on the hood
of the valve.
Should the air shutter need adjusting, rotate the air shutter to allow
more or less air into the burner tubes as needed.
Air
Adjustment
If the air is properly adjusted, the flame will be steady, relatively
quiet, and have approximately 1/2" sharp blue cone. (Usually
about the center of air shutter's ajustment.)
If the flame is yellow in color, increase air shutter opening size. If
the flame is a distinct blue, but lifting away from the burner, reduce
the air shutter opening size.
8. Adjust the "LOW" Settinq of Linear Flow Surface Burner
Valve
%
To
Surface
Burner
The oven burner is equipped with an electric control system as well
as an electric oven burner igniter. If your model is equipped with
a waist-high broil burner, it will also have an electric burner igniter.
These control systems require no adjustment. When the oven is
set to operate, current will flow to the igniter. It will "glow" similar
to a light bulb. When the igniter has reached a temperature
sufficient to ignite gas, the electrically controlled oven valve will
open and flame will appear at the oven burner. There is a time
lapse from 30 to 60 seconds after the thermostat is turned ON
before the flame appears at the oven burner. When the oven
reaches the dial setting, the glowing igniter will go off. The burner
flame will go "out" in 20 to 30 seconds after the igniter goes "OFF."
To maintain any given oven temperature, this cycle will continue
as long as the dial (or display) is set to operate.
After removing all packing materials and literature from the oven:
a) Set oven to BAKE at 300°F. See Owner's Guide for operating
instructions.
b) Within 60 seconds the oven burner should ignite. Check for
proper flame, and allow the burner to cycle once. Reset
controls to off.
c) If your model is equipped with a waist-high broiler, set oven
to BROIL. See Owner's Guide for operating instructions.
d) Within 60 seconds the broil burner should ignite. Check for
proper flame. Reset controls to off.
9b. Standing Pilot Oven Burner
To light the oven pilot, proceed as follows:
Turn the oven thermostat knob to OFF. Remove oven bottom, see
step 10 for instructions on removing the oven bottom. Light the
oven pilot with a match. The oven pilot should burn with a stable
flame after a few seconds operation and should have a small flame
visible only at the opening in the top of the pilot assembly.
Turn oven thermostat knob to 300°F. The oven pilot should now
be larger with the flame extending down the slanted ramp and burning
against a small metal bulb.
_'_ Secondary
a) Turn control to LITE until burner ignites.
b) Quickly turn knob to LOWEST POSITION.
c) If burner goes out, readjust valve as follows:
Reset control to OFF. Remove the surface burner control knob,
insert a thin-bladed screw driver into the hollow valve stem and
engage the slotted screw inside. Flame size can be increased or
decreased with the turn of the screw. Adjust flame until you can
quickly turn knob from LITE to LOWEST POSITION without
extinguishing the flame. Flame should be as small as possible
without going out.
Operation of Oven Burners and Oven Adjustments
9a. Electric Ignition Burners
Operation of electric igniters should be checked after range and
supply line connectors have been carefully checked for leaks and
range has been connected to electric power.
After 20-40 seconds, the main oven burner should ignite and burn
until the oven temperature has reached 300°F. At that time, the
oven pilot should get smaller, moving up
away from the metal bulb which will turn off the main oven burner
after 20-40 seconds.
The oven burner will continue to turn off and on to maintain oven
temperature.
10. Air Shutter-Oven Burner
The approximate flame length of the oven burner is 1 inch (distinct
inner, blue flame).
To determine if the oven burner flame is proper, remove the oven
bottom and burner baffle and set the oven to bake at 300°F.
To remove the oven bottom, remove oven hold down screws at rear
of oven bottom. Pull up at rear, disengage front of oven bottom from
oven front frame, and pull the oven bottom out of the oven. Remove
burner baffle so that the burner flame can be observe.
Loading ...
Loading ...