Loading ...
Loading ...
Loading ...
INSTALLATION / USE & CARE
|
19
FINAL
C
HE
C
K
S
LEAK TESTING
Leak Test Procedure:
• Create a soapy solution of 1 part soap and 3 parts water.
• Confi rm that all control knobs are in the o position.
• Turn on the fuel supply. For natural gas, turn the valve
handle 1/4 turn to align with the gas fl ow.
• For L.P., turn the cylinder valve knob counter clockwise one
full rotation.
• Apply the soap solution generously by paint brush or squirt
bottle on all connections and fi ttings.
• If bubbles appear to “grow” on any of the connections, you
have a gas leak. IMMEDIATELY turn o the gas supply.
Fixing a Gas Leak:
• Shut o the gas supply
• Turn all grill controls to the “ON” position to purge the grill
of any gas build-up, then turn the controls back “OFF”.
• Wash o the soapy solution with cold water and dry.
• Tighten the loose joint, or replace the faulty part with
manufacturer-recommended replacement parts.
• DO NOT attempt to repair the L.P. cylinder valve if it is
damaged. The only way to safely resolve a damaged
cylinder is to REPLACE IT.
• Repeat the leak test to ensure that no leaks are present.
LOW HEAT BURNER ADJUSTMENT
TRIDENT™ BURNERS ONLY!
DO NOT ADJUST THE ROTISSERIE BURNER.
The main ceramic burners and Trident™ burners on your grill
feature an adjustable low setting.
Fluctuations in gas pressure, gas conversion and even in the
quality of the gas itself may a ect burner performance at the
“LOW” setting. It could be either too high or too low.
To Adjust the Burner to a Low Setting:
• Make sure the grill is cool.
• Remove the racks so you can see the fl ames while
adjusting the burners.
• Light the burner and allow it to preheat on high for 3
minutes.
• Turn the burner to “LOW”.
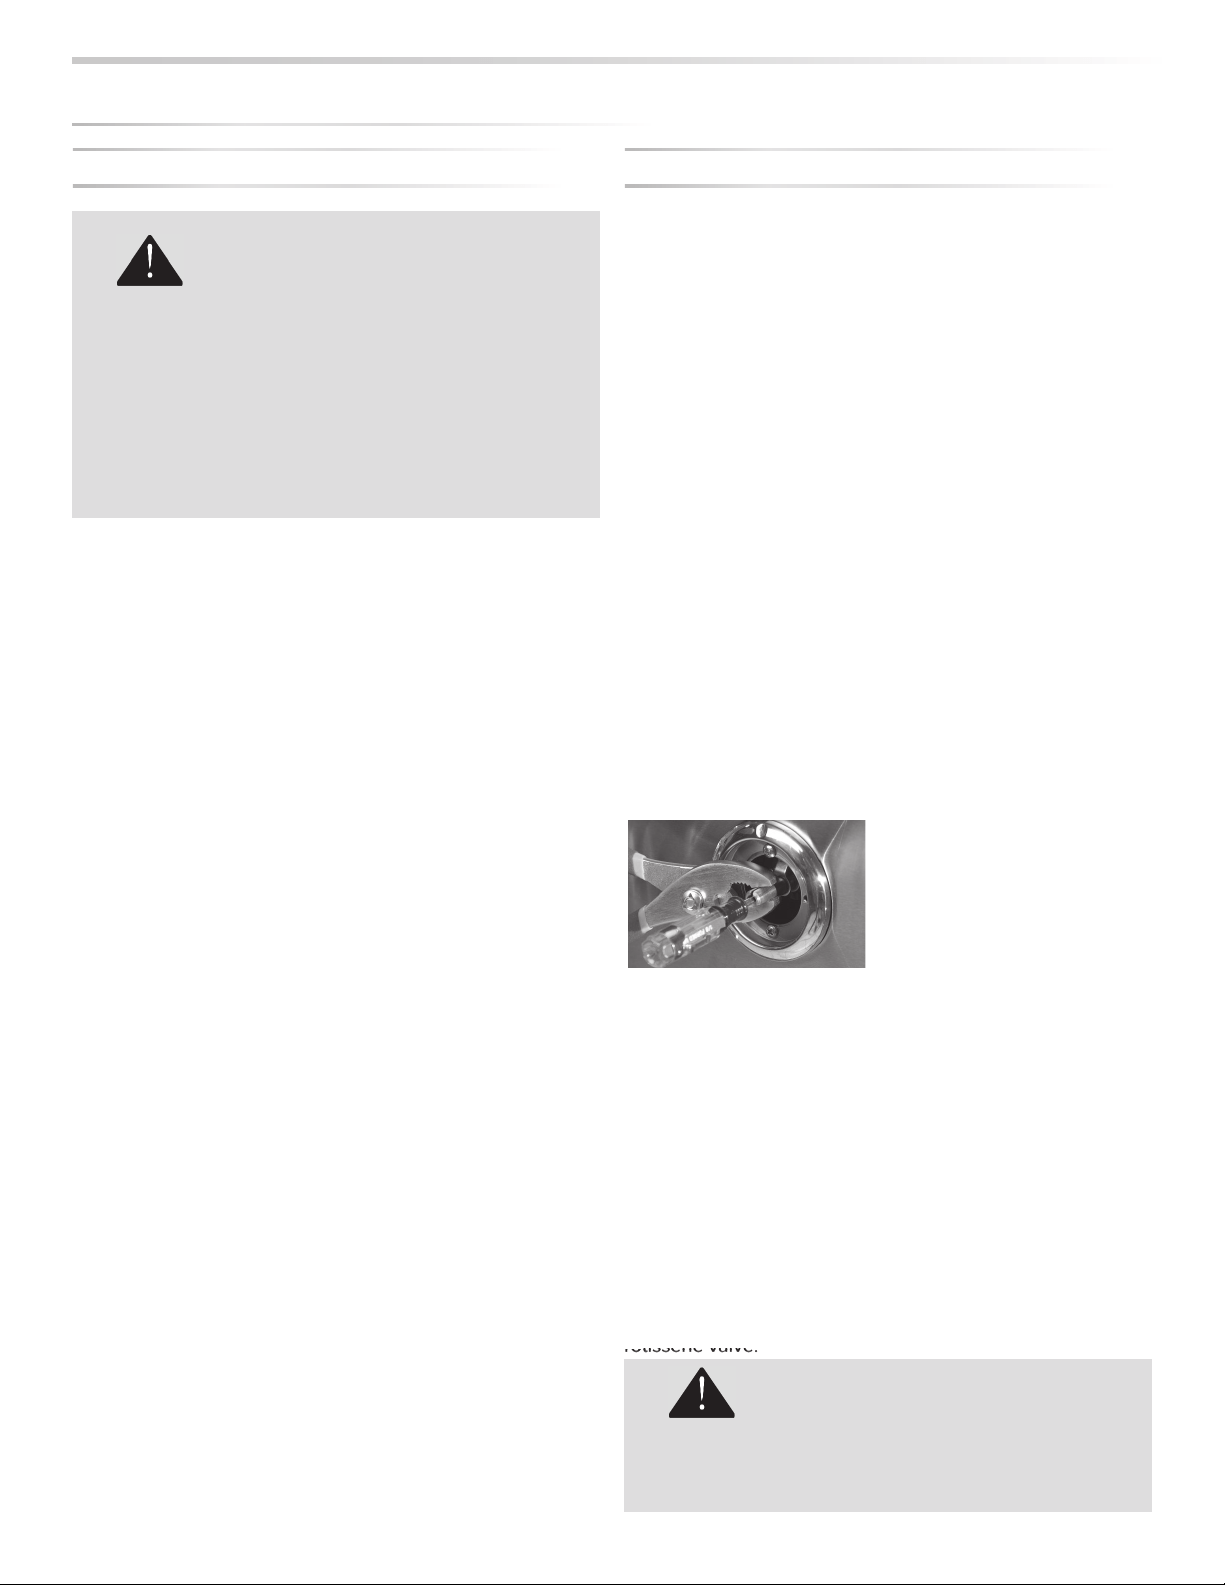
• Pull o the control knob.
• While holding the valve shaft with pliers as shown insert a
small fl at screwdriver into the center shaft and adjust the
fl ame’s low setting.
Clockwise will lower the fl ame setting, counterclockwise will
raise it.
The proper setting is where the fl ame is stable at its lowest
setting. A slight fl utter will be present in the crossover portion
of the front of the burner before the burner itself becomes
weak.
The factory setting for propane gas is ½ to ¾ turn from the
very bottom of the adjustment. The setting for natural gas is
1-½ to 1-¾ from the bottom. After the low settings are proper,
turn all burners to high for visual inspection.
Please note the low fl ame adjustment is not available for the
rotisserie valve.
To prevent fi re or explosion hazard, DO NOT
smoke or allow any potential source of ignition
(sparks, electrical arcing, etc) in the area while
performing a leak test. Leak tests should be
conducted outdoors only. Never conduct a leak
test using fi re or fl ame.
DANGER!
ro
ro
ro
ro
o
ti
ti
ti
ti
t
ss
ss
ss
ss
ss
er
er
er
er
e
ie
ie
ie
ie
e
v
v
v
v
al
al
al
al
a
ve
ve
ve
ve
e
.
.
.
.
.
BE EXTREMELY CAREFUL AROUND HOT
BURNERS AND OTHER GRILL PARTS.
DANGER!
Loading ...
Loading ...
Loading ...