Loading ...
Loading ...
Loading ...
IGNITION SYSTEM
Your oven will feature either pilot ignition or pilotless
ignition. If the gas supply to the range is turned off, be sure
all controls are set in the OFF position before re-supplying
gas to the appliance.
Pilot Ignition
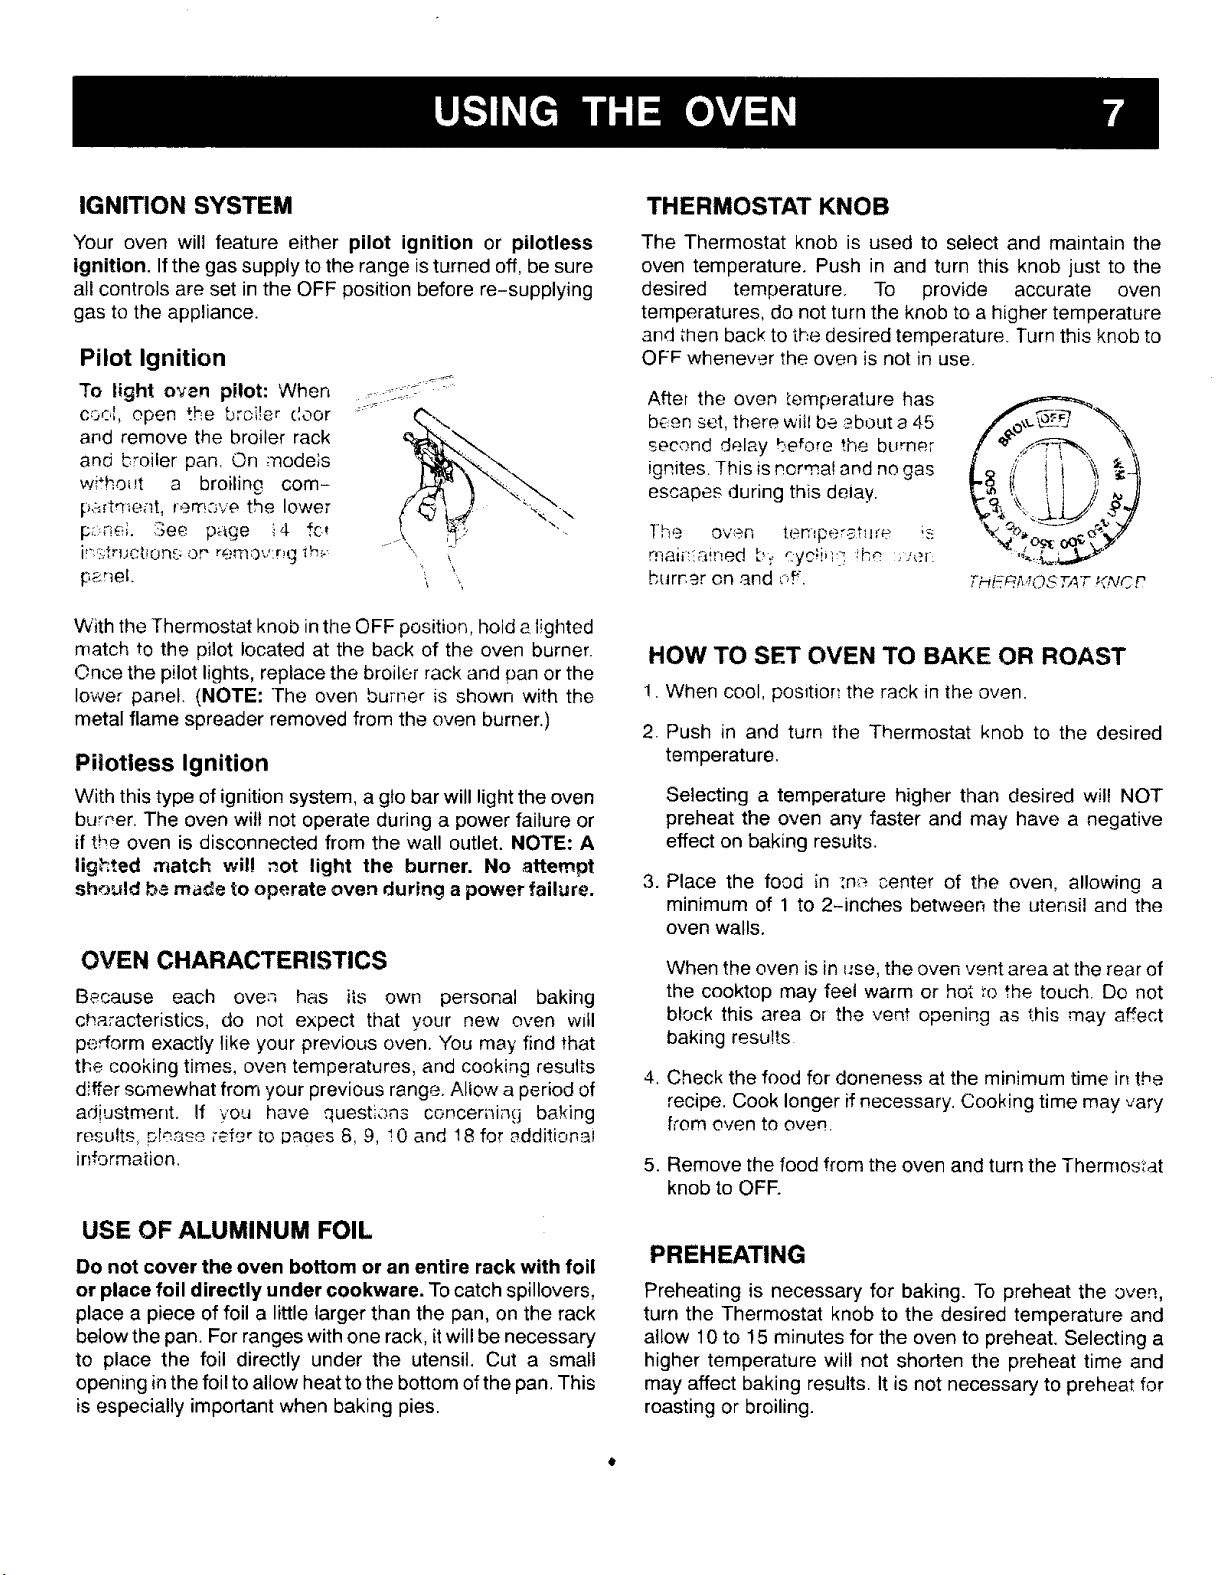
To light oven pilot: When ....-:¢:S _'__:
c(x4, open the broiler door ......
apd remove the broiler rack
and broiler pan. On models
wbhol_t a broiling com-
l:_,_tment, remc,ve the lower
p;.:.ne;. See page i4 fc_
i!':'-:,:trucbons oP re_0v:r_g ih._, ,, _'_
parle. \ ',
With the Thermostat knob in the OFF position, hold a lighted
match to the pilot located at the back of the oven burner.
Once the pilot lights, replace the broiler rack and pan or the
lower panel. (NOTE: The oven burner is shown with the
metal flame spreader removed from the oven burner.)
Pi|otless Ignition
With this type of ignition system, a gto bar will light the oven
burner. The oven will not operate during a power failure or
if the oven is disconnected from the wall outlet. NOTE: A
lighted match wil! _ot light the burner. No attempt
should be made to operate oven during a power failure.
OVEN CHARACTERISTICS
Because each oven has its own personal baking
characteristics, do not expect that your new oven will
perform exactly like your previous oven. You may find that
the cooking times, oven temperatures, and cooking results
differ somewhat from your previous range. Allow a period of
adiustment. If you have questlans concerning baking
results, please ;'£fer [o t_aaes 8, 9, !0 and 18 for additional
information.
USE OF ALUMINUM FOIL
Do not cover the oven bottom or an entire rack with foil
or place foil directly under cookware. To catchspillevers,
place a piece of foil a little larger than the pan, on the rack
betowthe pan. For ranges with one rack, itwill be necessary
to place the foil directly under the utensil. Cut a small
opening in the foil to allow heat to the bottom of the pan. This
is especially important when baking pies.
THERMOSTAT KNOB
The Thermostat knob is used to select and maintain the
oven temperature. Push in and turn this knob just to the
desired temperature. To provide accurate oven
temperatures, do not turn the knob to a higher temperature
and then back to the desired temperature. Turn this knob to
OFF whenever the oven is not in use.
After the oven [emperaiure has
been set, there will be about a 45
second delay be_o_e the burner
ignites. This is normal and no gas
escapes during this delay.
The oven temperst:,l_'e i_;
rnaii-:!ai,,ed b_. cyc_b_:-:,the :_/_._r-:
burner on and oF.
THERt,';OSTAT ',<,'vC_
HOW TO SET OVEN TO BAKE OR ROAST
1. When cool, position the rack in the oven.
2. Push in and turn the Thermostat knob to the desired
temperature.
Selecting a temperature higher than desired wil! NOT
preheat the oven any faster and may have a negative
effect on baking resutts.
3. Place the food in _,n_ center of the oven, allowing a
minimum of 1 to 2-inches between the utensil and the
oven walls.
When the oven is in _-se,the oven vent area at the rear of
the cooktop may feel warm or hot _othe touch. Do not
block this area o_ the vent opening as this may affect
baking resu!ts.
4. Check the food for doneness at the minimum time in the
recipe. Cook longer if necessary. Cooking time may vary
from oven to oven.
5. Remove the food from the oven and turn the Thermostat
knob to OFR
PREHEATING
Preheating is necessary for baking. To preheat the oven,
turn the Thermostat knob to the desired temperature and
allow 10 to 15 minutes for the oven to preheat. Selecting a
higher temperature will not shorten the preheat time and
may affect baking results. It is not necessary to preheat for
roasting or broiling.
Loading ...
Loading ...
Loading ...