Loading ...
Loading ...
Loading ...
QUICK START GUIDE
3.
bottom hinge. Retain shoulder washers; they will be
reused.
4. Insert arrow clips into holes
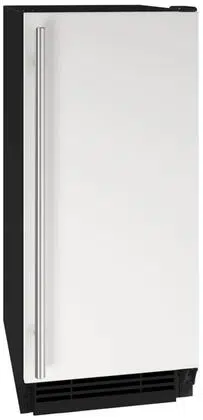
Remove bottom hinge:
1. Remove bottom hinge from cabinet using a T-25 TORX
screw driver to remove three screws.
2. Remove corresponding screws on opposite side of
cabinet. On some models there may be a nut behind
one or both screws on either side.
Install bottom hinge:
Install two or three screws, depending on model. Replace
nuts if used.
Note: When reversing the door, it is necessary to
remove and switch the shelf-mounting hardware.
This will allow the shelf to extend out of the unit
beyond the door.
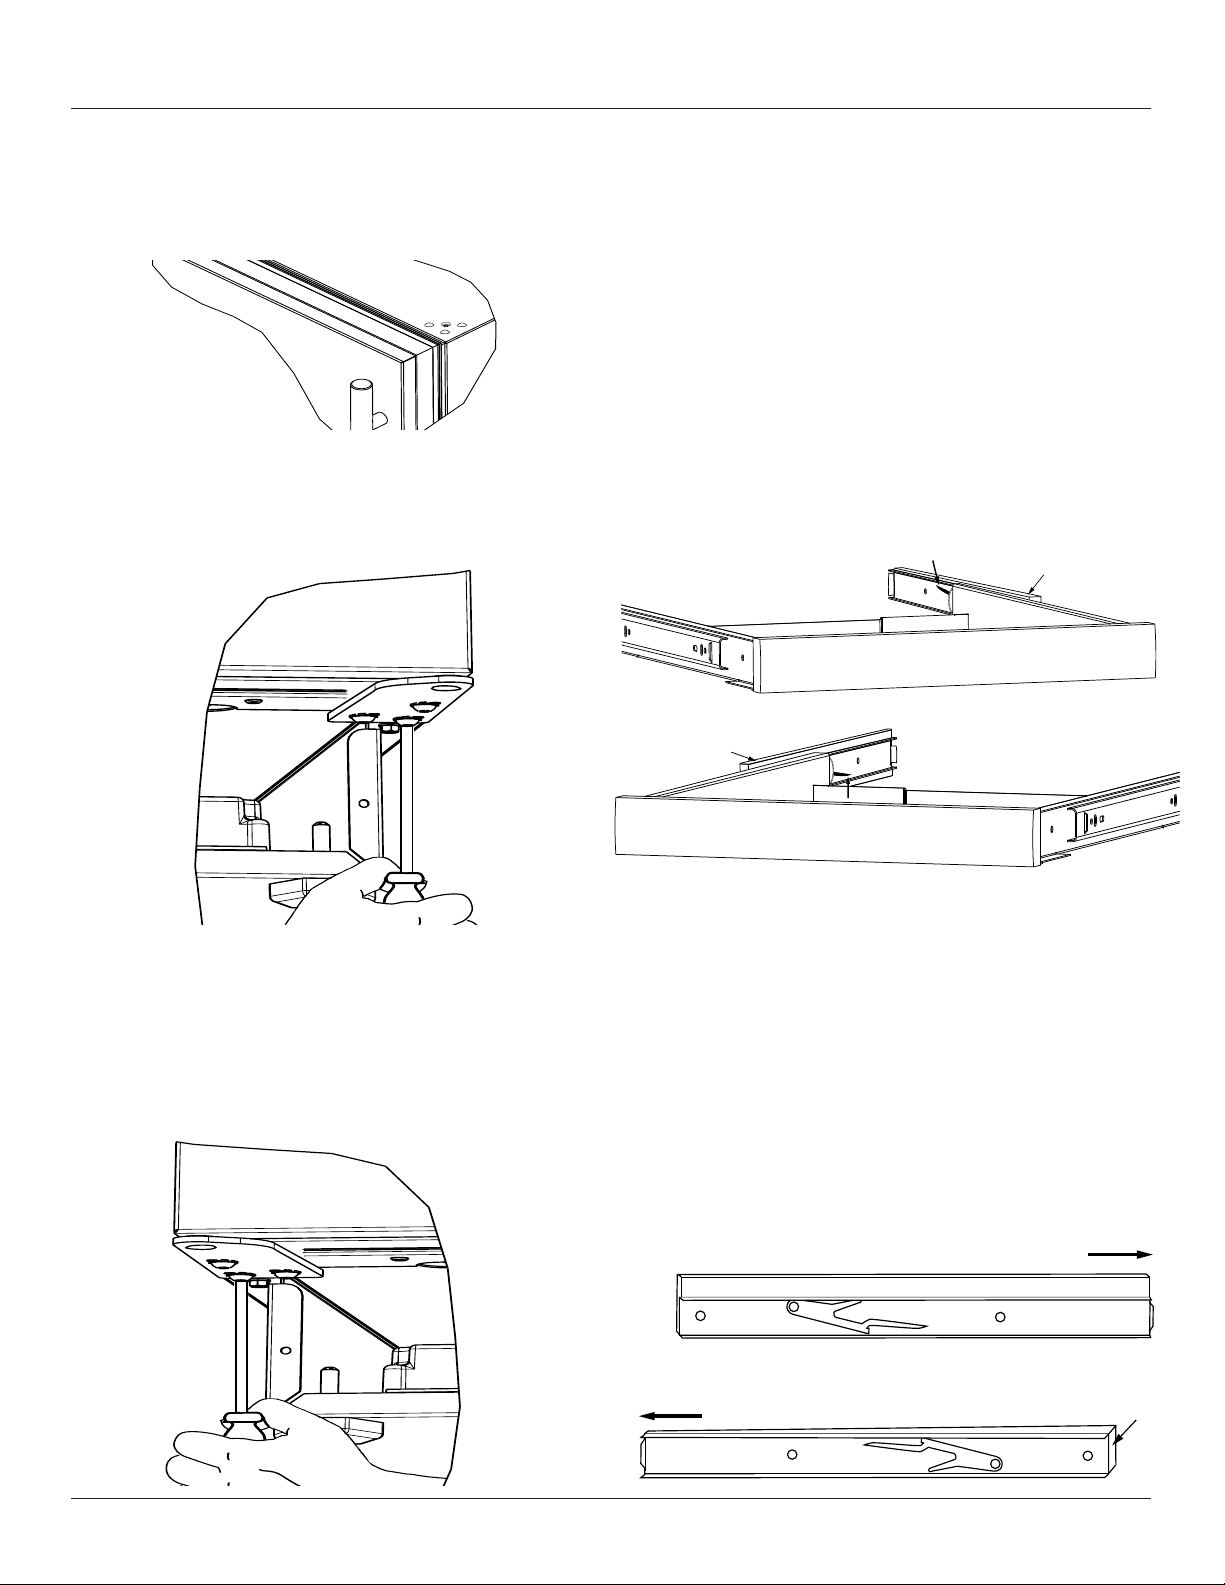
Remove bottom shelf:
1. Pull out shelf as far as it will go.
2. Locate the tabs inside the right and left shelf slides.
3. Push down on the tab on the right and pull slightly on
the shelf to allow it to pass beyond the lock.
4. While holding the shelf so it does not re-lock on the
right, lift up on the left-side tab, and pull the shelf
toward you until it is completely free from the unit.
Install slide spacers on opposite sidewalls:
1. Take out 4 screws and remove the two brackets and
spacers from the sidewalls of the unit - leave the
screws in the brackets and spacers to keep them
together.
2. Using 4 screws, install the spacers and brackets on
the opposite sidewalls - the open ends of the brackets
need to remain toward the front of the unit.
Note: Be sure that the hinge side of the unit has
the slide bracket with the thicker spacer.
Push tab
down
Spacer
+
+
Back of Unit
Non-hinge Side
Open end of bracket
+
+
Hinge Side
Thicker end
of spacer
Open end of bracket
Back of Unit
Pull tab
up
Spacer
12
Loading ...
Loading ...
Loading ...