
Loading ...
Loading ...
Loading ...
7
2. Use the 3 discharge chute screws to secure the discharge
chute assembly to the gear plate as shown. Tighten with the
provided hex key (Fig. 5).
Battery Pack Operation
The equipment is powered by 4 lithium‑ion batteries.
The battery packs are completely sealed and maintenance free.
mWARNING! The cordless snow blower can only be
powered by four of the batteries together. One battery cannot
provide sufficient power to the tool. Make sure to use four
batteries of the same voltage and the same capacity. Using the
tool with batteries of different capacities will cause damage to
the batteries.
Battery Charge Level Indicator
The battery packs are equipped with a push button for checking
the charge level. Simply press the push button to read off the
battery charge level from the LEDs of the battery indicator:
• All 3 level monitoring LEDs are lit: Battery charge level
is high.
• 2 level monitoring LEDs are lit: Battery charge level is
decreasing. Stop work as soon as possible.
• 1 level monitoring LED is lit: Battery is flat. Stop work
IMMEDIATELY and charge the battery. Otherwise, the
battery’s service life will be greatly shortened.
NOTE: If the charge level button does not appear to be working,
place the battery pack on the charger and charge as needed.
Screws
Gear plate
Discharge chute
assembly
Fig. 5
Charge level button
The battery is at 30% capacity
and requires charging
The battery is at 60% capacity
and requires charging soon
The battery is at full capacity
Light IndicatorsLights
NOTE: Immediately after using the battery packs, the charge
level button may display a lower charge than it will if checked
a few minutes later. The battery cells “recover” some of their
charge after resting.
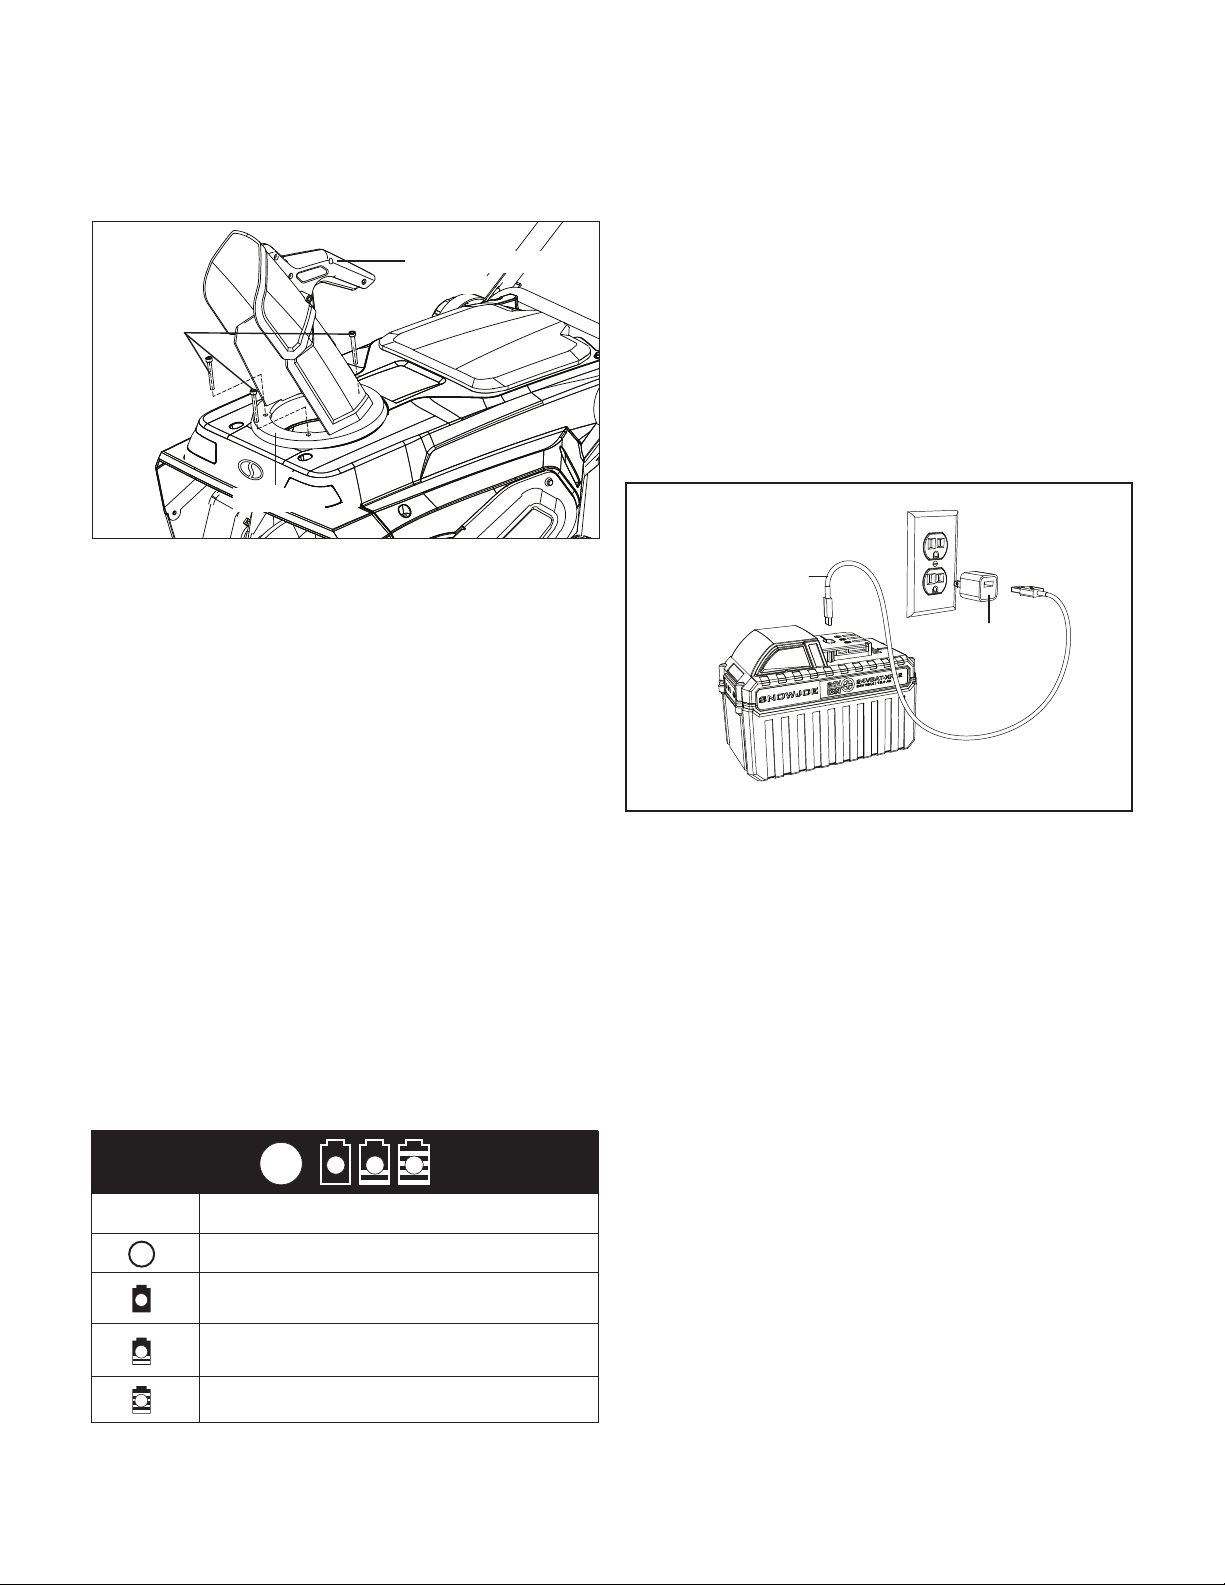
USB Charging Port
Using a USB‑C charging cable (not included), plug the USB‑C
connector into the battery. Then plug the other end of the cable
into an AC adapter (not included) for charging at an electrical
outlet (Fig. 6).
The battery indicator LEDs will illuminate to indicate charging
progress. All three LEDs will light up once the battery is fully
charged, at which point unplug the battery from the charging
cable.
NOTE: You may also charge the battery using other USB
devices such as computers.
NOTE: When disconnected from a power source, the USB‑C
port can also be used to charge other electronic devices such
as smartphones and tablets.
Charger Operation
mWARNING! Charge only 24V iON+ lithium‑ion battery
packs with their compatible 24V iON+ lithium‑ion chargers.
Other types of batteries may cause personal injury and damage.
To reduce the risk of electric shock, do not allow water to flow
into the charger’s AC/DC plug.
When to Charge the iON+ 24VBAT-XR12
Lithium-iON Batteries
NOTE: The iON+ 24VBAT‑XR12 lithium‑iON battery packs do
not develop a “memory” when charged after only a partial
discharge. Therefore, it is not necessary to run down the battery
packs before charging them again.
• Use the battery indicator lights to determine when to charge
your iON+ 24VBAT‑XR12 lithium‑iON battery packs.
• You can “top‑off” your battery packs’ charge before starting
a big job or after a long day of use.
AC adapter
(not included)
Charging cable
(not included)
Fig. 6
Loading ...
Loading ...
Loading ...