Loading ...
Loading ...
Loading ...
General Care & Cleaning
Changing the Oven Light
Be sure the oven is unplugged and all parts are COOL before replacing the oven light bulb. Do not turn
the oven light on during the self-cleaning cycle. High temperature will reduce lamp life.
The interior oven light will turn on automatically when the oven door is opened.
The oven light may be turned on when the door is closed by using the oven light switch located on the control panel.
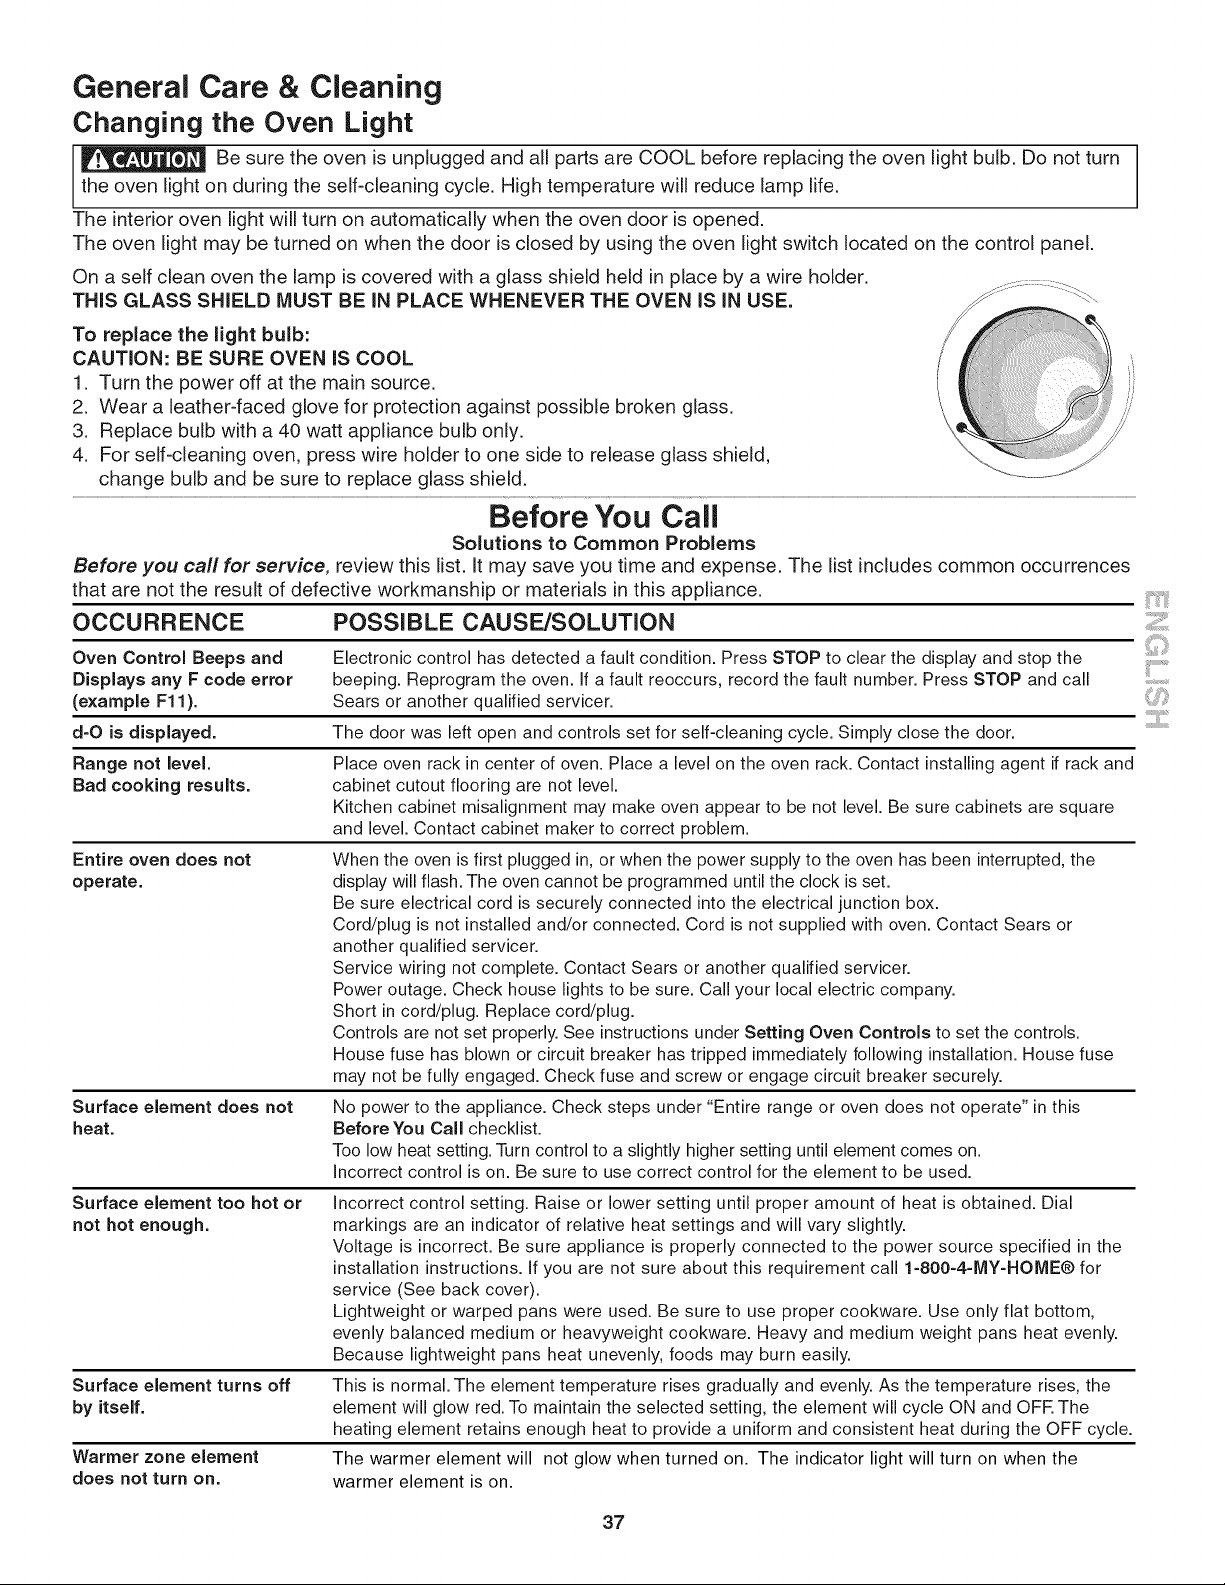
On a self clean oven the lamp is covered with a glass sMeld held in place by a wire holder.
THIS GLASS SHIELD MUST BE IN PLACE WHENEVER THE OVEN IS IN USE.
To replace the light bulb:
CAUTION: BE SURE OVEN IS COOL i
1. Turn the power off at the main source.
2. Wear a leather-faced glove for protection against possible broken glass.
3. Replace bulb with a 40 watt appliance bulb only.
4. For self-cleaning oven, press wire holder to one side to release glass shield,
change bulb and be sure to replace glass shield.
Before You Call
Solutions to Common Problems
Before you call for service, review this list. It may save you time and expense. The list includes common occurrences
that are not the result of defective workmanship or materials in this appliance.
OCCURRENCE POSSIBLE CAUSE/SOLUTION
Oven Control Beeps and
Displays any F code error
(example F11).
d=O is displayed.
Range not level.
Bad cooking results.
Entire oven does not
operate.
Surface element does not
heat.
Electronic control has detected a fault condition. Press STOP to clear the display and stop the
beeping. Reprogram the oven. If a fault reoccurs, record the fault number. Press STOP and call
Sears or another qualified servicer.
The door was left open and controls set for self-cleaning cycle. Simply close the door.
Place oven rack in center of oven. Place a level on the oven rack. Contact installing agent if rack and
cabinet cutout flooring are not level.
Kitchen cabinet misalignment may make oven appear to be not level. Be sure cabinets are square
and level. Contact cabinet maker to correct problem.
When the oven is first plugged in, or when the power supply to the oven has been interrupted, the
display will flash. The oven cannot be programmed until the clock is set.
Be sure electrical cord is securely connected into the electrical junction box.
Cord/plug is not installed and/or connected. Cord is not supplied with oven. Contact Sears or
another qualified servicer.
Service wiring not complete. Contact Sears or another qualified servicer.
Power outage. Check house lights to be sure. Call your local electric company.
Short in cord/plug. Replace cord/plug.
Controls are not set properly. See instructions under Setting Oven Controls to set the controls.
House fuse has blown or circuit breaker has tripped immediately following installation. House fuse
may not be fully engaged. Check fuse and screw or engage circuit breaker securely.
No power to the appliance. Check steps under "Entire range or oven does not operate" in this
Before You Call checklist.
Too low heat setting. Turn control to a slightly higher setting until element comes on.
Incorrect control is on. Be sure to use correct control for the element to be used.
Surface element too hot or Incorrect control setting. Raise or lower setting until proper amount of heat is obtained. Dial
not hot enough, markings are an indicator of relative heat settings and will vary slightly.
Voltage is incorrect. Be sure appliance is properly connected to the power source specified in the
installation instructions. If you are not sure about this requirement call I=800=4=IVIY=HOME® for
service (See back cover).
Lightweight or warped pans were used. Be sure to use proper cookware. Use only flat bottom,
evenly balanced medium or heavyweight cookware. Heavy and medium weight pans heat evenly.
Because lightweight pans heat unevenly, foods may burn easily.
Surface element turns off This is normal. The element temperature rises gradually and evenly. As the temperature rises, the
by itself, element will glow red. To maintain the selected setting, the element will cycle ON and OFE The
heating element retains enough heat to provide a uniform and consistent heat during the OFF cycle.
Warmer zone element The warmer element will not glow when turned on. The indicator light will turn on when the
does not turn on. warmer element is on.
iiil..................
_;ii:/:ii_
...........ii.......
37
Loading ...
Loading ...
Loading ...