Loading ...
Loading ...
Loading ...
Adjusting the Camera
Image
The picture quality of the camera can be set using
the [Camera Process] menu.
As the adjustments are shown on the screen, you
can adjust the values while checking the picture
quality on the camera.
0
[Color Space
]
0
[Gamma]
0
[Detail
]
0
[Master Black]
0
[Black Paint
]
0
[Flare]
0
[V. Shading]
0
[Black Toe
]
0
[Knee Level
]
0
[Auto Knee Sensitivity]
0
[Auto Knee Peak Filter]
0
[White Clip]
0
[Chroma Clip]
0
[White Balance]
0
[Color Matrix]
0
[
Color Gain]
0
[Reverse Picture]
0
[DNR]
Memo :
0
For details of the respective items, see the
[Camera Process] menu.
(A P116 [Camera Process Menu] )
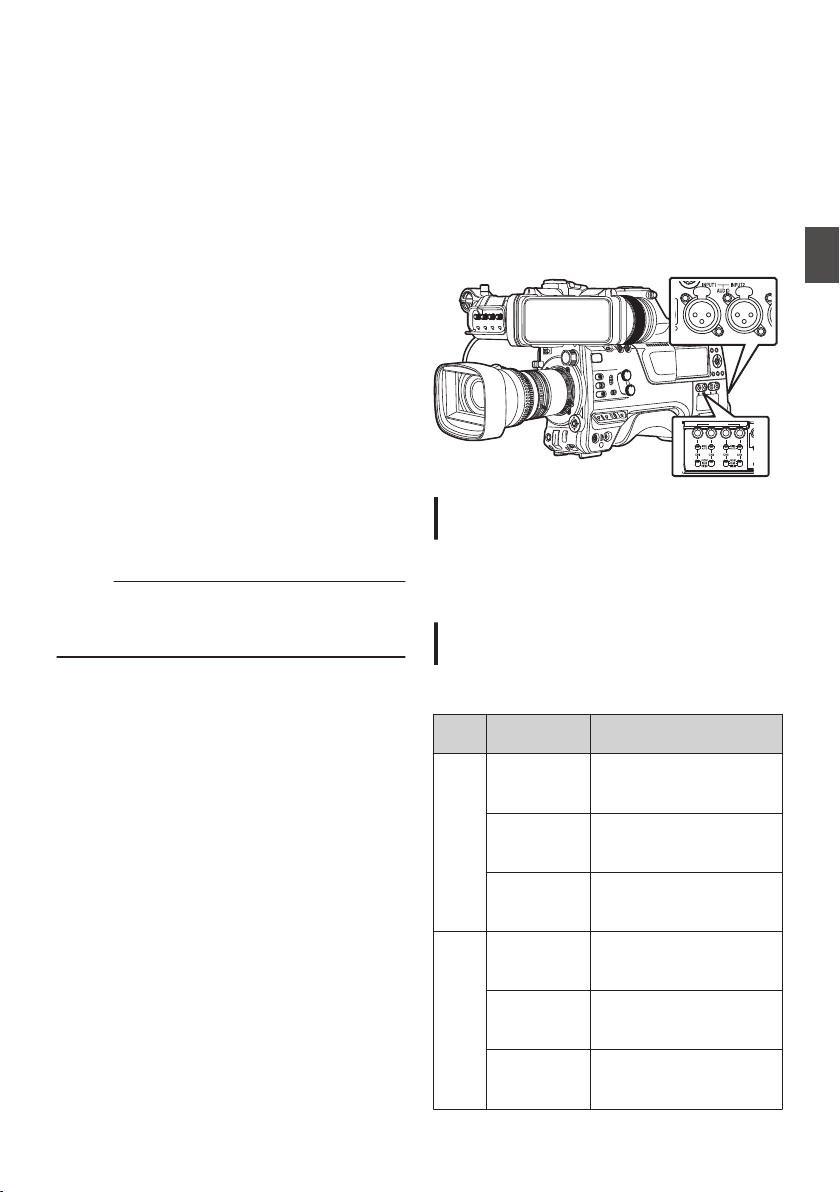
Audio Recording
You can record audio from the four channels (CH1/
CH2/CH3/CH4) in synchronization with the video
images on this camera recorder.
Select from the options below to record the audio.
0
Microphone connected to [MIC IN] terminal
(XLR 5-pin)
0
Microphone or line input connected to the
[AUDIO INPUT1] terminal (XLR 3pin)
0
Microphone or line input connected to the
[AUDIO INPUT2
] terminal (XLR 3pin)
.
P
R
AUDIO INPUT
DI
S
Setting the Number of Recording
Channels
0
Set the number of recording channels in
[System] B [Record Set] B [Record Format] B
[Audio].
Selecting Audio to Be Recorded in Each
Channel
Select the audio to be recorded in CH1/CH2/CH3/
CH4.
-
Switch
Setting
Connected Devices
CH1
CH3
FRONT
0
Audio input of
microphone 1 from
[MIC IN] terminal
REAR
0
Audio input from
[AUDIO INPUT1]
terminal
WIRELESS
0
Audio input of CH1
from the “UniSlot”
wireless receiver
CH2
CH4
FRONT
0
Audio input of
microphone 2 from
[MIC IN] terminal
REAR
0
Audio input from
[AUDIO INPUT2]
terminal
WIRELESS
0
Audio input of CH2 (or
CH1) from the “UniSlot”
wireless receiver
Adjusting the Camera Image
69
Shooting
Loading ...
Loading ...
Loading ...