
Loading ...
Loading ...
Loading ...
38MARB-01SI Specifications subject to change without notice. 13
6. Connect the Pipes
Connect the copper pipes to the indoor unit first, then connect
the pipes to the outdoor unit. Connect the low-pressure pipe
first, then connect the high pressure pipe.
a. When connecting the flare nuts, apply a thin coat of
refrigeration oil to the flared ends of the pipes.
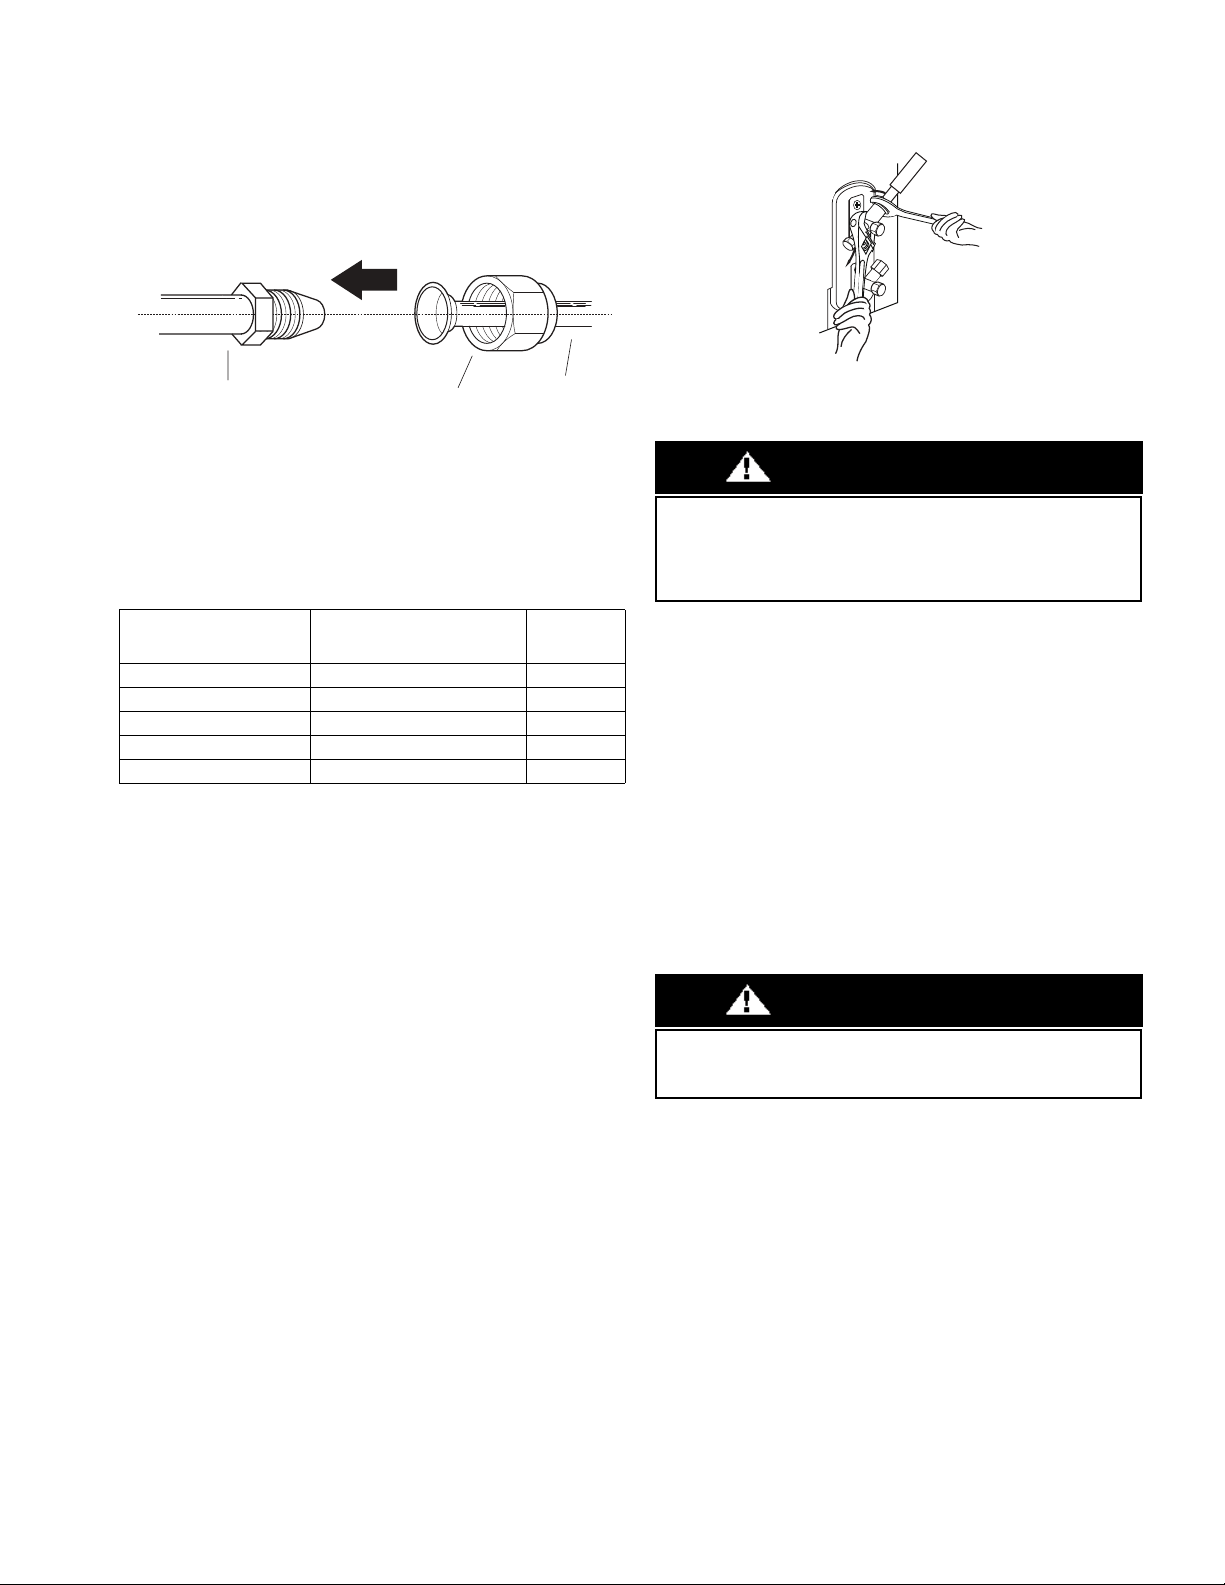
b. Align the center of the two pipes that you will connect.
Fig. 16 — Align the center of the two pipes
c. Tighten the flare nut as much as possible by hand.
d. Using a wrench, grip the nut on the unit tubing.
e. While firmly gripping the nut, use a torque wrench to
tighten the flare nut according to the torque values listed in
Table 7.
Table 7 — Tightening Torque
NOTE: Use both a backup wrench and a torque wrench when
connecting or disconnecting pipes to or from the unit.
Fig. 17 — Torque wrench with backup wrench
All tubing bends should be performed with a properly sized tubing
bender to prevent kinking or damaging the tubing.
f. After connecting the copper pipes to the indoor unit, wrap
the power cable, signal cable and the piping together with
binding tape.
NOTE: While bundling these items together, DO NOT intertwine or
cross the signal cable with any other wiring.
g. Thread this lineset through the wall and connect it to the
outdoor unit.
h. Insulate all piping, including the outdoor unit valves.
NOTE: DO NOT open the service valves until pressure test is
complete.
7. Pressure Test Piping
NOTE: Use refrigeration gauges that are pressure rated for
R410a refrigerant.
a. Attach low side gauge hose to the 5/16" Schrader valve on
the outdoor unit service valve.
b. Attach the charging hose to the regulator on the dry nitrogen
tank.
c. Preset the nitrogen regulator to 550 psi.
d. Slowly pressurize the line set until the low side gauge reads
500 psi. Do not exceed 550 psi.
e. Close all the valves on the nitrogen tank and gauges.
f. Allow the pressure test to stand for a minimum of 30
minutes.
g. If the pressure holds, release the nitrogen and proceed with
“Step 5 - Evacuate Coil And Tubing System” on page 14.
h. If the pressure goes down in the 30 minute delay, leak check
the tubing and flare fittings to identify the source of the
leak. Return to Step C, above.
BRASS FLARE SIZE
(IN”)
RECOMMENDED SEATING
TORQUE FOR BRASS
FLARE NUTS
N-M
Ø1/4 8-10 Ft. - Lbs. 10.8 to 13.6
Ø3/8 15-18 Ft. - Lbs 20.3 to 24.4
Ø1/2 28-32 Ft. - Lbs 38.0 to 43.4
Ø5/8 38-42 Ft. - Lbs 51.5 to 56.9
Ø3/4 50-55 Ft. - Lbs. 68.0 to 74.6
Pipe
Indoor unit tubing
Flare nut
Wrap insulation around the piping. Direct contact with the bare
piping may result in burns or frostbite. Ensure the pipe is properly
connected. Over tightening may damage the bell mouth and under
tightening may lead to leakage.
CAUTION
Only use Dry Nitrogen to pressure test refrigerant systems. Use of
other gases can result in injury, property damage or death.
CAUTION
Loading ...
Loading ...
Loading ...