Loading ...
Loading ...
Loading ...
comeonduringoperation,checkthebatteryandcharging
systemforpossiblecausesand/orcontactyourauthorized
MTDservicedealer.
Oil Pressure Indicator (Refer to Figure 4-4)
This warning lamp indicates low engine oil pressure. If the
indicator comes on while the engine is running, stop the
engine immediately and check for possible causes. Do not
run the engine while this indicator is illuminated. Contact
your autorized MTD service dealer to have the tractor and
engine inspected.
NOTE: The oil pressure indicator may illuminate when the
ignition switch is in the ON position, but should turn off when
the engine isstarted.
PTO Engaged Indicator (Refer to Figure 4-4)
This indicator illuminates when the PTO switch is pulled
upward in the "ENGAGED" position and the ignition switch
is turned to the "START" position. Check this indicator if
the engine will not crank with the ignition switch in the
"START" position. If necessary, move the PTO switch to the
"DISENGAGED" position.
Parking Brake Engaged Indicator (Refer to Figure 4-4)
This indicator illuminates when the parking brake is in the
DISENGAGED position and the ignition switch is turned to
the "START" position. Check this indicator if the engine will
not crank with the ignition switch in the "START" position.
If necessary, move the parking brake to the ENGAGED
position.
This indicator also illuminates when the ignition switch is
turned to the "START" position and the RH and/or LH drive
control levers are in a position other than the fully out in
neutral position. Move the control levers fully outward.
M.Throttle Control
The throttle control is located on the LH console to the
left of the operator's seat. When set in a given position, a
uniform engine speed will be maintained.
Push the throttle control handle forward to increase the
engine speed. The tractor is designed to operate with the
throttle control in the fast position (full throttle) when the
tractor is being driven and the mower deck is engaged.
Pull the throttle control handle rearward to decrease the
engine speed.
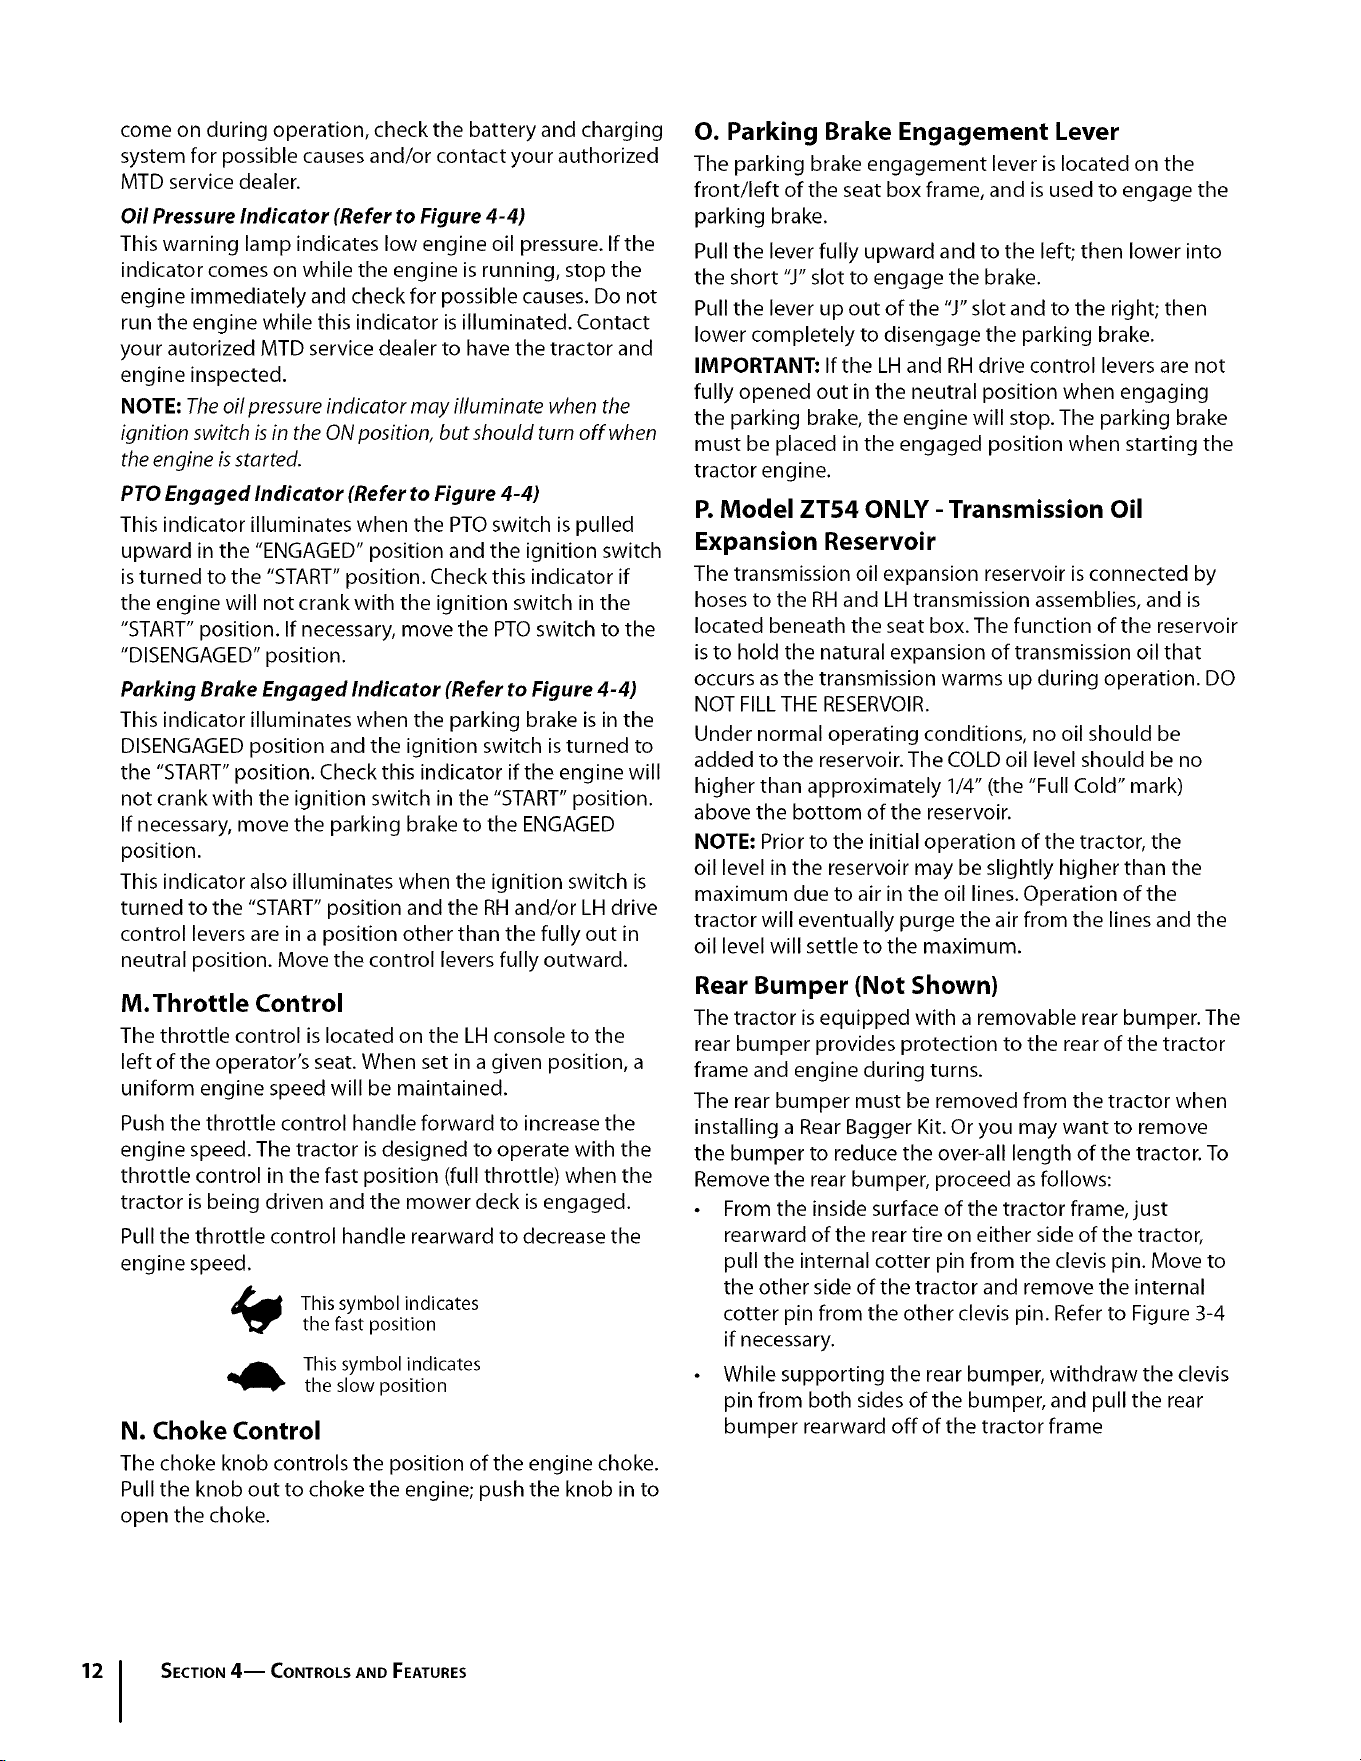
This symbol indicates
the fast position
This symbol indicates
the slow position
N. Choke Control
The choke knob controls the position of the engine choke.
Pull the knob out to choke the engine; push the knob in to
open the choke.
O. Parking Brake Engagement Lever
The parking brake engagement lever is located on the
front/left of the seat box frame, and is used to engage the
parking brake.
Pull the lever fully upward and to the left; then lower into
the short "J" slot to engage the brake.
Pull the lever up out of the "J" slot and to the right; then
lower completely to disengage the parking brake.
IMPORTANT: If the LH and RH drive control levers are not
fully opened out in the neutral position when engaging
the parking brake, the engine will stop. The parking brake
must be placed in the engaged position when starting the
tractor engine.
P• Model ZT54 ONLY - Transmission Oil
Expansion Reservoir
The transmission oil expansion reservoir is connected by
hoses to the RH and LH transmission assemblies, and is
located beneath the seat box. The function of the reservoir
is to hold the natural expansion of transmission oil that
occurs as the transmission warms up during operation. DO
NOT FILL THE RESERVOIR.
Under normal operating conditions, no oil should be
added to the reservoir. The COLD oil level should be no
higher than approximately 1/4" (the "Full Cold" mark)
above the bottom of the reservoir.
NOTE: Prior to the initial operation of the tractor, the
oil level in the reservoir may be slightly higher than the
maximum due to air in the oil lines. Operation of the
tractor will eventually purge the air from the lines and the
oil level will settle to the maximum.
Rear Bumper (Not Shown)
The tractor is equipped with a removable rear bumper. The
rear bumper provides protection to the rear of the tractor
frame and engine during turns.
The rear bumper must be removed from the tractor when
installing a Rear Bagger Kit. Or you may want to remove
the bumper to reduce the over-all length of the tractor. To
Remove the rear bumper, proceed as follows:
• From the inside surface of the tractor frame, just
rearward of the rear tire on either side of the tractor,
pull the internal cotter pin from the clevis pin. Move to
the other side of the tractor and remove the internal
cotter pin from the other clevis pin. Refer to Figure 3-4
if necessary.
• While supporting the rear bumper, withdraw the clevis
pin from both sides of the bumper, and pull the rear
bumper rearward off of the tractor frame
12 I SECTION4-- CONTROLSANDFEATURES
Loading ...
Loading ...
Loading ...