Loading ...
Loading ...
Loading ...
SURFACE COOKING
Surface Burner Controls
Knobs that turn the surface burners on and off are
marked as to which burners they control. The two
knobs on the left control the left front and left rear
burners. The two knobs on the right control the right
front and right rear burners.
Before Lighting a Burner
• If drip pans are supplied with your range, they
should be used at all times.
• Make sure all the grates on the range are in place
before using any bumel:
On ranges with sealed burners:
• The smaller burner (right rear position) will give
the best simmer results. It offers precise cooking
performance for delicate foods, such as sauces
or foods which need to cook over low heat for a
long time. It can be turned down to a very low
simmer setting.
• The right front burner is higher powered than the
others and will bring liquids to a boil quicker.
• On some models, the bumers are all the same
size and power.
To Light a Surface Burner
Electric Ignition Models:
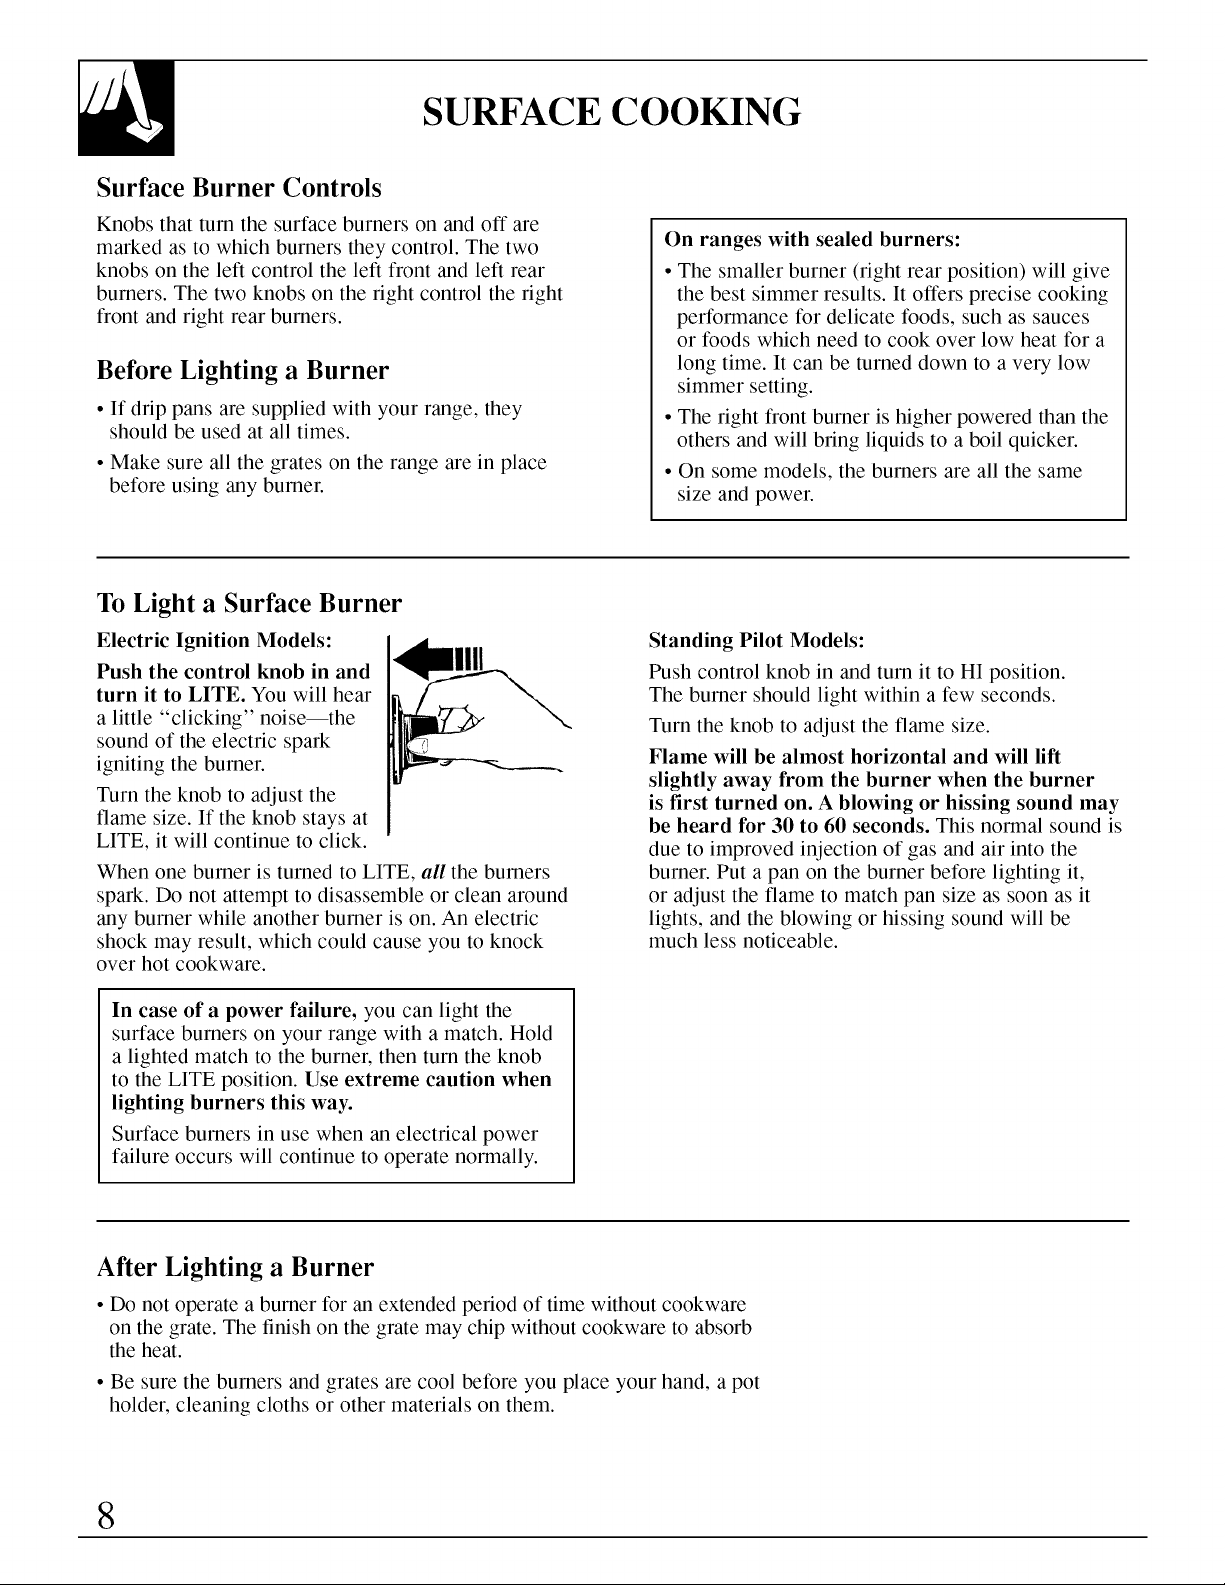
Push the control knob in and
turn it to LITE. You will hear
a little "clicking" noiseIthe
sound of the electric spark
igniting the burner.
Turn the knob to adjust the
flame size. If the knob stays at
LITE, it will continue to click.
When one burner is turned to LITE, all the burners
spark. Do not attempt to disassemble or clean around
any burner while another burner is on. An electric
shock may result, which could cause you to knock
over hot cookware.
In case of apower failure, you can light the
surface burners on your range with a match. Hold
a lighted match to the burner, then turn the knob
to the LITE position. Use extreme caution when
lighting burners this way.
Surface bumers in use when an electrical power
failure occurs will continue to operate normally.
Standing Pilot Models:
Push control knob in and rum it to HI position.
The burner should light within a few seconds.
Turn the knob to adjust the flame size.
Flame will be almost horizontal and will lift
slightly away from the burner when the burner
is first turned on. A blowing or hissing sound may
be heard for 30 to 60 seconds. This normal sound is
due to improved injection of gas and air into the
burner. Put a pan on the burner before lighting it,
or adjust the flame to match pan size as soon as it
lights, and the blowing or hissing sound will be
much less noticeable.
After Lighting a Burner
• Do not operate a bumer for an extended period of time without cookware
on the grate. The finish on the grate may chip without cookware to absorb
the heat.
• Be sure the burners and grates are cool before you place your hand, a pot
holder, cleaning cloths or other materials on them.
8
Loading ...
Loading ...
Loading ...