Loading ...
Loading ...
Loading ...
24
Connecting USB Flash Drive
The instrument recognizes USB ash drives (32MB to 128GB) in FAT32
format. It does not support multi-partitioned USB ash drives. We rec-
ommend formatting the USB ash drive on the instrument before using.
Note:
The instrument supports up to 512 les under the root directory of a
USB ash drive of FAT32 format. Exceeding this limit will make it una-
ble to save to the USB ash drive.
Playing a Style/Song from USB Flash Drive
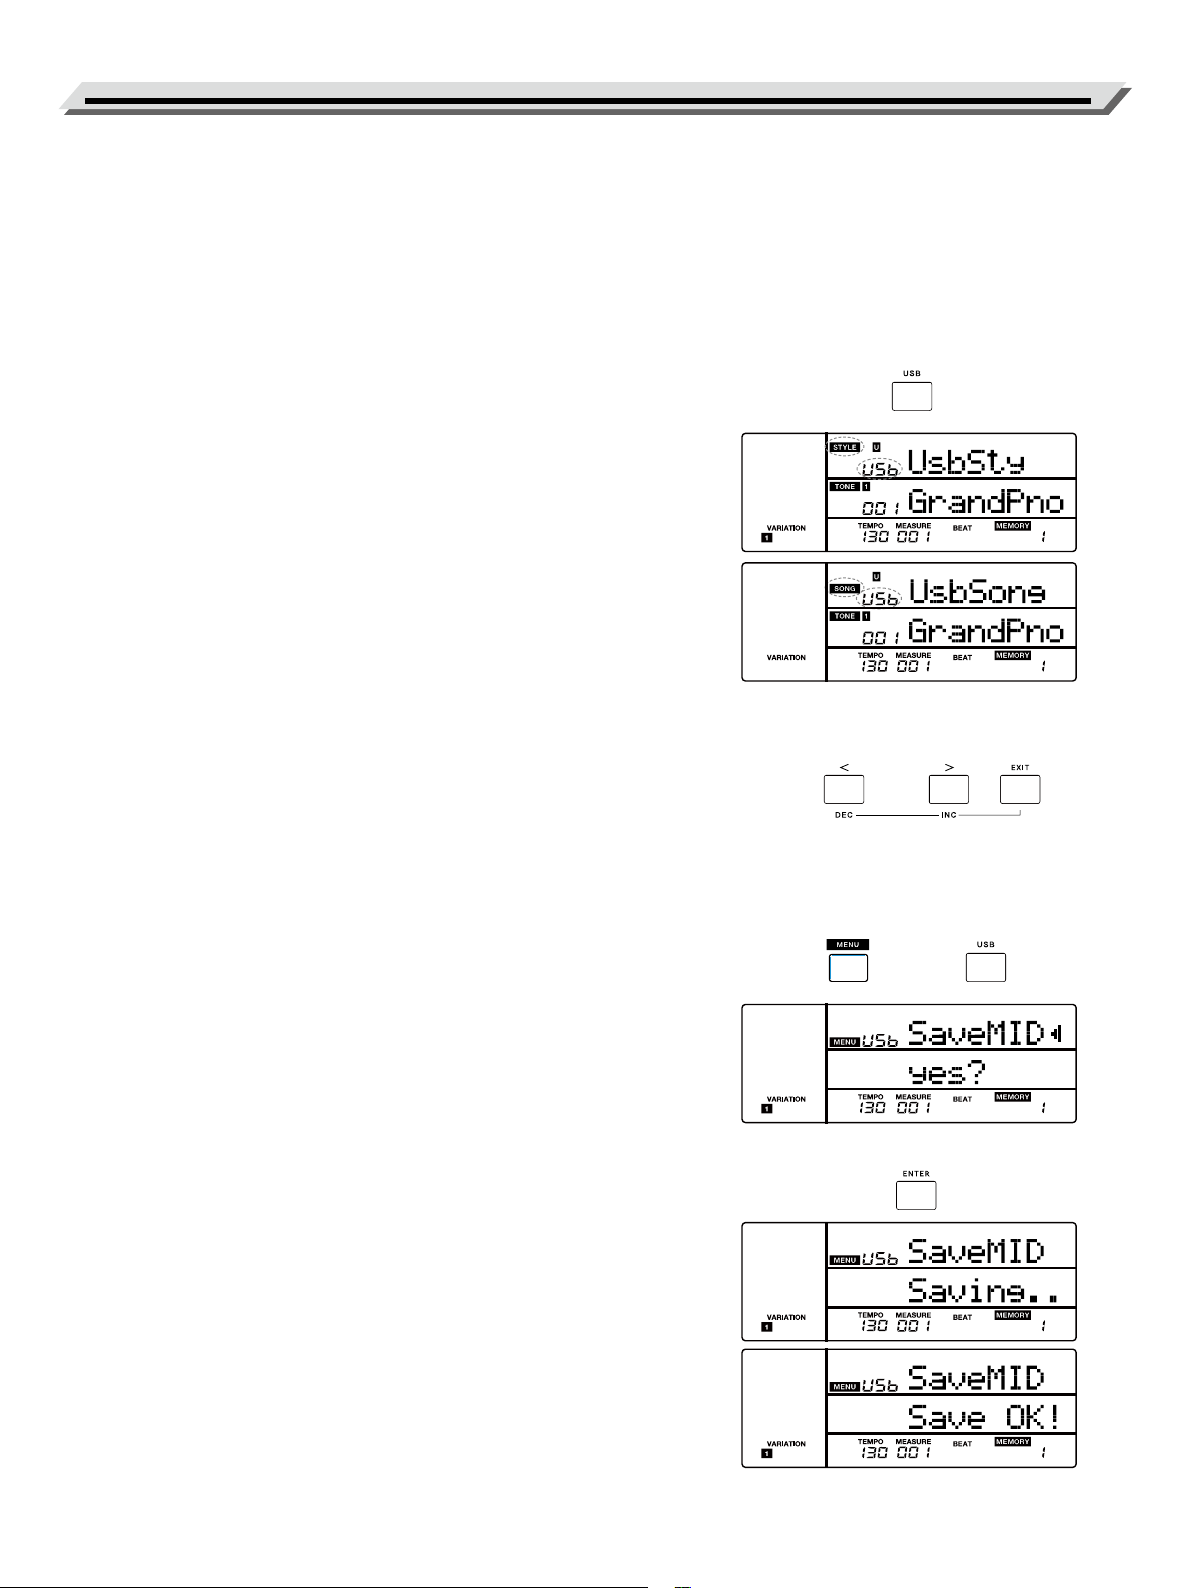
1. When in style mode, press the [USB] button to enter the USB Style
menu. The LCD can display all styles in the USB ash drive by using
data dial. The “STYLE” and “USb” icons on LCD light up. Press the
[START/STOP] button to start style playback. Press this button again
to stop the playback.
When in USB Style menu, you can use these buttons to control the
style: TEMPO [TAP] / [-] / [+], [CHORD], [SYNC], [INTRO/ ENDING],
[FADE IN/OUT], [FILL 1/3] and [FILL 2/4].
2. When in song mode, press the [USB] button to enter the USB Song
menu. The “SONG” and “USB” icons on LCD light up. The LCD can
shows all songs and MP3/WAV songs in the USB ash drive by us-
ing data dial. Press the [PLAY/STOP] button to start song playback.
Press this button again to stop the playback.
When in USB Song menu, you can use these buttons to control the
song (only for MIDI songs): TEMPO [TAP] / [-] / [+], [REW], [FWD] and
Scale Tune buttons.
3. Use the data dial or the [EXIT] + [<] / [>] buttons to select a song or
style.
4. You can set the playback mode in the function menu. Please refer to
the function menu (P. 28).
Saving User Song to USB Flash Drive
1. Press the [MENU] button to enter the function menu, then press the
[USB] button to enter the USB menu. Use the data dial to select
“SaveMID”.
2. Press the [ENTER] button to move the cursor to “Yes?” in the lower
menu. Press the [ENTER] button, the LCD will display “Saving..”.
The user songs will be saved to the root directory of the USB ash
drive. The les will be named as “RecSng_XX_NUB.MIDI”.
3. After saving, the LCD will prompt “Save OK!”, then return to the USB
menu.
File name description:
“RecSng_XX” is the user song name and number (corresponding to
the user songs on the instrument).
“NUB” is the number of the saved song (01~512).
Loading ...
Loading ...
Loading ...