Loading ...
Loading ...
Loading ...
HOWTO USEYOURMOWER(€owo)
MOWING TIPS. (CONI"D)
4. Under certain conditions a trail of _rass clip-
pings may be left at the right side of the mower.
Mowing in a clockwise direction with a small
overlap will allow these clippings to be col-
lected on the next pass.
MAINTENANCE
Be good to your mower. Once a year put on a
new mower blade, a new spark plug, and a new
air filter. A new blade cuts better. With a new
spark plug your engine will start and run better.
A new air filter assures proper air-fuel mixture.
It will help your engine run better and last longer.
MOWER:
BLADE/BLADE FLANGE CARE
Use only a Sears authorized replacement blade to
get the best cutting results.
CAUTION: DISCONNECT ENGINE CONNECTOR]
FROM BATTERYCONNECTOR AND SPARKPLUGI
WIRE FROM SPARKPLUG. PLACE WIRE WHERE ITl
CANNOT COME IN CONTACT WITH SPARKPLUG.]
I
I. To remove the blade and blade flange, turn
mower on its side with the carburetor up (See
Fig. 18).
2. Take blade nut off by turning counter-clock-
wise. Use a 75/16" box or open end wrenchon
the blade nut (See Fig. 18).
3. Put a block of wood between the blade and
mower housing toprevent blade rotation when
removing and tightening blade nut.
NOTE: Always check the blade flange when
changing the blade to be sure tab has not been
damaged (See Fig. 19).
4. If the tab in the blade flange is damaged
replace the blade flange.
NOTE: The blade flange with tab attaches the
blade to crankshaft. It isnot intended to protect
the crankshaft. The tab must be in good condition
and located in slot of crankshaft to keep blade
attached.
5. Put the blade flange on the engine crankshaft
with the tab in the slot of the crankshaft (See
Fig.78).
6. Put the blade on the crankshaft as shown in
(Fig. 18). Be sure the word "TOPtl (stamped
in the blade) is toward the engine.
REAR DEFLECTOR
The rear deflector which isattached to the rear of
your mower is to keep objects from being thrown
cJutthe back of the mower. If your rear deflector
becomes damaged you should replace it (See
Fig.20).
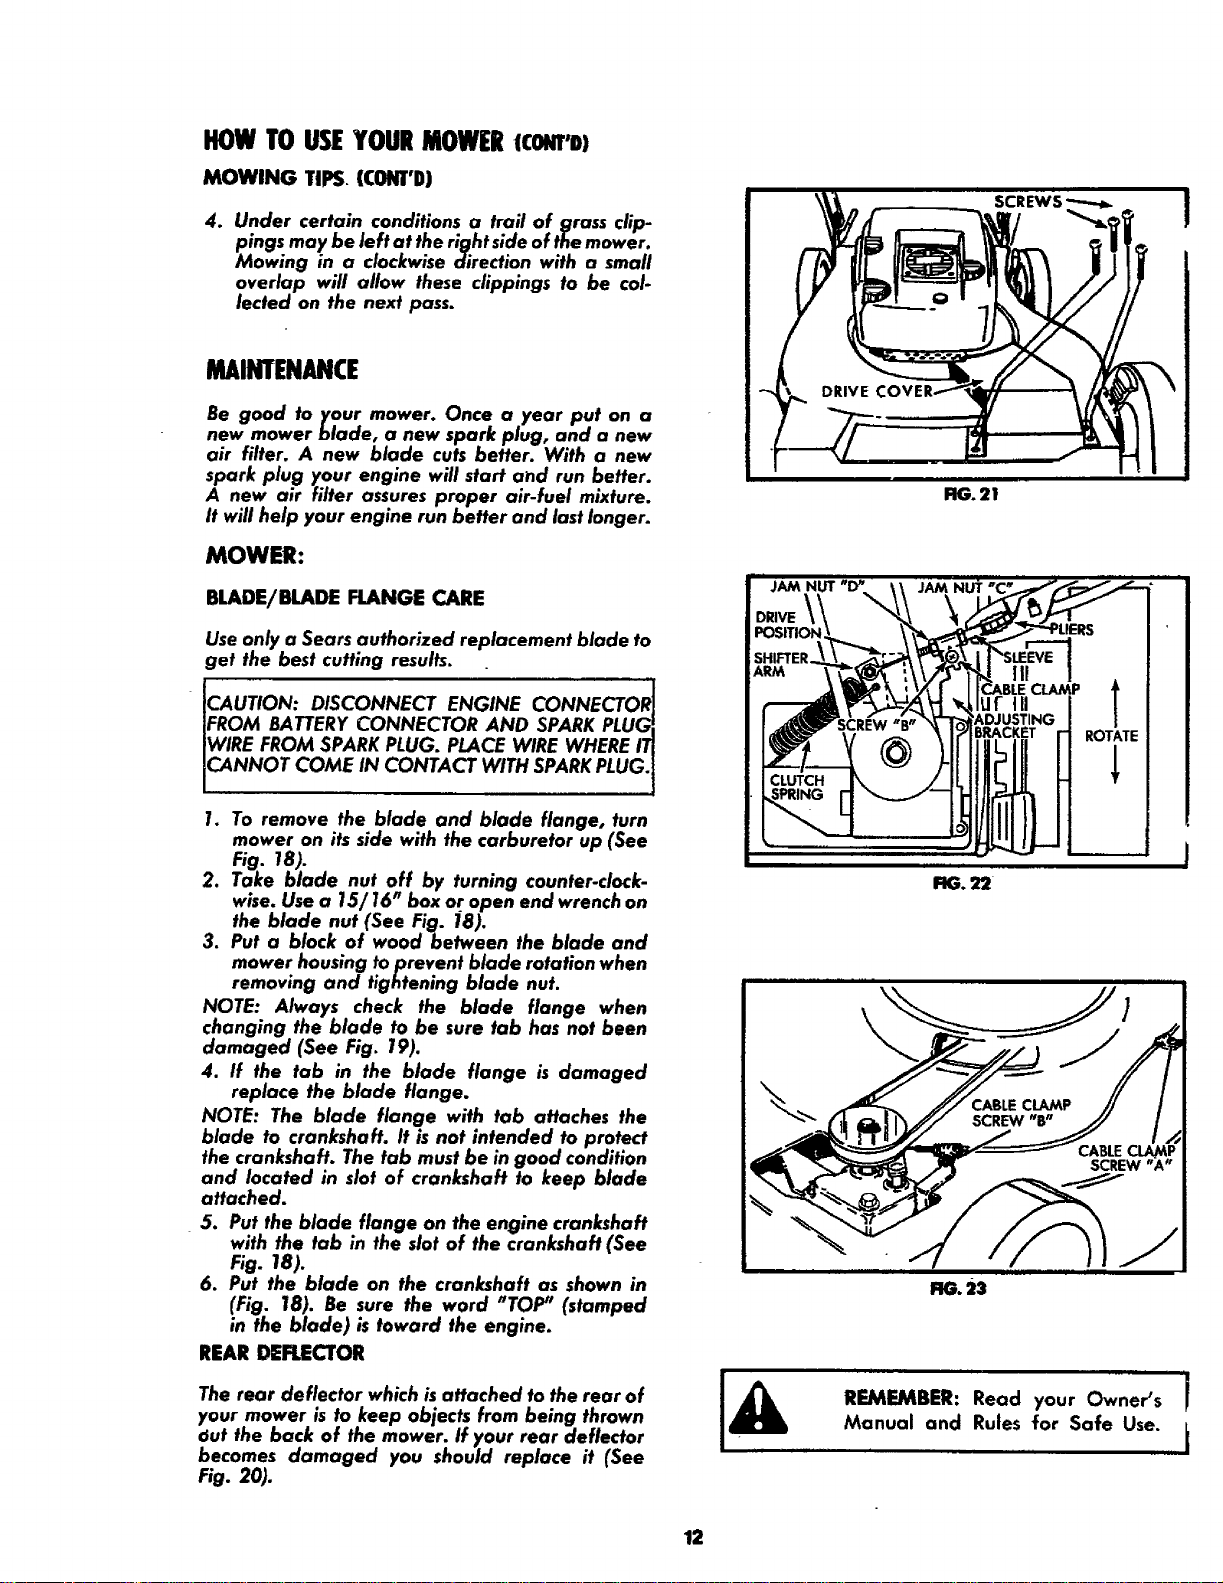
SCREW,q
FIG.21
F_G. _t_ _
FIG.23
REMEMBER: Read your Owner's
Manual and Rules for Safe Use.
I
1
k
12
Loading ...
Loading ...
Loading ...