Loading ...
Loading ...
Loading ...
15
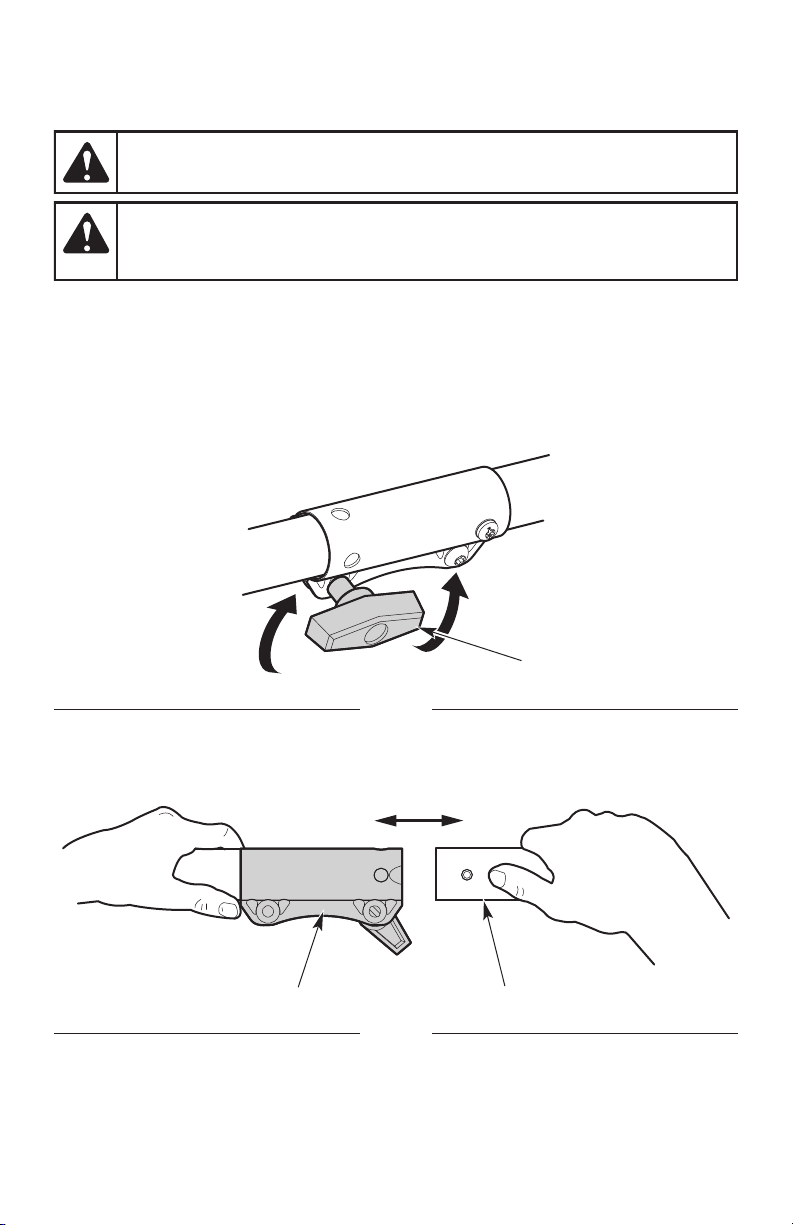
Fig. 5
Knob
Tighten
Loosen
5. Push the attachment straight into the coupler (Fig. 6) until the release button snaps rmly into the
primary hole (Fig. 7).
6. Turn the knob clockwise to tighten the coupler (Fig. 5).
Removing the Attachment
1. Set the unit on a at, level surface.
2. Turn the knob counterclockwise to loosen the coupler (Fig. 5).
3. Press and hold the release button (Fig. 7).
4. Pull the attachment straight out of the coupler (Fig. 6).
WARNING: Before operating the unit, make sure the release button is fully snapped
into the primary hole and the knob is securely tightened.
WARNING: Unless specied otherwise, the release button should be snapped into
the primary hole only. Using the wrong hole could lead to personal injury or damage to the
unit.
Fig. 6
Coupler Attachment
Loading ...
Loading ...
Loading ...