Loading ...
Loading ...
Loading ...
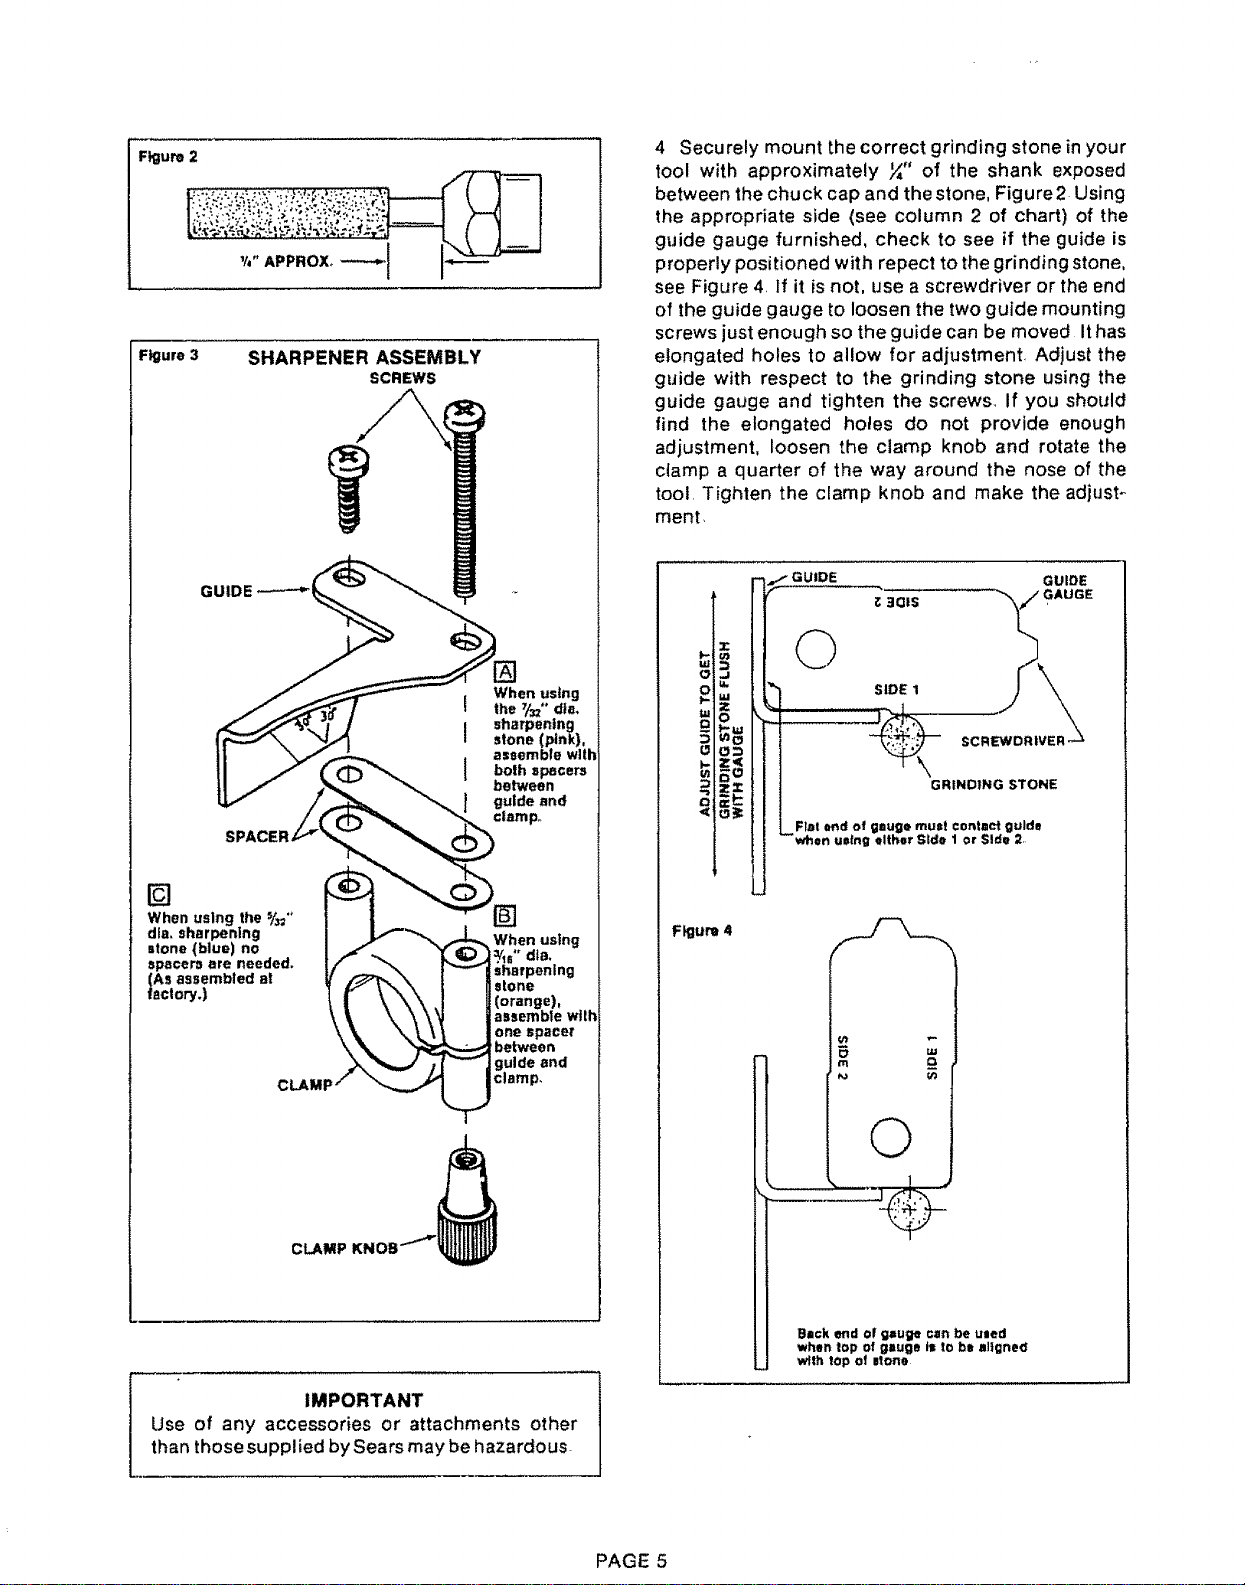
F}gure 2
Figure 3
SHARPENER ASSEMBLY
SCREWS
GUIDE
When using
! the 7/_ *° die,
sharpening
] stone(_nk),
assemble with
I bolh spacers
between
guide and
clamp,,
[]
When using the %="
die, sharpening
itone (blue) no
spacers are needed.
(AS assembled at
factory.)
When using
He" dim,
sharpening
stone
(orange),
assemble with
one spacer
between
guide end
clamp,
CLAMP
IMPORTANT
Use of any accessories or attachments other
than those supplied by Sears may be hazardous
4 Securely mount the correct grinding stone in your
tool with approximately Y," of the shank exposed
between the chuck cap and thestone, Figure2 Using
the appropriate side (see column 2 of chart) of the
guide gauge furnished, check to see if the guide is
properly positioned with repect to the grinding stone,
see Figure 4. If it is not, use a screwdriver or the end
of the guide gauge to loosen the two guide mounting
screws just enough so the guide can be moved It has
elongated holes to allow for adjustment, Adjust the
guide with respect to the grinding stone using the
guide gauge and tighten the screws. If you should
find the elongated holes do not provide enough
adjustment, loosen the clamp knob and rotate the
clamp a quarter of the way around the nose of the
tool. Tighten the cJamp knob and make the adjust _
ment,
w
o
O
m
t_
<
Flgur_4
w
o
<
0
/
m
©
Slzck end of g_uge can be uled
when top of gauge ts to be altgne(_
with top of Irene
PAGE 5
Loading ...
Loading ...
Loading ...