Loading ...
Loading ...
Loading ...
cleaning your
oven door
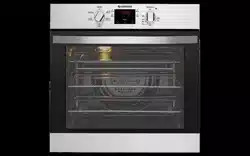
Built-in Cooking CLEANING YOUR OVEN DOOR 29
warning
Do not lift the door by the handle. Rough handling will cause
glass to break.
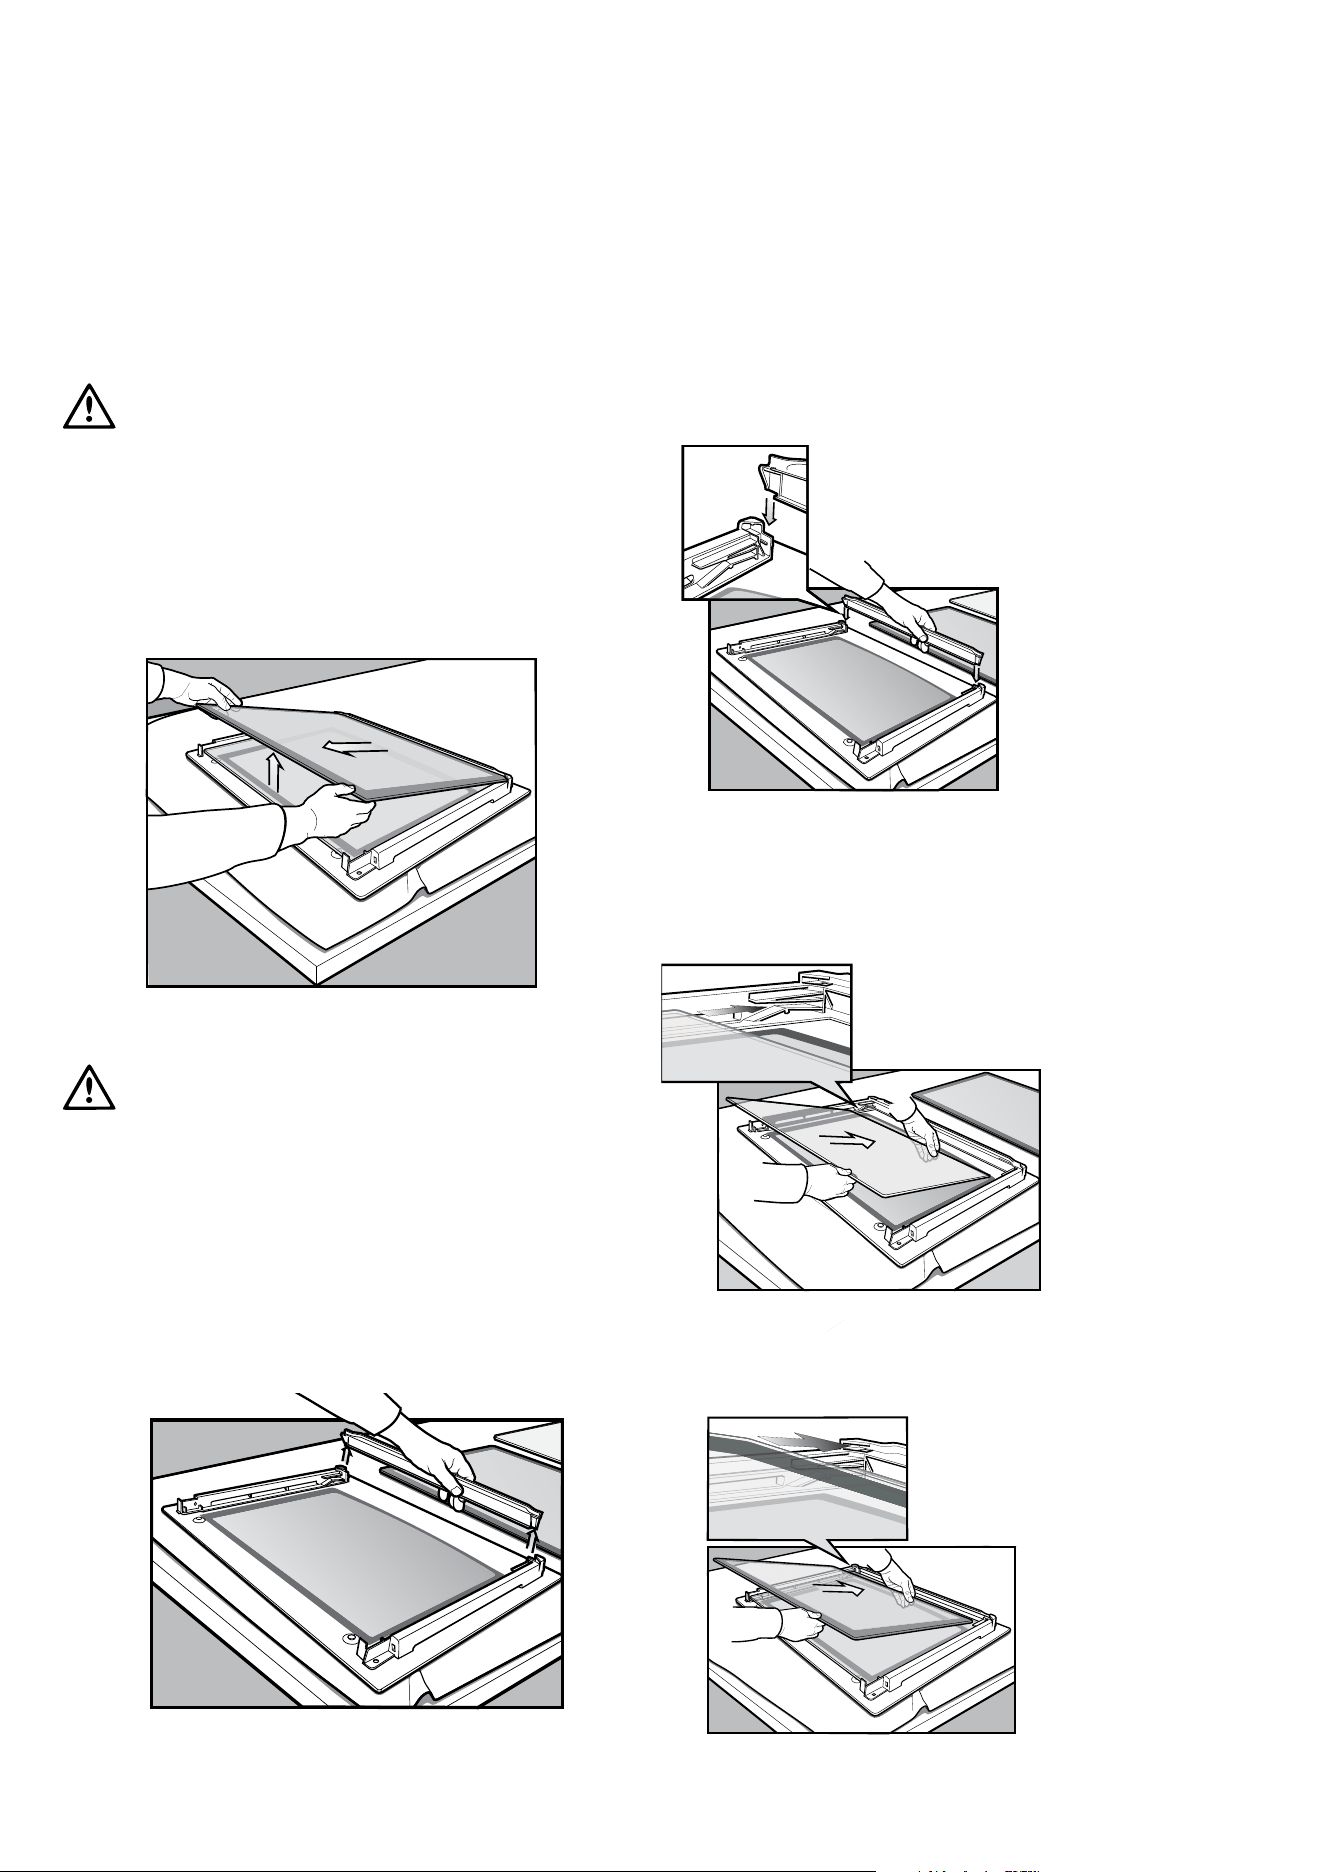
Removing the oven door
Your oven is equipped with a door that can be disassembled
in order to clean all the panes of glass. Remove the door
before cleaning.
• Open the door fully to access the hinges then rotate the
‘stirrups’ (highlighted in the image) on both hinges fully
towards the oven.
• Slowly close the oven door until it is stops against the
‘stirrups’ (about 45
O
).
• Grasp the oven door with a hand each side of the door
and remove it from the oven by pulling it towards you.
• Lay the oven door with the outer side facing downwards
on something soft and flat (for example a blanket on a
kitchen table) to prevent scratches.
Removing oven door top trim
• Take hold of the grid embossed sections of the door
trim at each end and press inwards to release the clips.
Remove the door trim by pulling it towards you.
cleaning your
oven door
28 CLEANING YOUR OVEN DOOR Built-in Cooking
Removing door glass panels (2 layer and 3 layer doors)
warning
Rough handling, especially around the edges can cause
the glass to break.
• Lift the black bordered glass panel out of the guide.
• Repeat this for the smaller clear glass panel (when fitted).
3 layer door shown
Cleaning door glass panels
warning
Do not to use harsh abrasives on the glass panes as
the reflective surface plays a role in the function of the oven.
Do not place glass in dishwasher. Hand wash only with a
soft cloth and warm soapy water. When dry, polish with a
soft cloth and ensure the glass is dry before reassembly.
Bottom trim (where applicable)
• The bottom trim may be removed for cleaning
by snapping out and lifting away from the glass.
Re-assembling bottom trim
• Push down to “snap” each side of bottom trim back into
door columns.
Re-assembling door glass panels
• Insert the smaller clear glass panel (when fitted) first from
above and at an angle to the profile of the door.
• Repeat for the black bordered glass panel ensuring the
painted surface is facing to the downside.
Loading ...
Loading ...
Loading ...