Loading ...
Loading ...
Loading ...
EN - 6
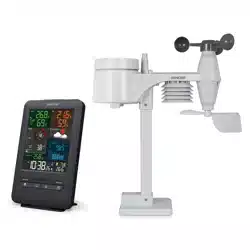
POWER UP THE CONSOLE
1. Plug the power adapter USB plug to power up
the main unit.
2. Once the main unit power up, all the segments
of the LCD will be shown briey before entering
the radiocontrolled time reception mode.
3. The RC clock will automatically start scanning
for the radio-controlled time signal in 8 seconds
and the LCD backlight will temporary switch to
low brightness level.
NOTE:
- If no display appears on the LCD after inserting the batteries, press [RESET] key by
using a pointed object.
- In some cases, you may not receive the signal immediately due to the atmospheric
disturbance.
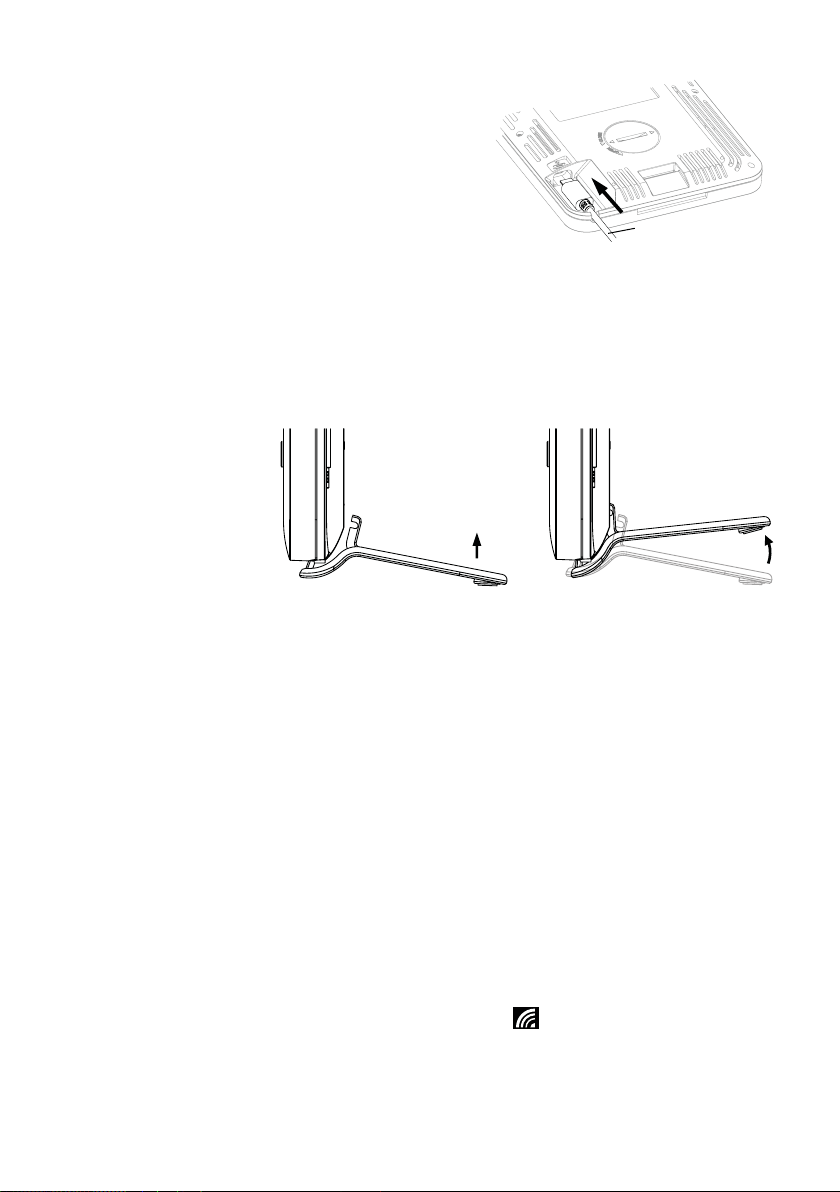
TABLE STAND
INSTALLATION
The unit is designed for
desktop or wall mount
for easy viewing.
Follow the steps to
hook the table stand
on the botton of the
console.
PAIRING OF WIRELESS 5-IN-1 SENSOR WITH CONSOLE
After power up, the console will automatically search and connect the wireless 5-IN-1
sensor (antenna blinking).
Once the connection is successful, antenna mark and readings of outdoor temperature,
humidity, wind speed, wind direction, and rainfall will appear on the display.
CHANGING BATTERIES AND MANUAL PAIRING OF SENSOR
Whenever you changed the batteries of the wireless 5-IN-1 sensor, pairing must be done
manually.
1. Change all the batteries to new ones.
2. Press [SENSOR] key on the console.
3. Press [RESET] key on the sensor.
NOTE:
- Pressing [RESET] key at bottom of wireless 5-IN-1 sensor will generate a new code
for pairing purpose.
- Always dispose old batteries in an environmentally safe manner.
RADIO CONTROLLED / ATOMIC CLOCK FUNCTION
When the unit receives RCC signal, a sync-time symbol
will appear on the LCD, and
synchronizes daily.
USB cable
Step 1 Step 2
Loading ...
Loading ...
Loading ...