Loading ...
Loading ...
Loading ...
K BARANDC_/M LUBRICANT-
• The Guide Bar and Cuffing Chain req_]m
continuous lubdcaffon in order.tb remain in
operating condition. Lubricationis provided
by theaulomaticoilersystemwhenthe oillank
_ keptfilled.
-- Lackof oilwillquickly ruinthebarand chain,
Toolittleoilwigcause overheating shownby
smokecomingfromthechainandlordiscolora*
lionof theguidebar rails;
• Genuine Poulan® Barand Chain OI! isrecom-
mended toprotectyourunitagainstexcessive
wearduetoheatandfriction. Poulan® lubricant
resistshightemperaturethinning.IfPoular_ bar
andchaino_lisnotavailable,useagood gradeSAE
30 oil.Neverusewasteoilforthispurpose.
O
in freezing weather oil will thicken, making
it rmosssary to thin bar and chain oil with a
small amount, of Diesel Fuel #1 or
Kerosene, Bar and chainoilmustbe free Flow-
ingfor the oi!systemtopumpenoughoilfor ad-
equate lubrication.
1. USETHE FOLLOWING:
30°For above --lubricant -- undiluted.
30o-0° F_ 95% lubricant tO5% Diesel Fuel
# 1or Kerosene.
.Below 0°F--90% lubricant to 10% Diesel
Fuel #1 orKerosene.
3- IMPORTANT POINTS TO REMEMB ER
a, Fill the oil tank each time you refill the fuel"
tank Io ensure there willbe sufhctent odforthe
cha=nwhenever youstart and run thesaw
b. The saw will normally use about 1/2 tank of
chain oil for each tank of fuel mixture. If less
oil is used, check for a plugged oil hole in the
guide bar.
c. Keep sawdust and debris cleaned from the
oil holes in the guide bar lo allowan adequate
odflow tothe bar and cha=.n
d.
Keepspifled and spattered oilwiped from the
unitto avoidsatgduat and debrisbuilt-up. Pay
particularattentiontooil onthefanhousingand
starterassemblytoavoidov_heatingtheengine.
It is normal for a small amount of oil to ap-
pear under the saw after the engine stops. •
ThtssSdue tooddralmngfromthebar _,ndchain
when not=nuse.
Generally, less oil is required for softor
freshly cut wood end maximum oil is requir-
ed for hat_fwood or wood that has been
cut for a periodoftimeo
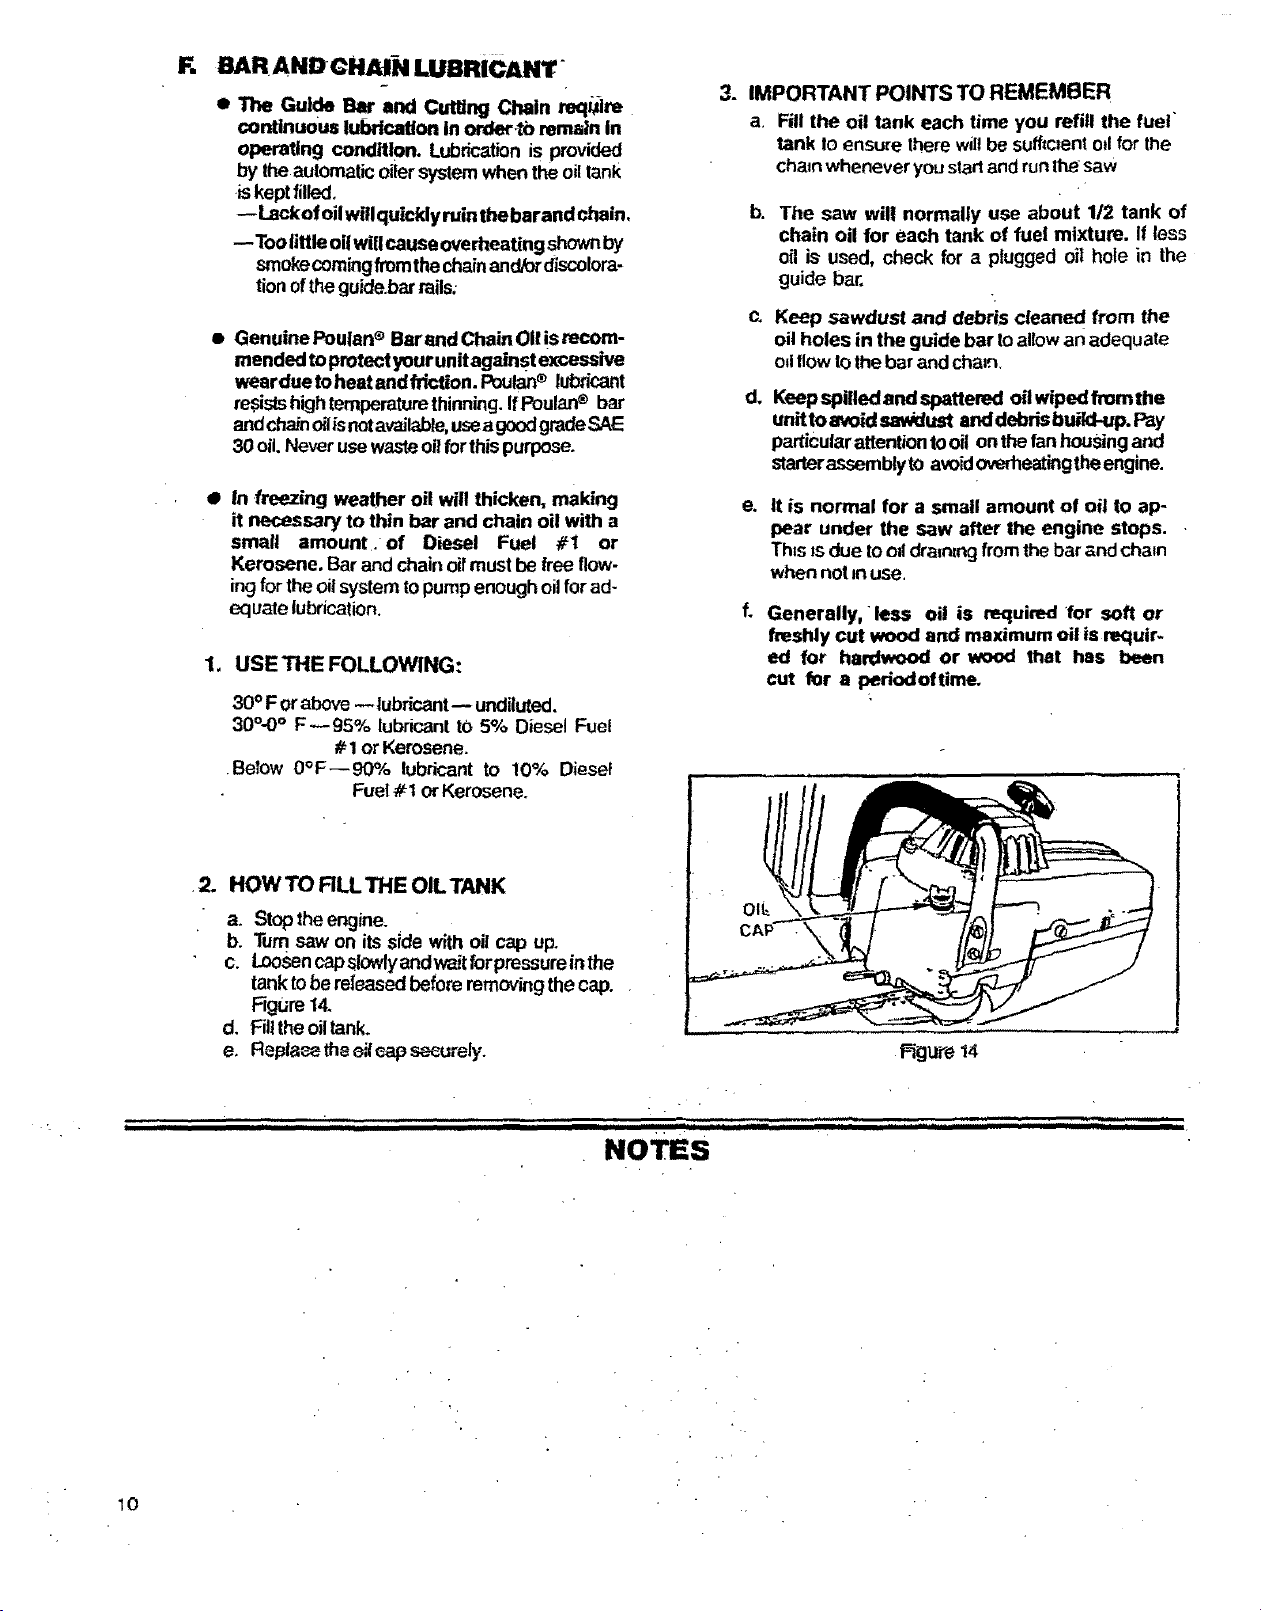
•2. HOWTO RLLTHE OILTANK
a. Stoptheengine.
b. Tum saw on itsside with oil cap up.
c. Loosencapslowlyandwaitforpmssureinthe
tank tobe released before removingthe cap.
Figure14.
d. Filltheoil tank.
e. Repla_ the _f _ap securely.
Rgure 14
i iiiiii iiiiinul I
............. ,,, ,,,,,,,.,,
NOTES
. ,,_,,,i,
10
Loading ...
Loading ...
Loading ...