Loading ...
2
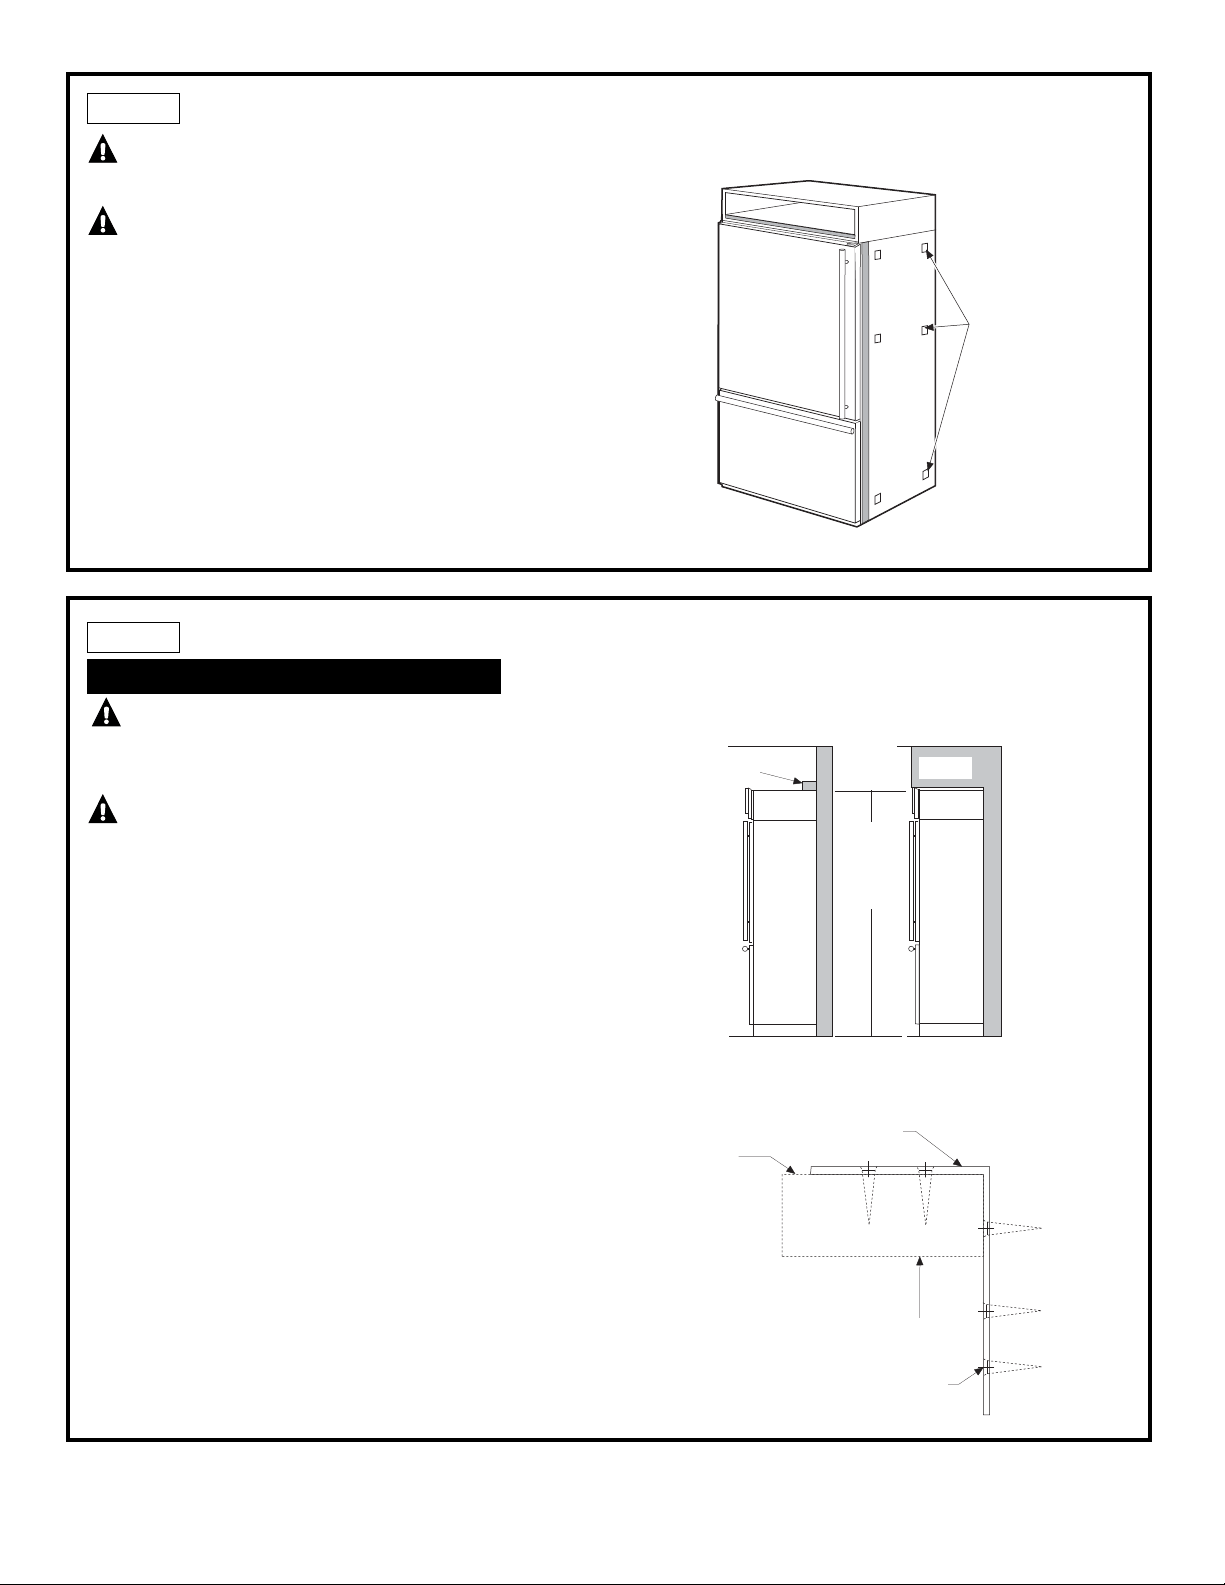
STEP 2 INSTALL ANTI-TIP BRACKET
BOTTOM FREEZER MODELS ONLY
WARNING: ANTI-TIP PRECAUTIONS
These refrigerators are top-heavy and must be secured
to prevent the possibility of tipping forward.
ATTENTION : PRECAUTIONS CONTRE
LES BASCULEMENTS
Le réfrigérateur est beaucoup plus lourd en haut
et il faut le maintenir en place pour éviter la possibilité
de son basculement vers l’avant.
• Cut a 2"x4" block 71" long. Secure the 2"x4" to the 4
mounting brackets provided using #12 or #14 wood
screws.
• Secure the brackets with wood block to the back wall
so that it is 84" (or your installation height) from
the finished floor. Use #12 or #14 wood screws.
See illustration.
• Screws must penetrate at least one inch into vertical
wall studs.
• Gently push refrigerator into the opening with hands
against front corners.
Note: When the refrigerators are installed under a soffit,
or if there is not enough height for this method of security,
brackets cannot be used. Proceed to “Level the
Refrigerator” and to “Secure side trim to cabinetry.”
The refrigerators must be secured to prevent tipping.
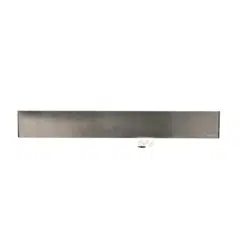
STEP 1 INSTALL FOAM SPACER PADS
CAUTION: Handle parts with care to
avoid scratching.
PRUDENCE : Manipulez les pièces
soigneusement pour éviter de les rayer.
Apply the supplied foam spacer pads (B)
to the mating side of one product as shown.
(Bottom–Mount and All Refrigerator/All Freezer Models)
Foam Spacer Pads
Brackets
Required
Block
Height
From Floor
to Bottom
of Wood
Block
Soffit
Brackets
Not Required
Beneath a Soffit
Side View
2 x 4 Cut to
35
" Length
Mounting Bracket
Installation
Height
From Floor
Wood Screws Mounted into
Vertical Wood Studs
Loading ...
Loading ...
Loading ...