Loading ...
Loading ...
Loading ...
en
12
ASSEMBLY INSTRUCTIONS
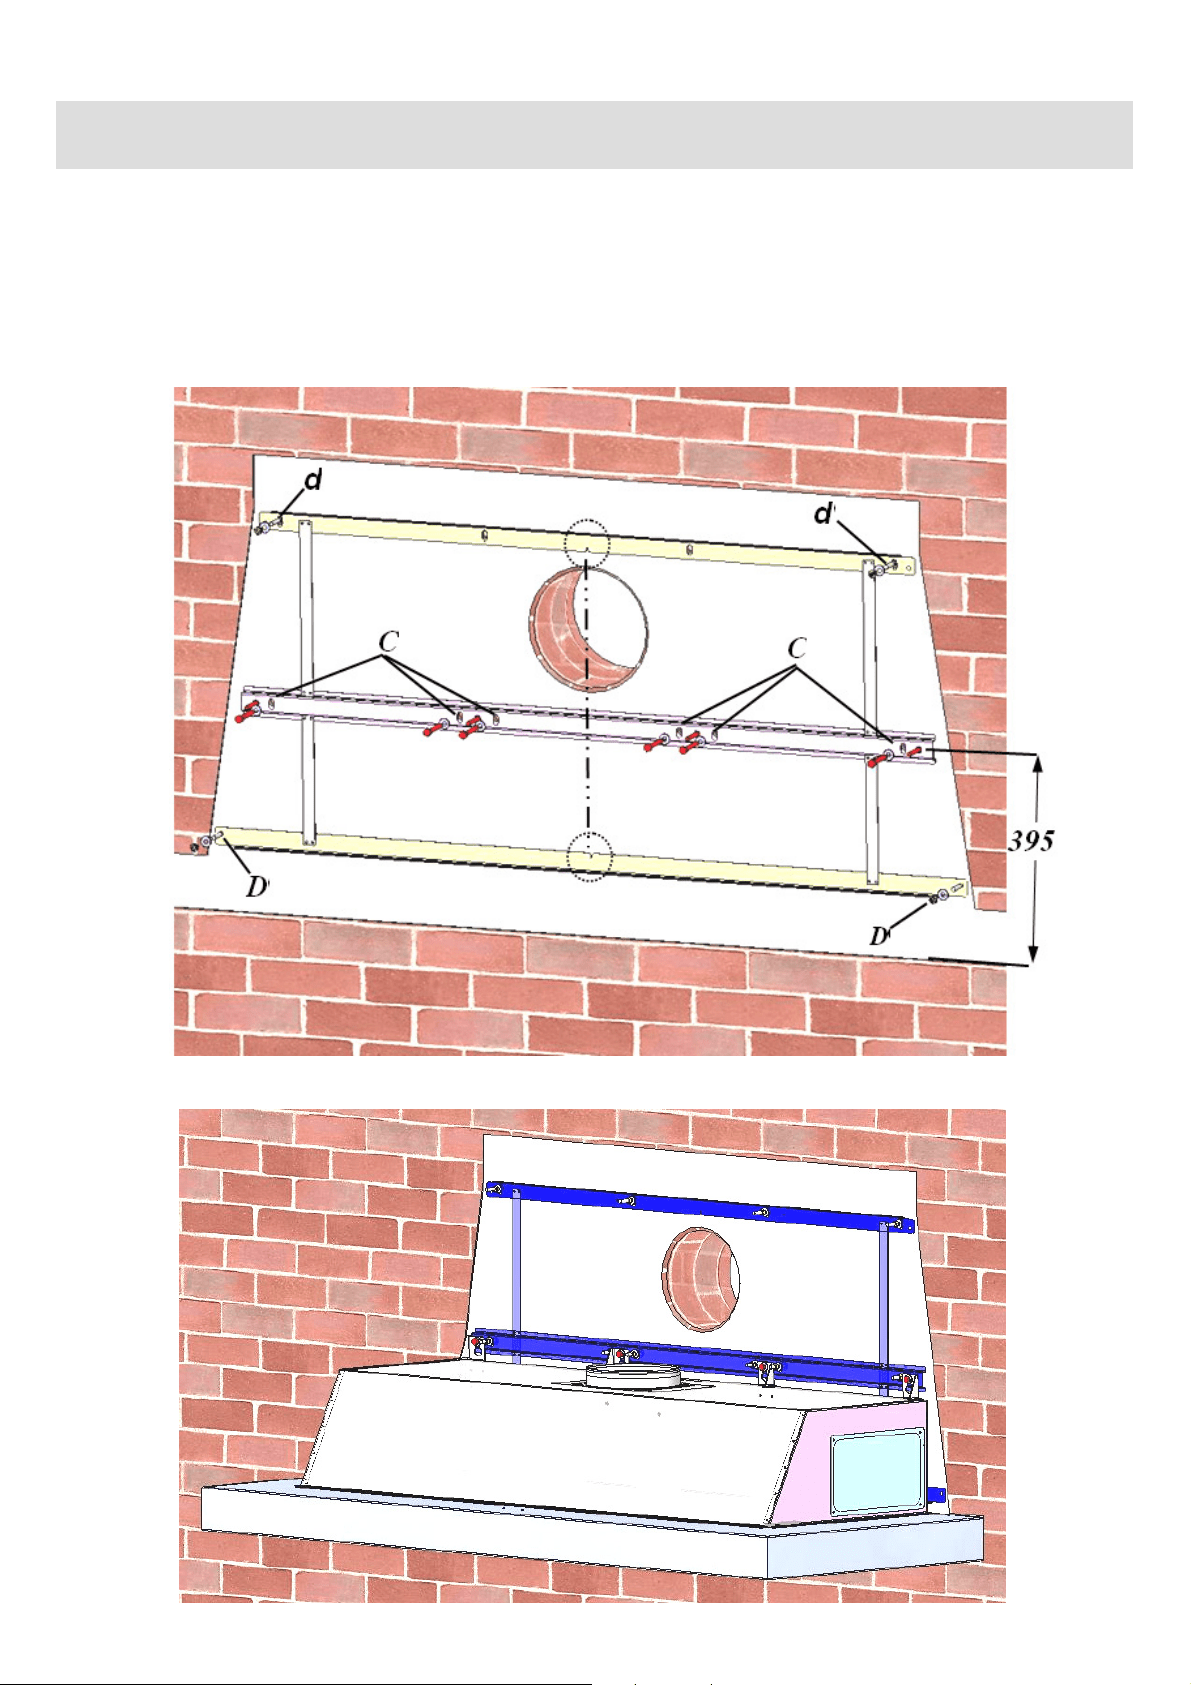
3. Position the assembly jig on the wall. The grooves in the middle of the bars indicate the centre of the hood.
Ensure that the assembly jig is horizontal and mark the holes for drilling. Drill the holes indicated on the jig
in the wall and insert pegs adapted to the type of wall. Fix the assembly jip into holes C with long screws
and into the upper and lower holes (d, D) with the threaded roads supplied with the hood.
N.B. The pegs supplied are only suitable for solid materials.
4. Now fix the hood body to the assembly jig‘s central crossbeam and ensure that the jig and the body are well
secured.
Loading ...
Loading ...
Loading ...